
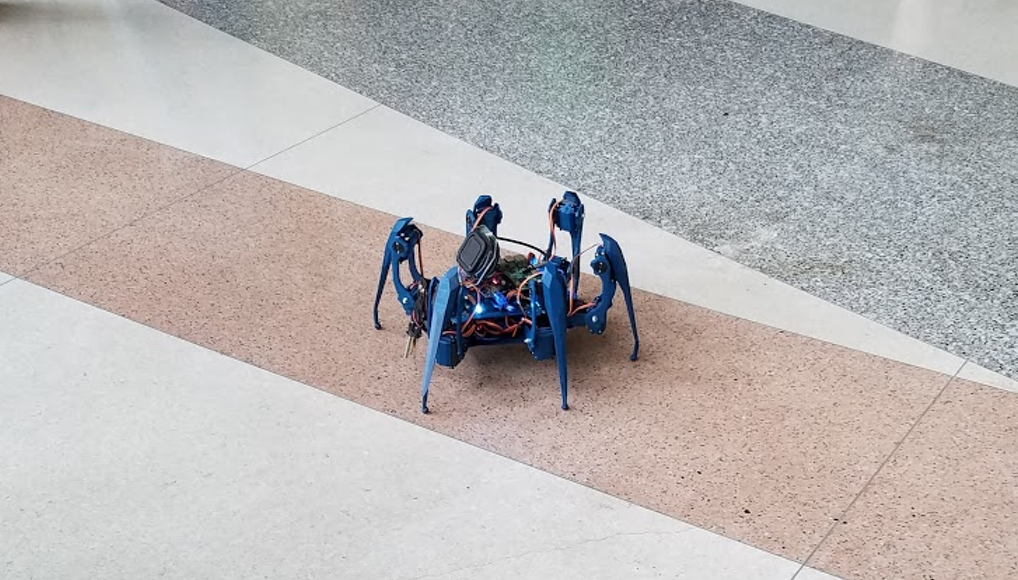
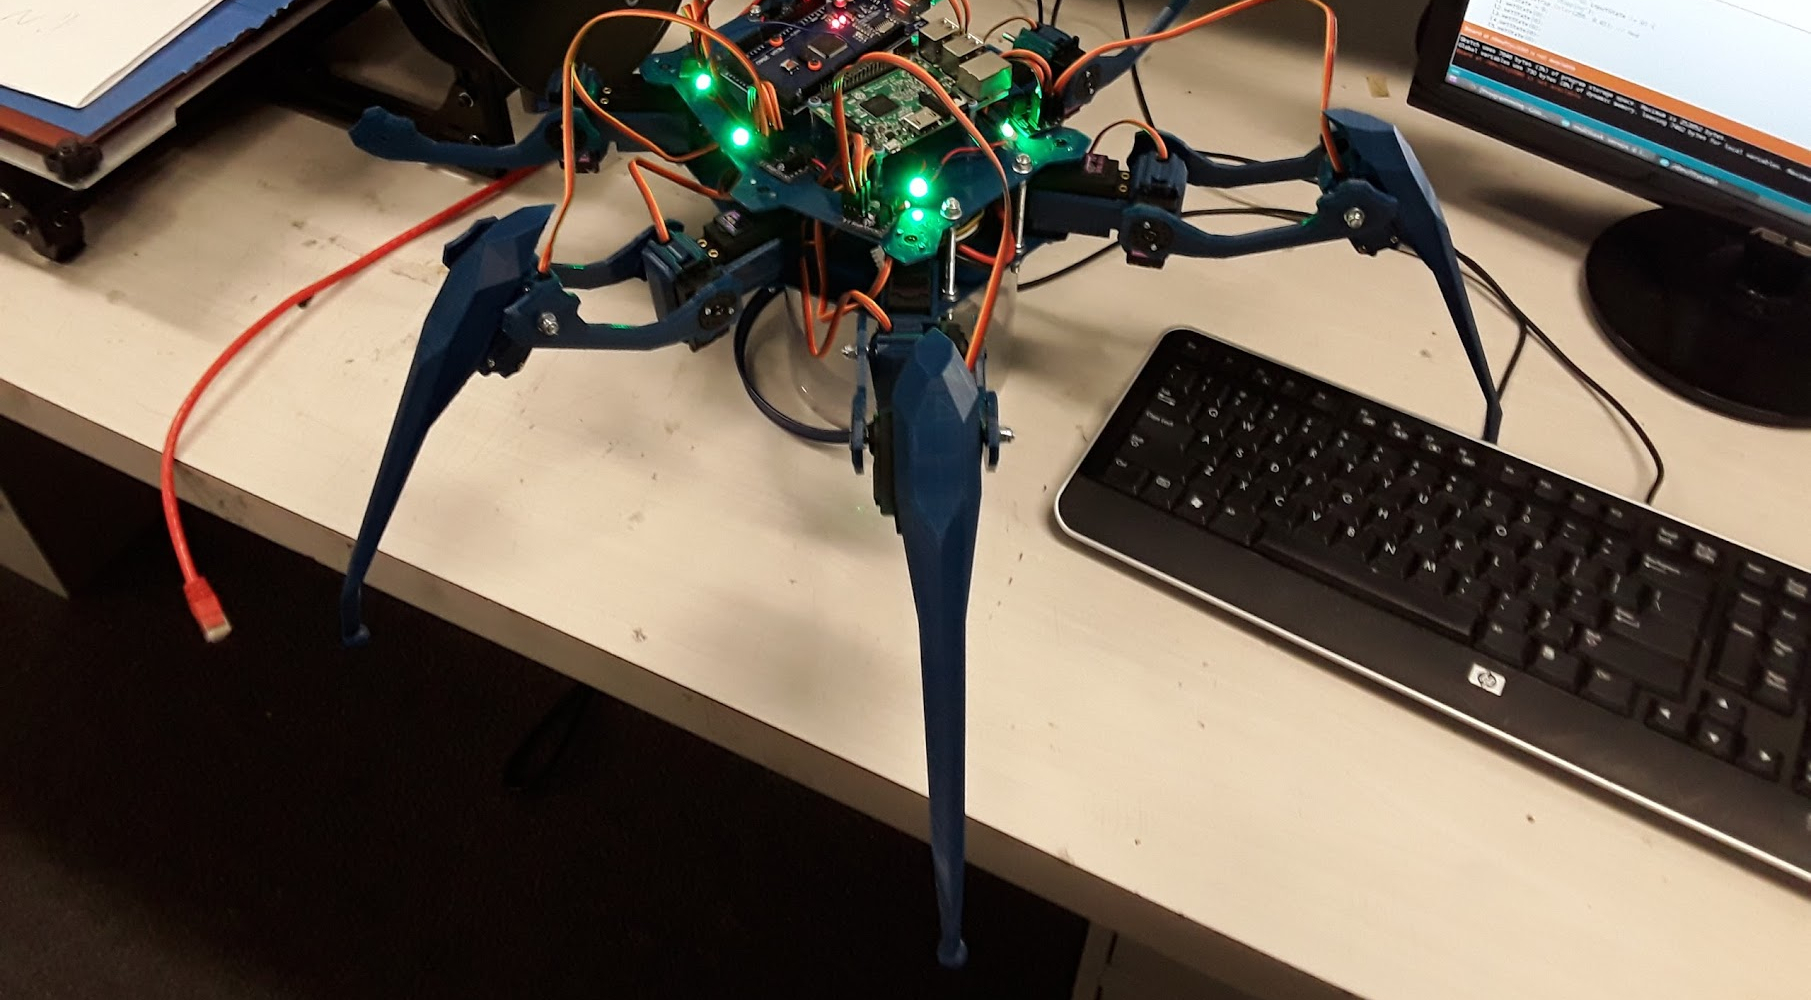
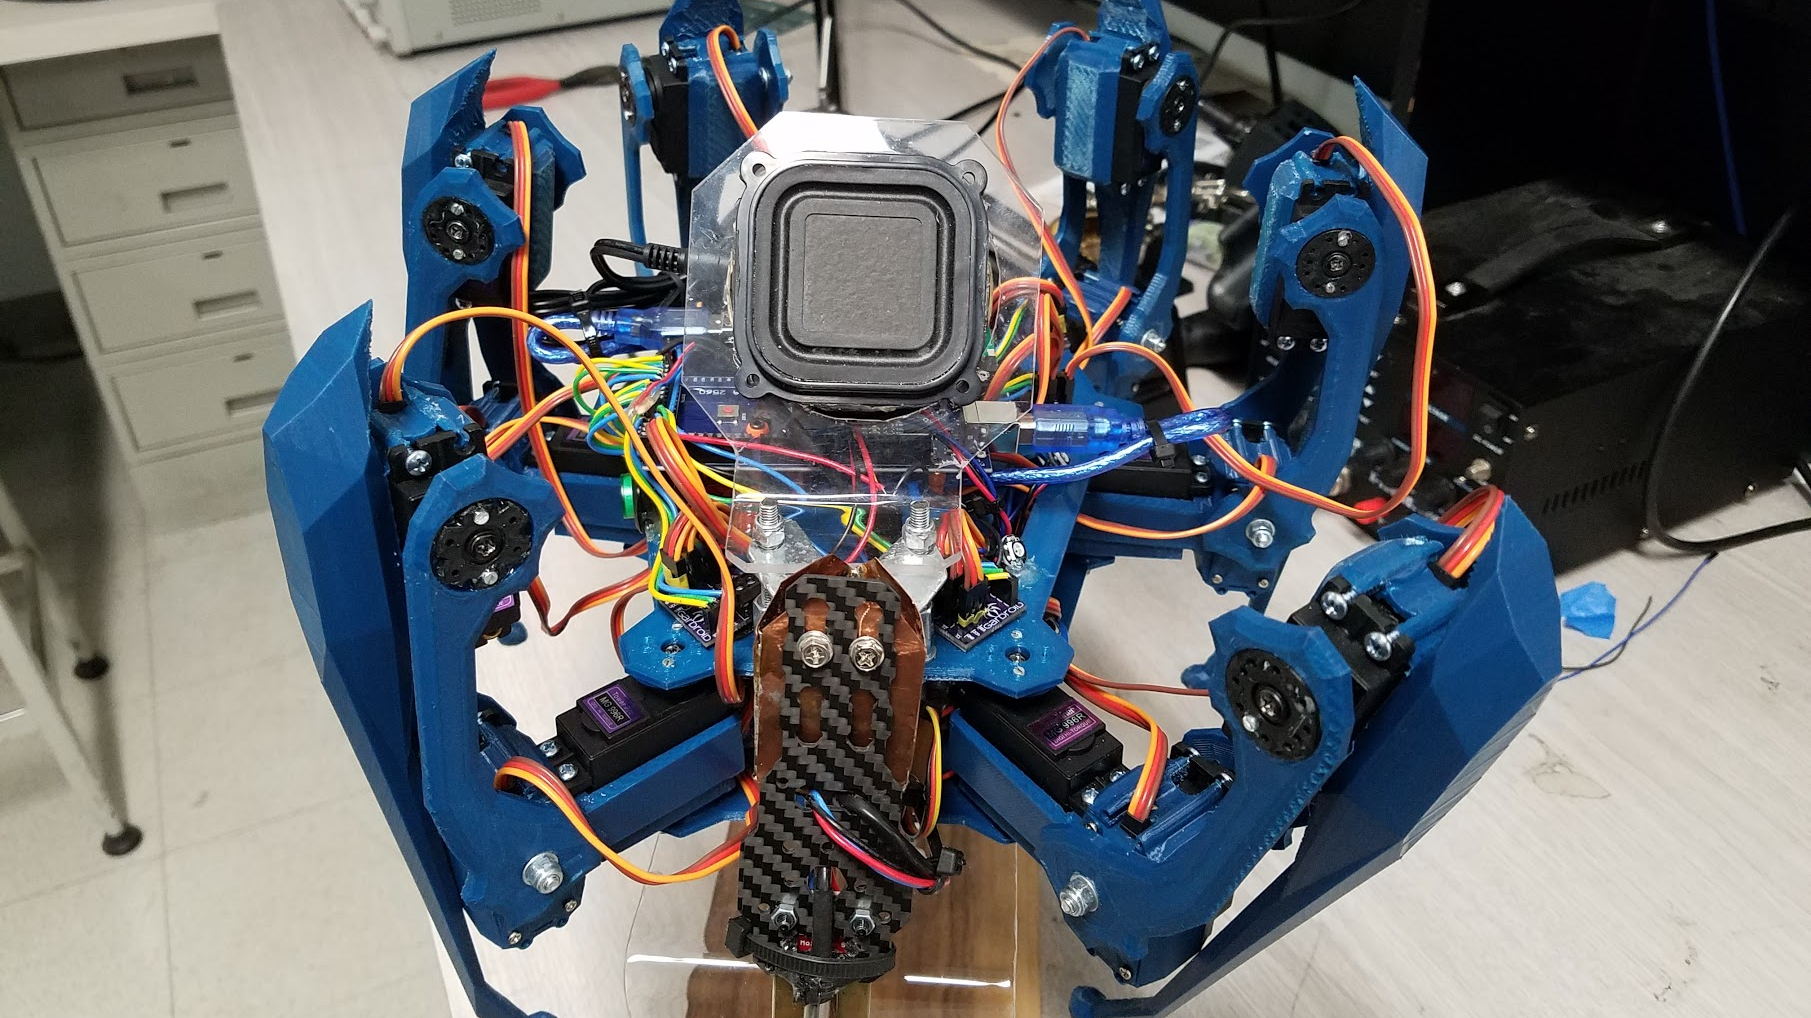
Meet Charolette
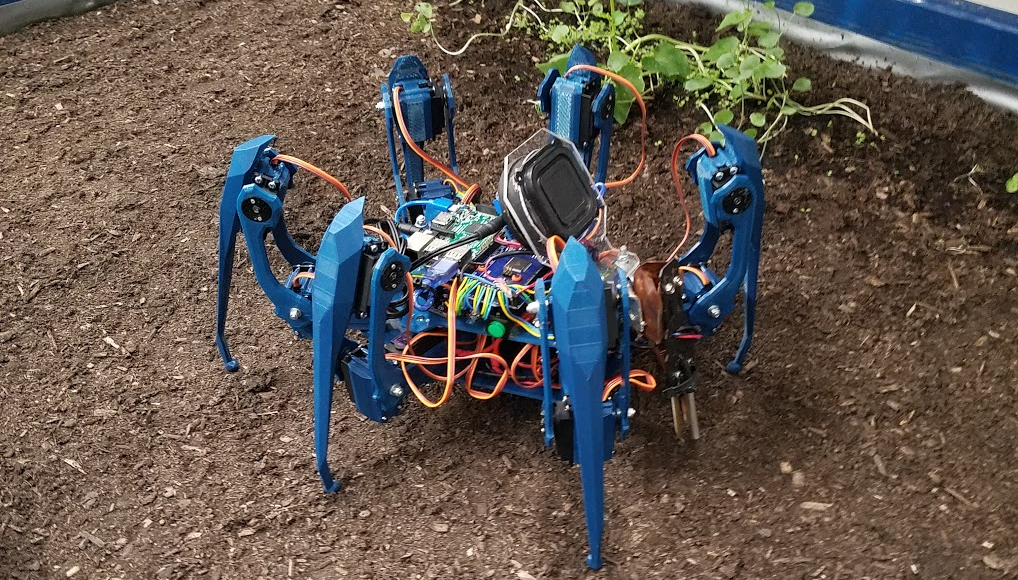
As the world population increases, new innovations are required to handle the agricultural
strain; here at Gardroid we think that one day autonomous robots will play a key role in helping farms
keep up with these growing demands. Armed with temperature and moisture sensors, Charolette
can gather the necessary information to better chose suitable locations for planting, and with an
onboard chamber of seeds and devlivery system, she can also plant seeds in the ground. Read here to
learn about our journey in creating Charolette and everything we learned along the way.
It all started with a picture
In the beginning of the Fall 2016 Quarter when the course first began, every
student had the oppurtunity to propose a project idea. The list of projects
were then narrowed down with the help of the Professor and TA until 4 teams
were formed, each with their own project to complete.
Our team decided to pursue team leader Itai's proposal for a gardeining hexapod,
and the rest was history.
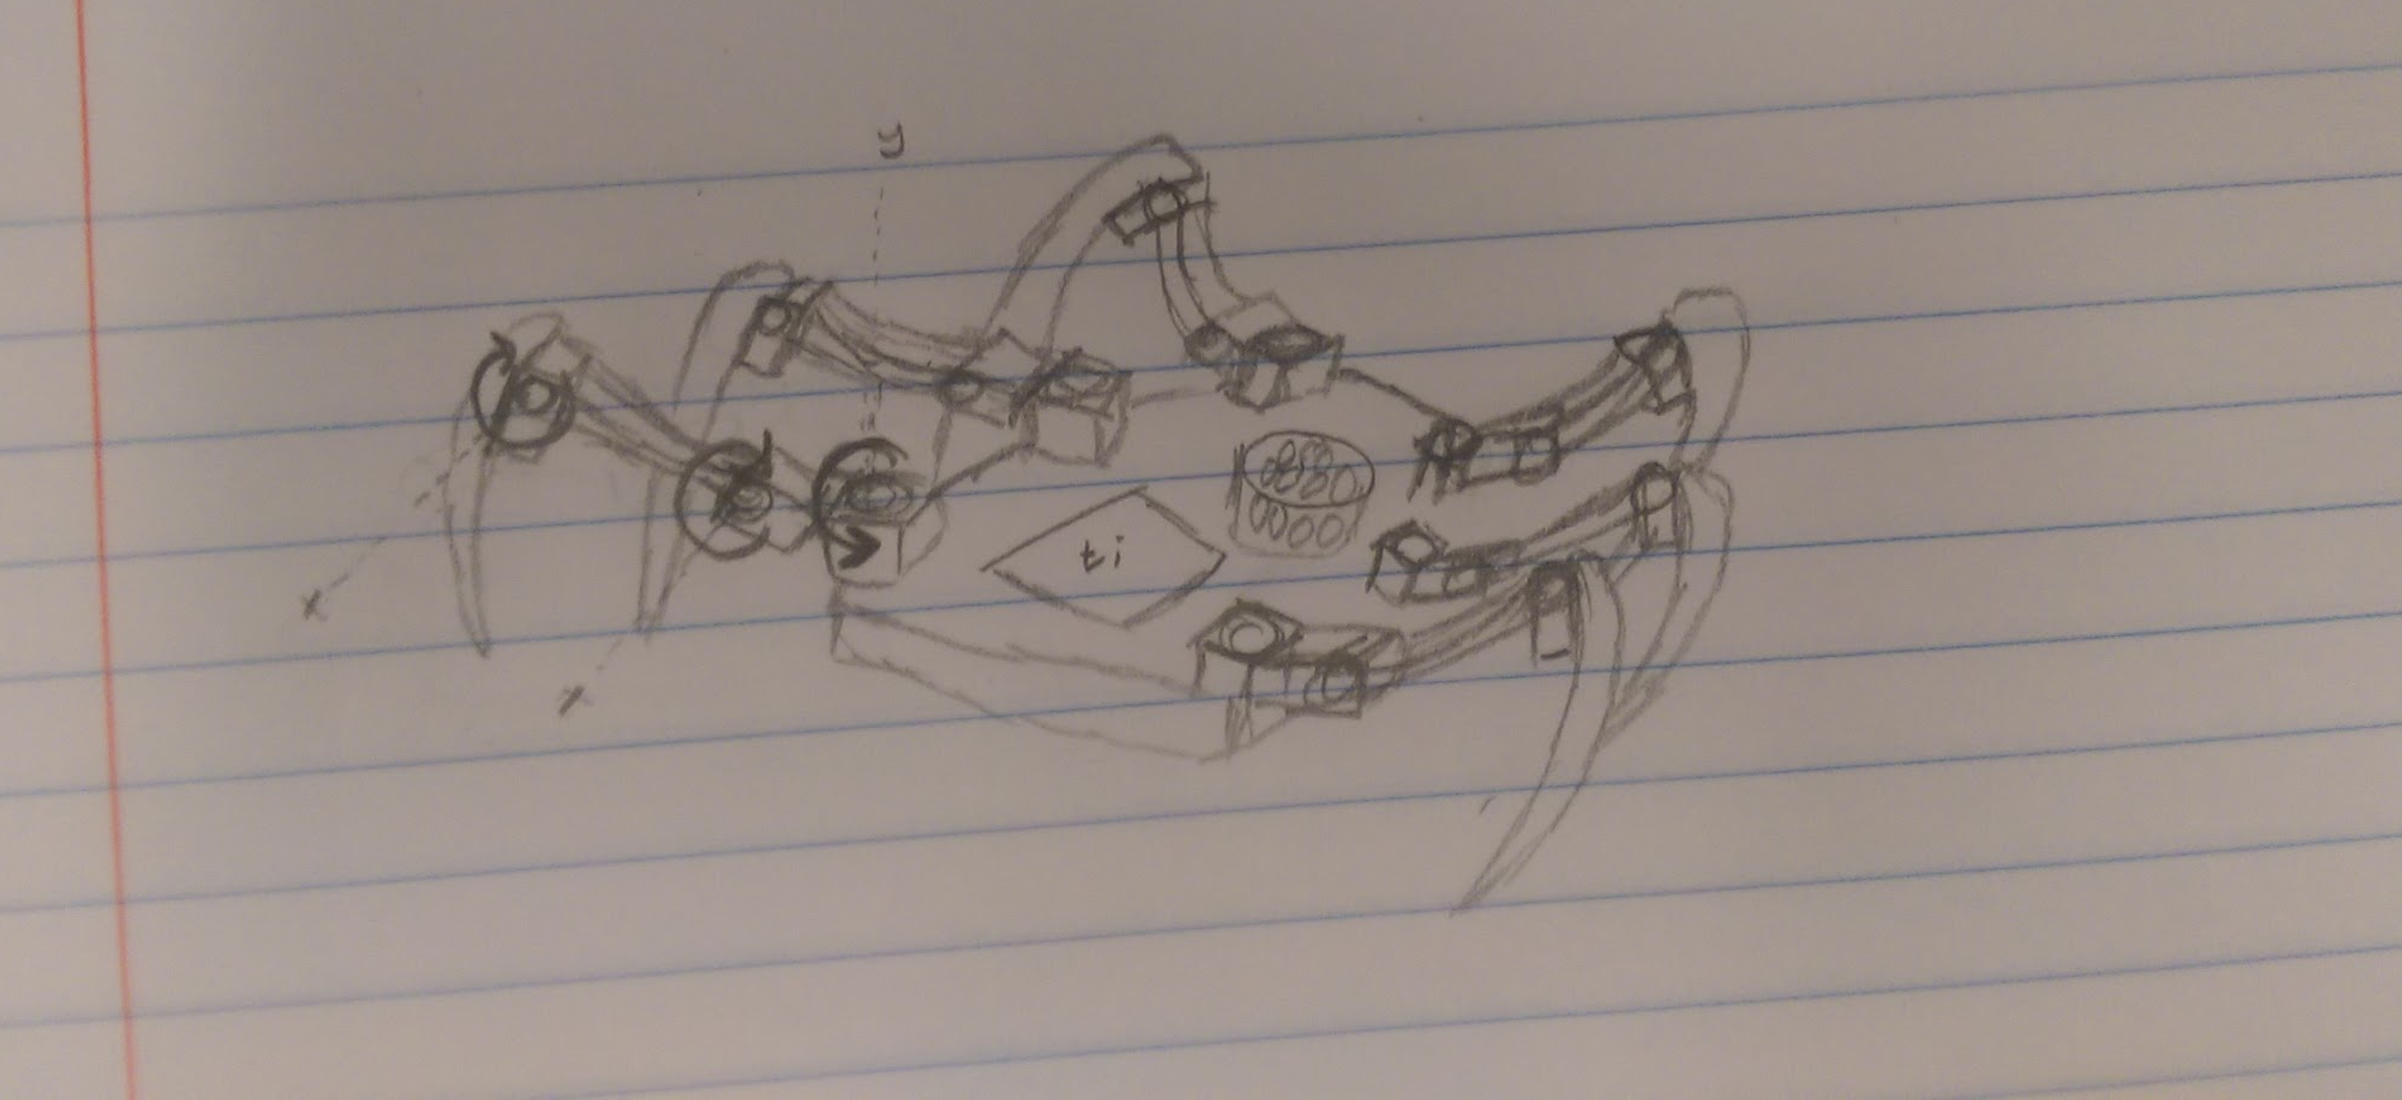
Itai's original concept drawing for project proposals
Learning the Basics
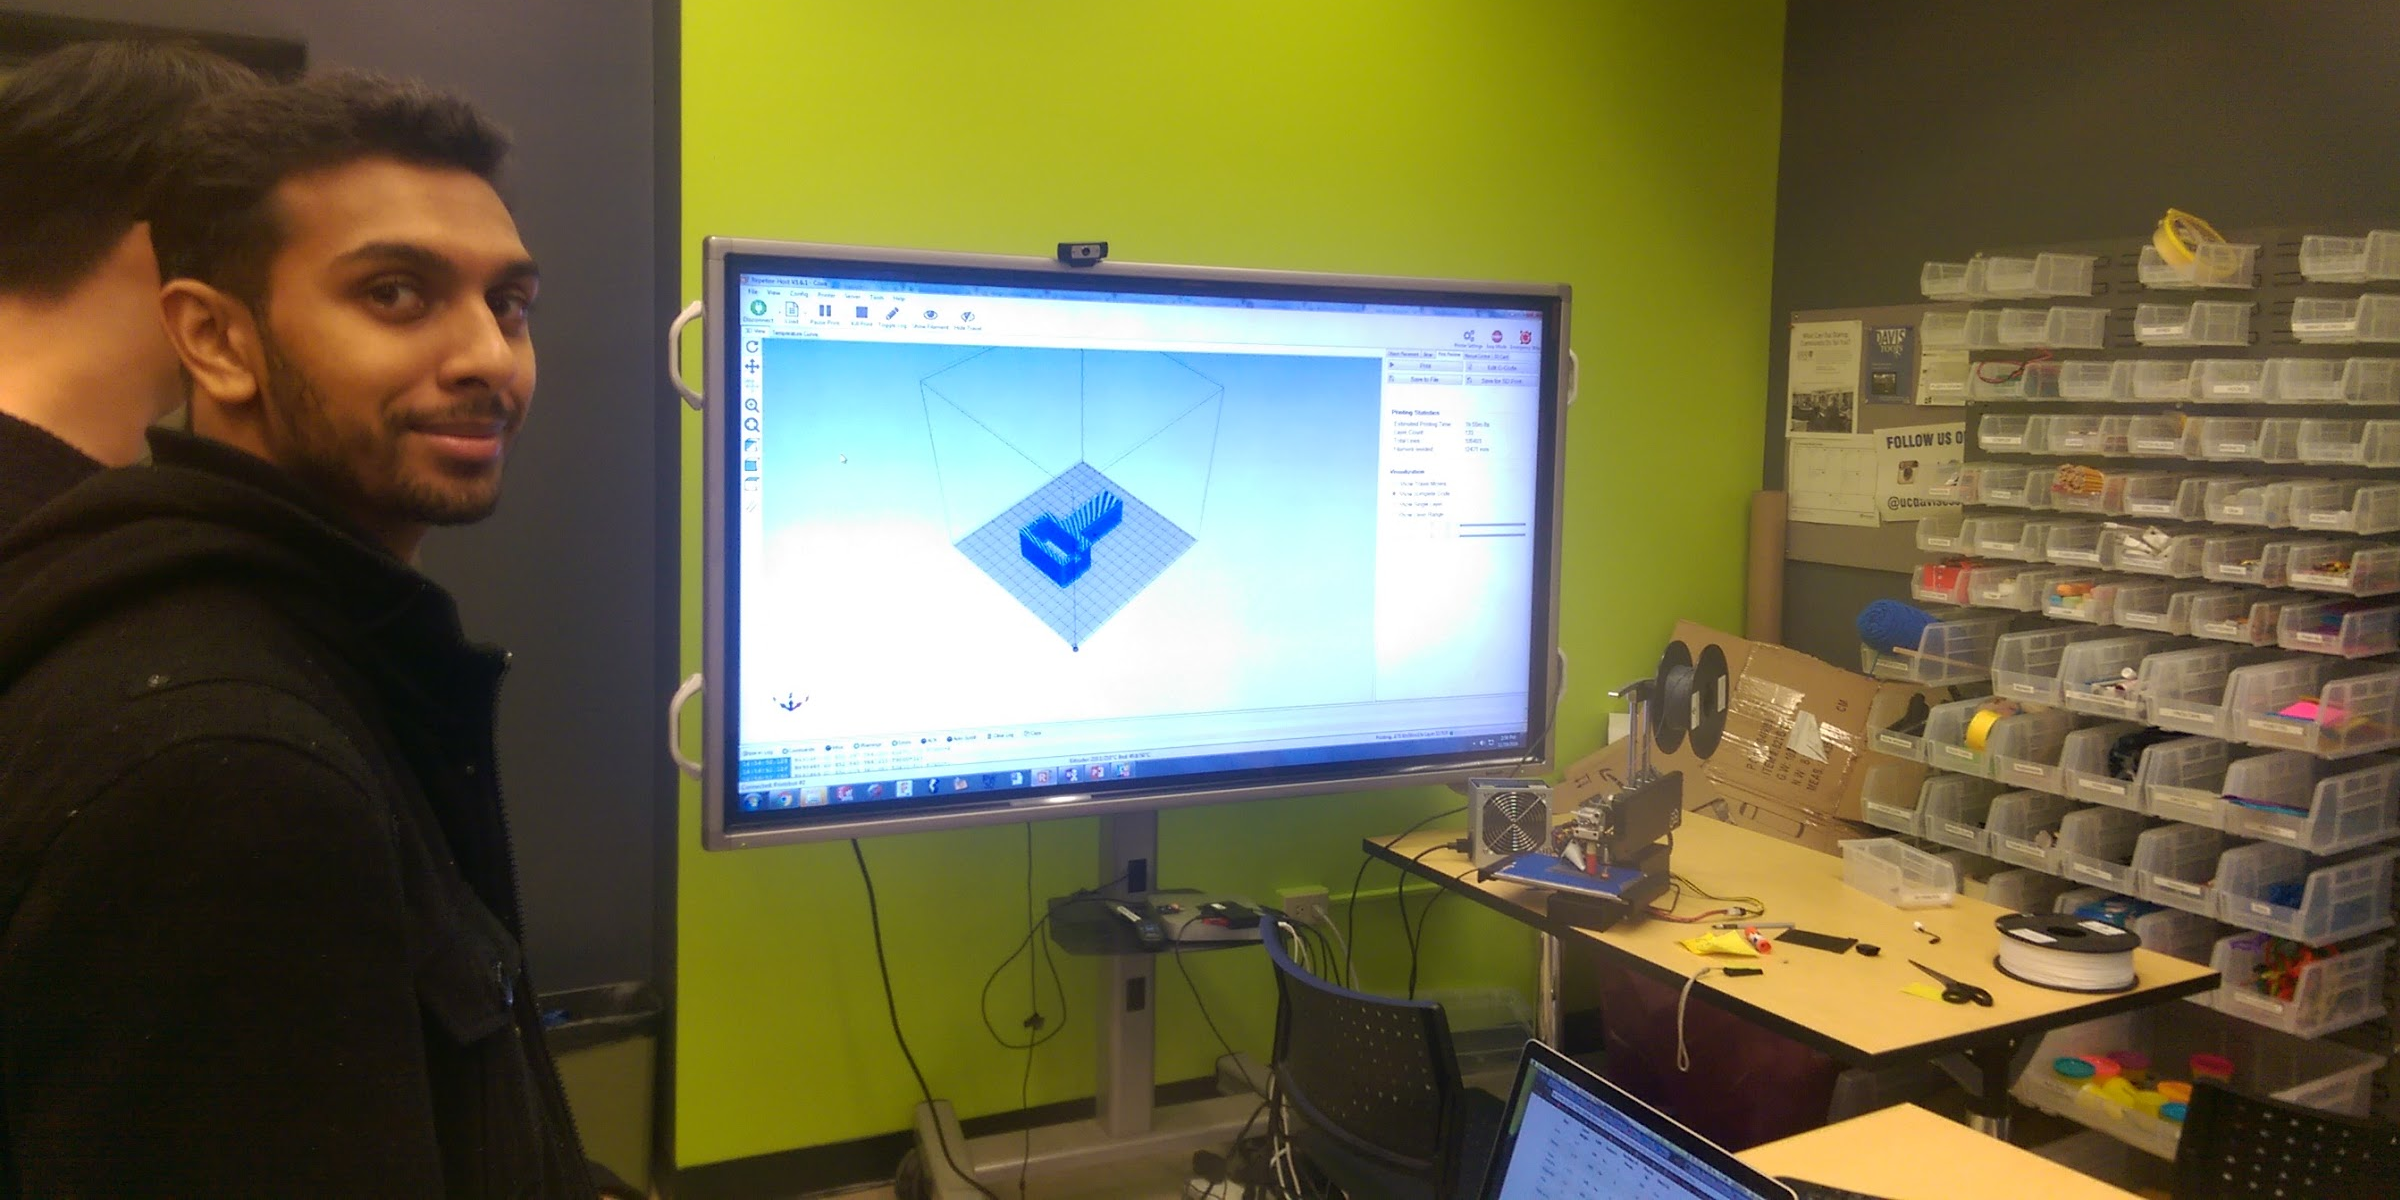
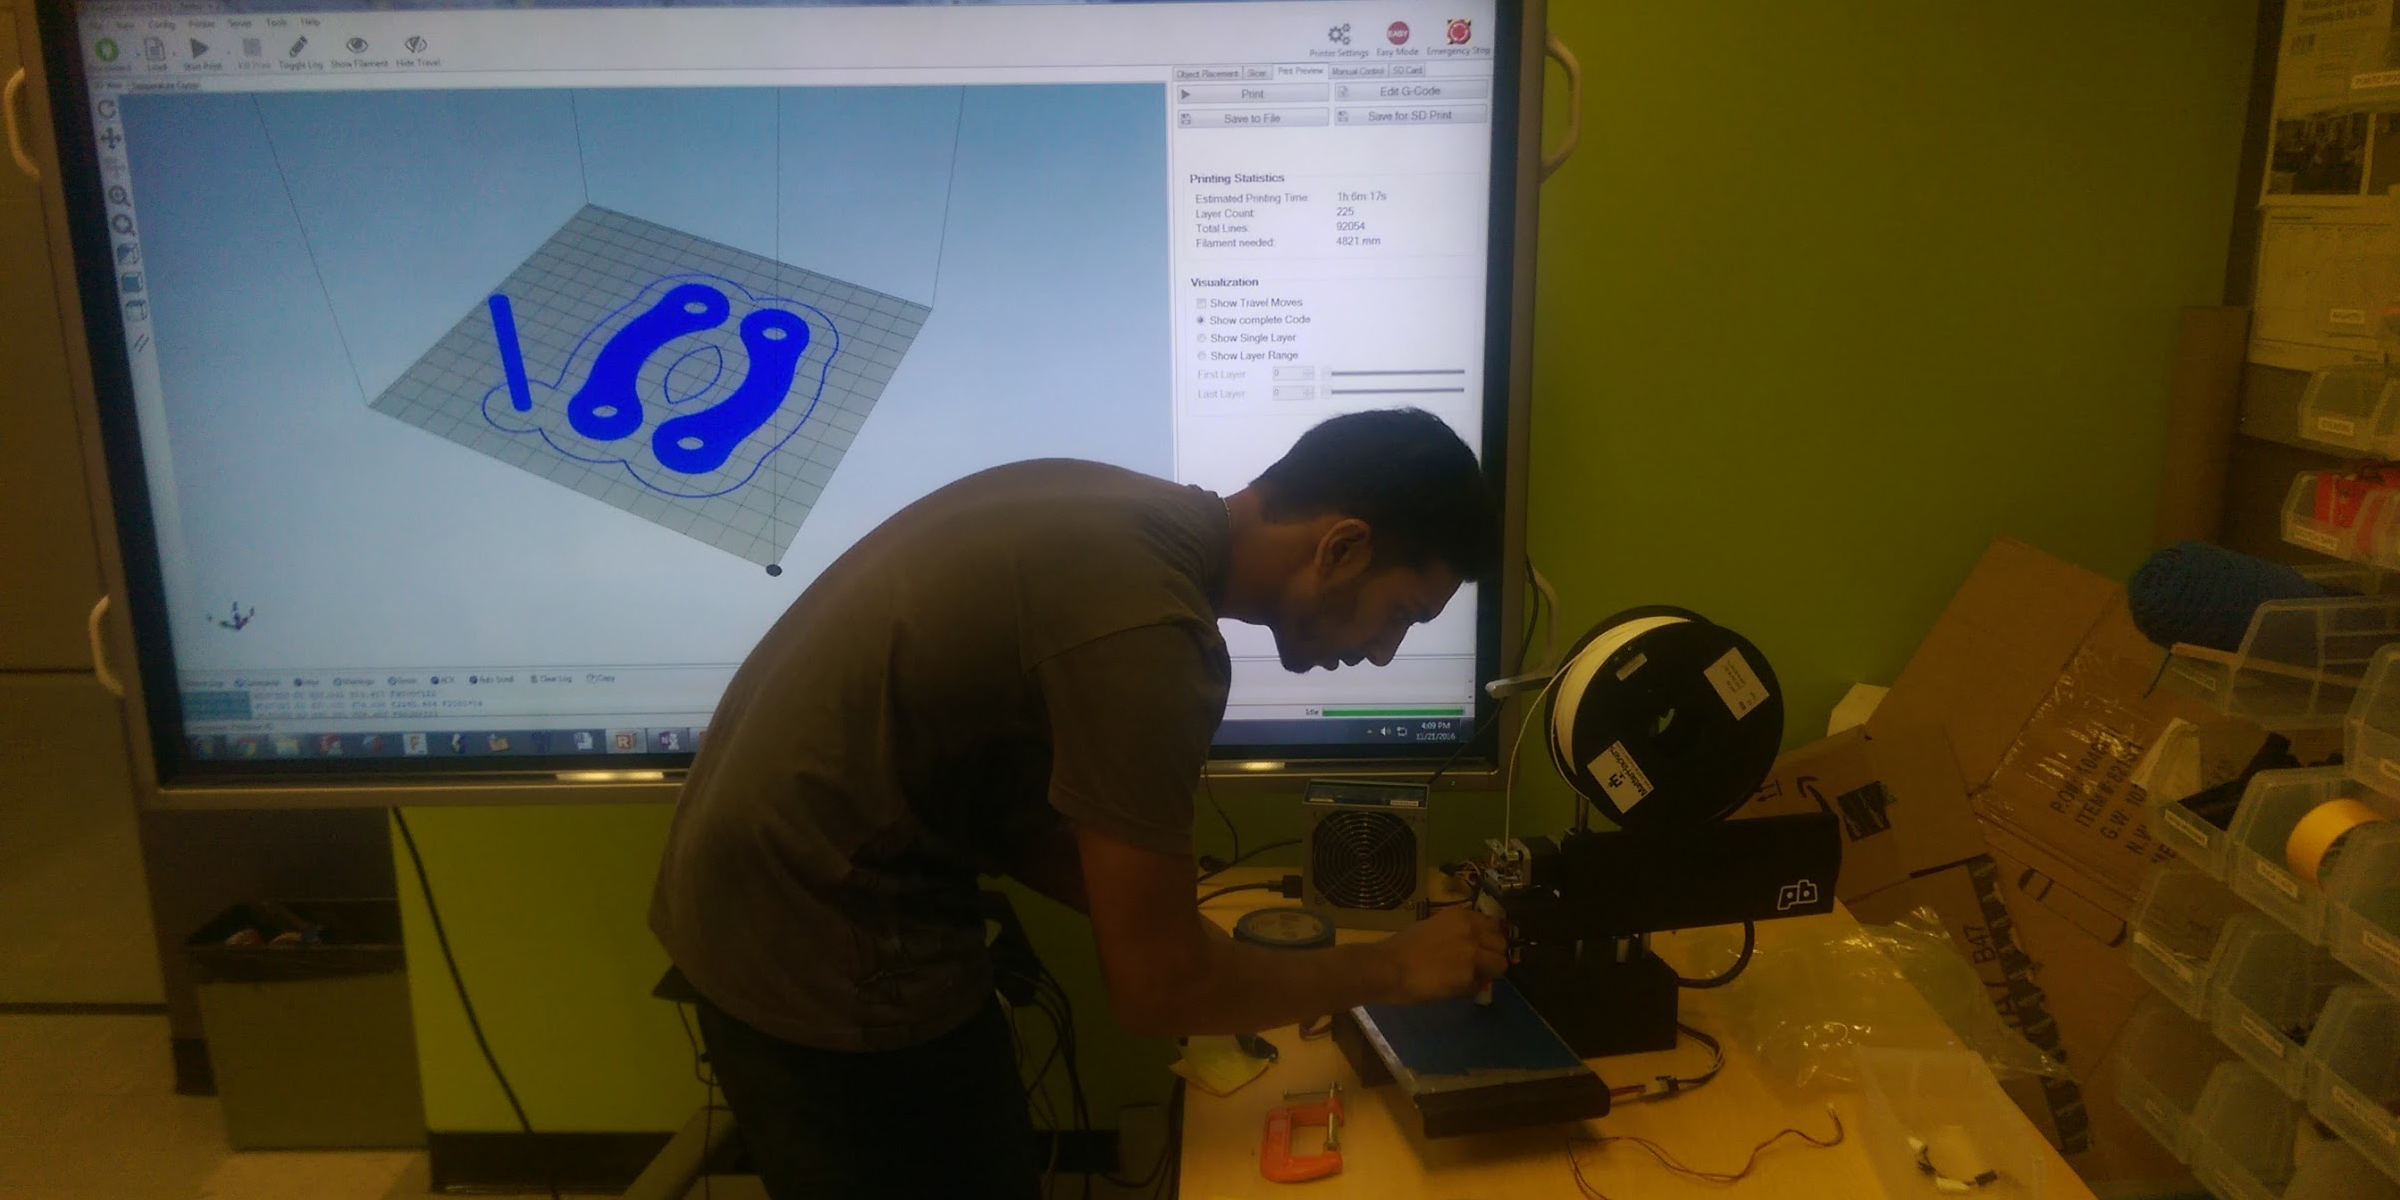
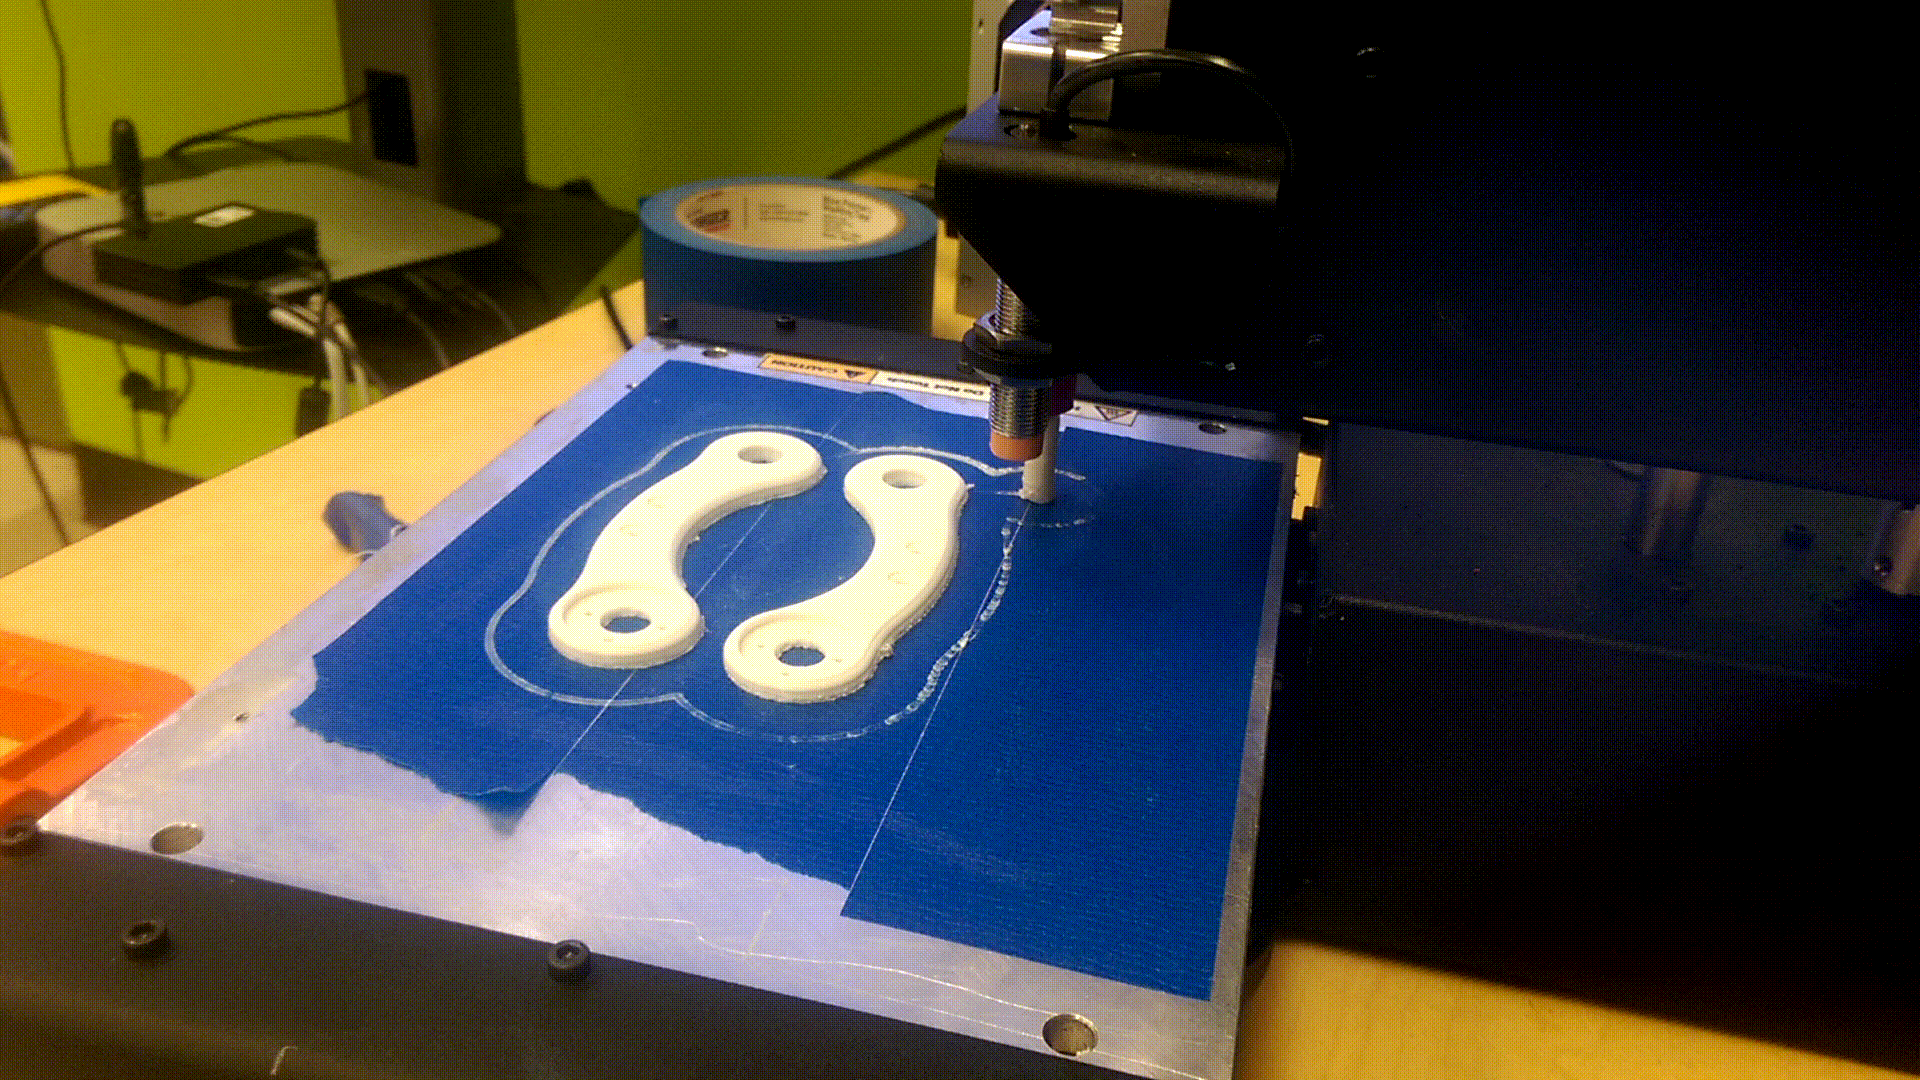
With a goal in mind, our team spent the next couple of weeks learning about the basics of 3D printing from the Engineering Student Startup Center and about the basic mechanics of hexapods. Although we wanted to design our own frame, we did not yet know how to create 3D models, and in the interest of practicing printing and prototyping motor controls as soon as possible, we printed a "leg" using 3D models from an open source hexapod called Antdroid that we found on Thingiverse.
Designing PCBs
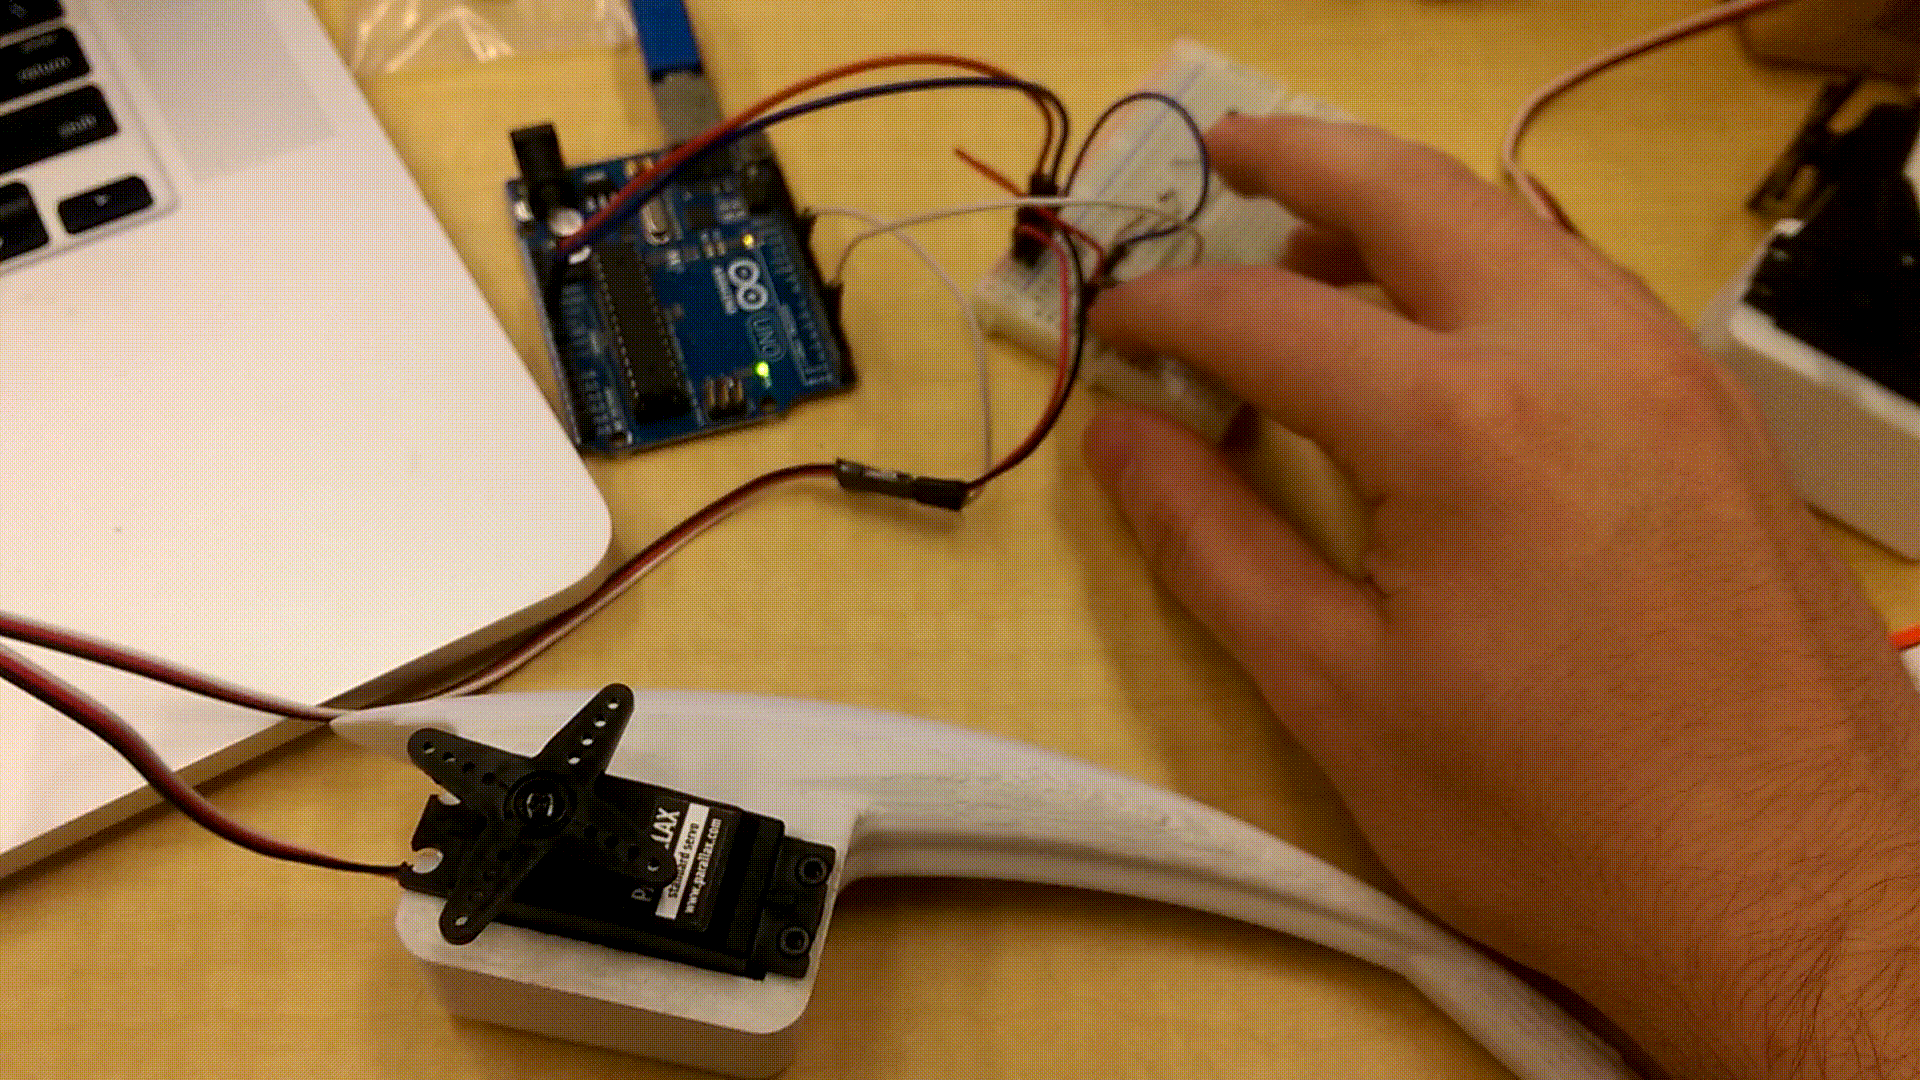
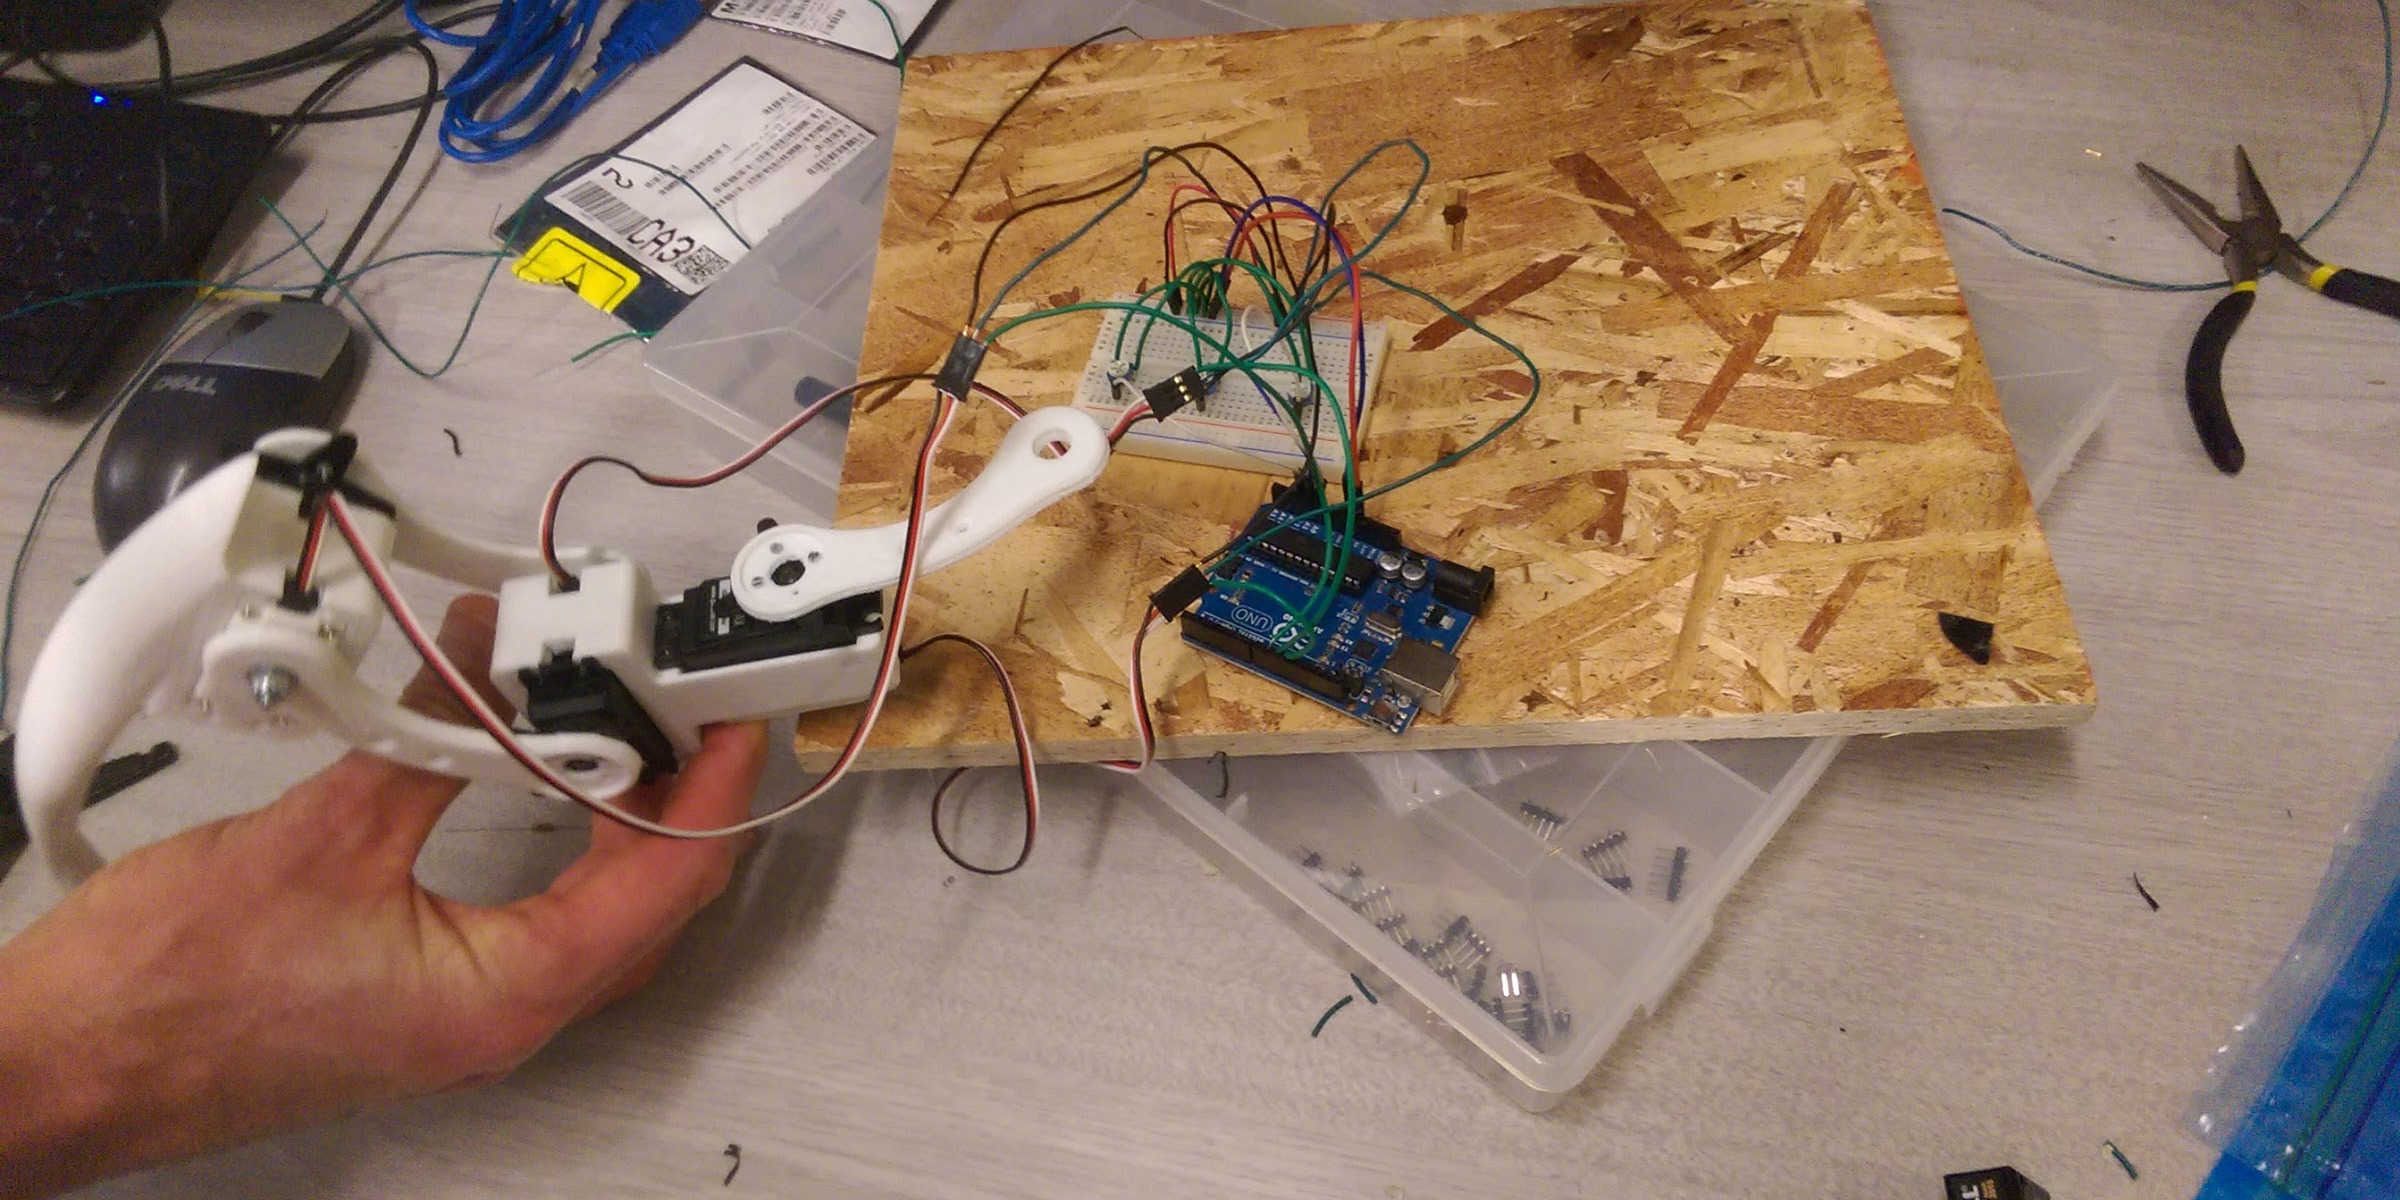
As the Winter 2017 Quarter began our team studied PCB design using Eagle CAD, and afterwards we had our design fabricated by OSH Park. We designed a PCB to help manage power distribution and signal wiring to the motors on each leg. Each leg had one of these PCBs handling the three servo motors of the leg, totaling in 6 PCBs on Charolette.
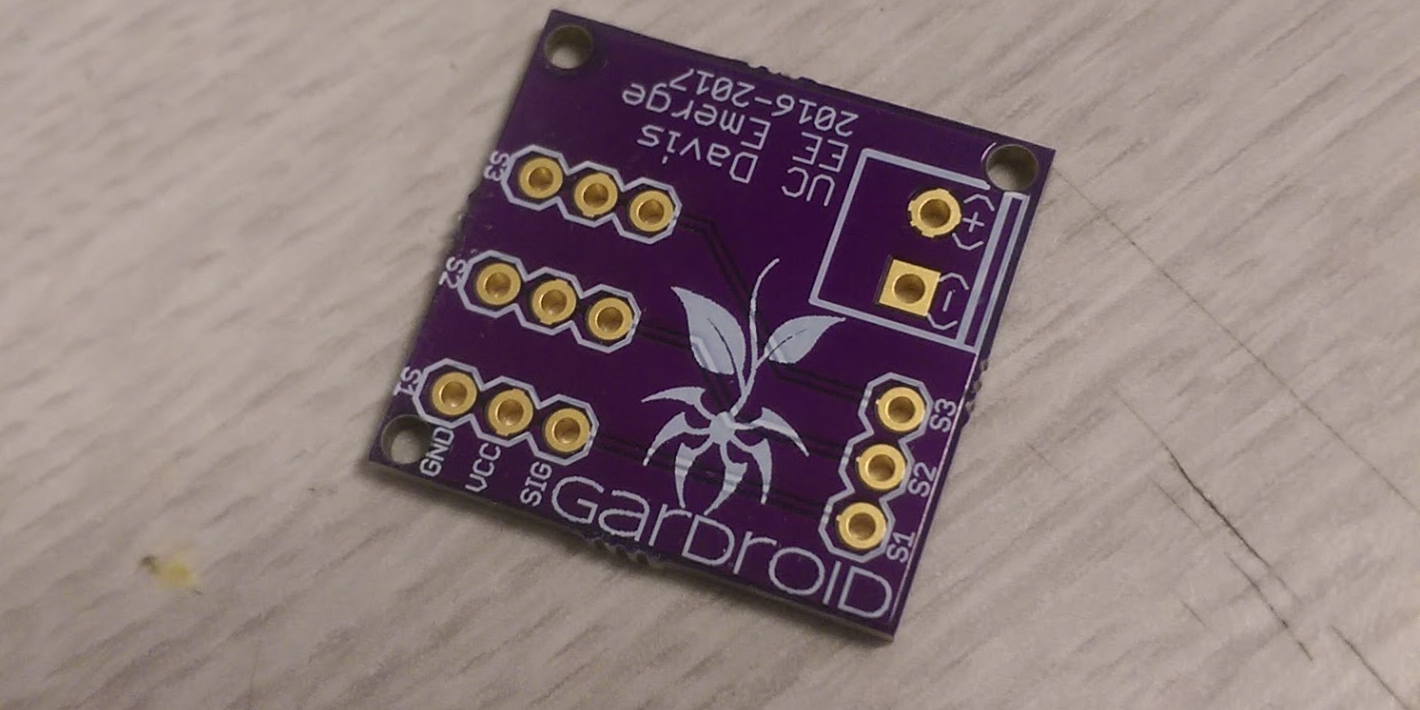
A PCB that distributes power and signals to a leg's servos
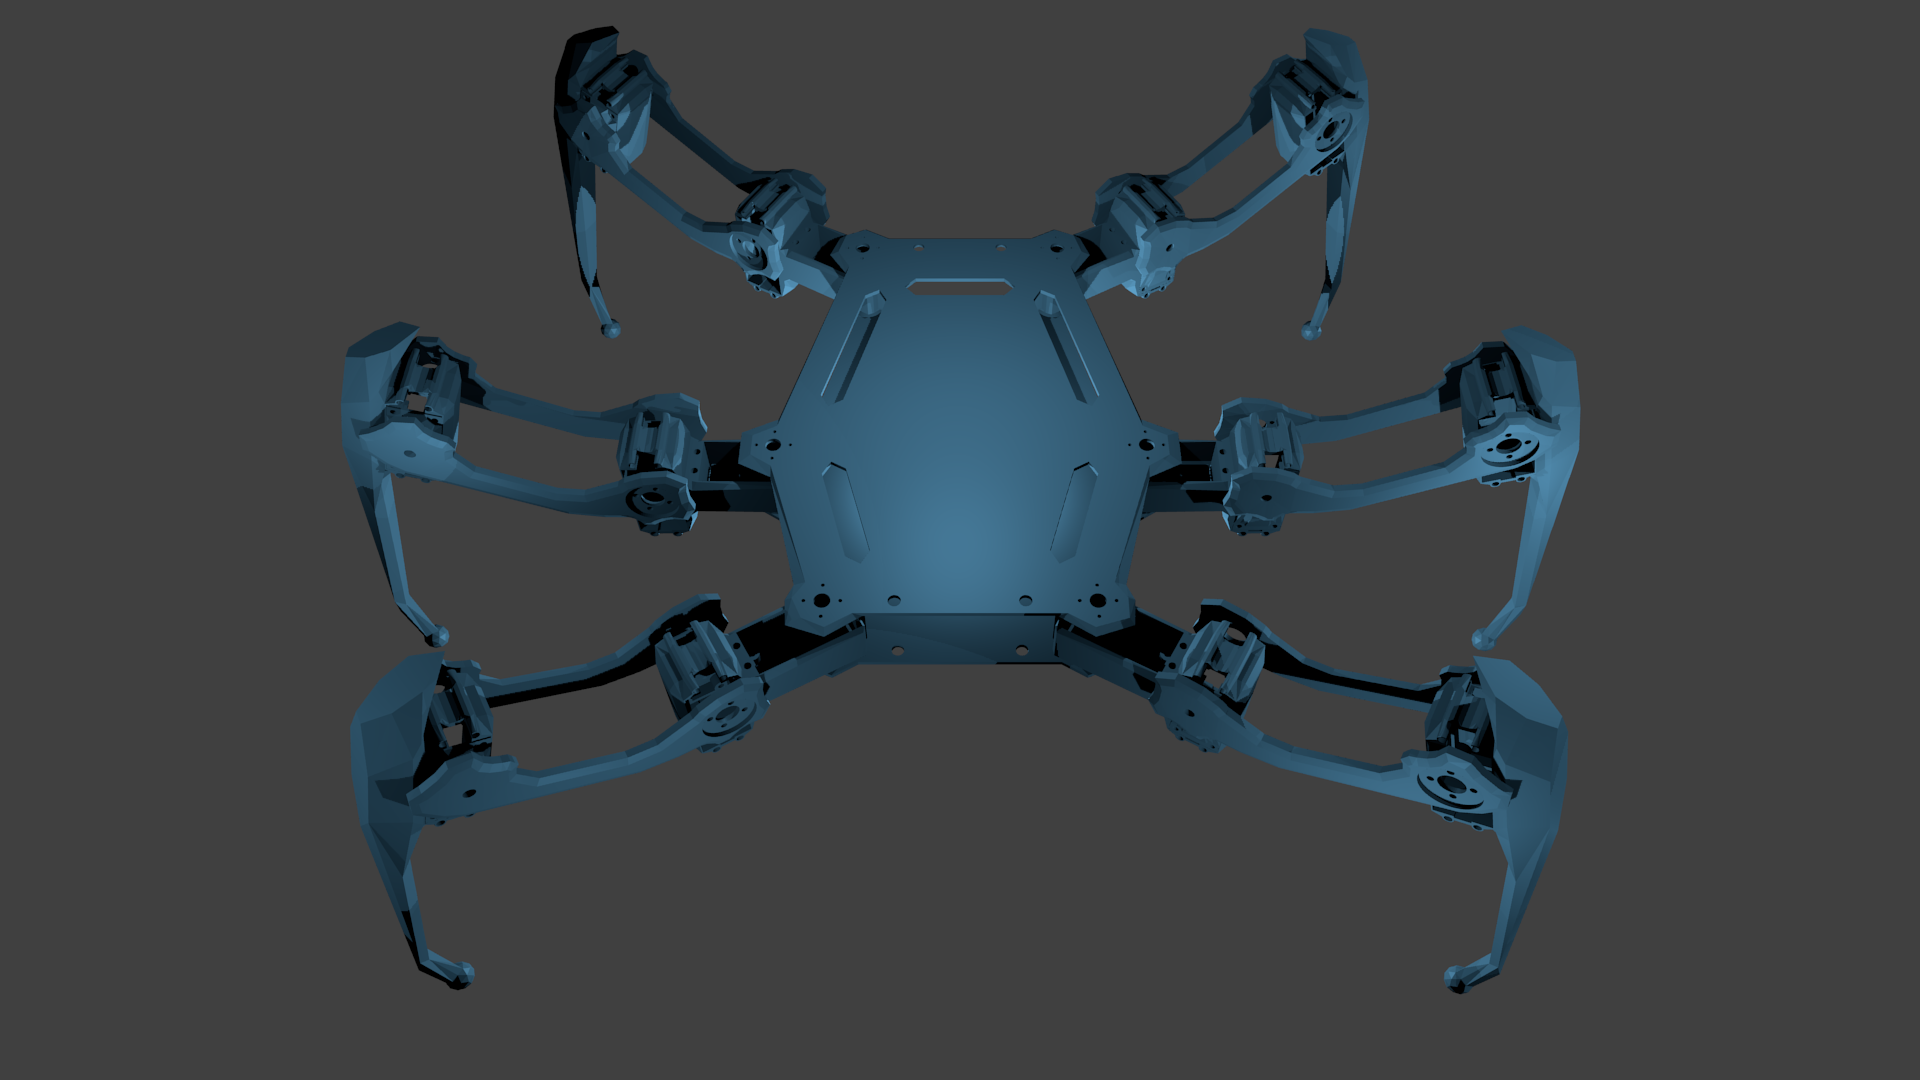
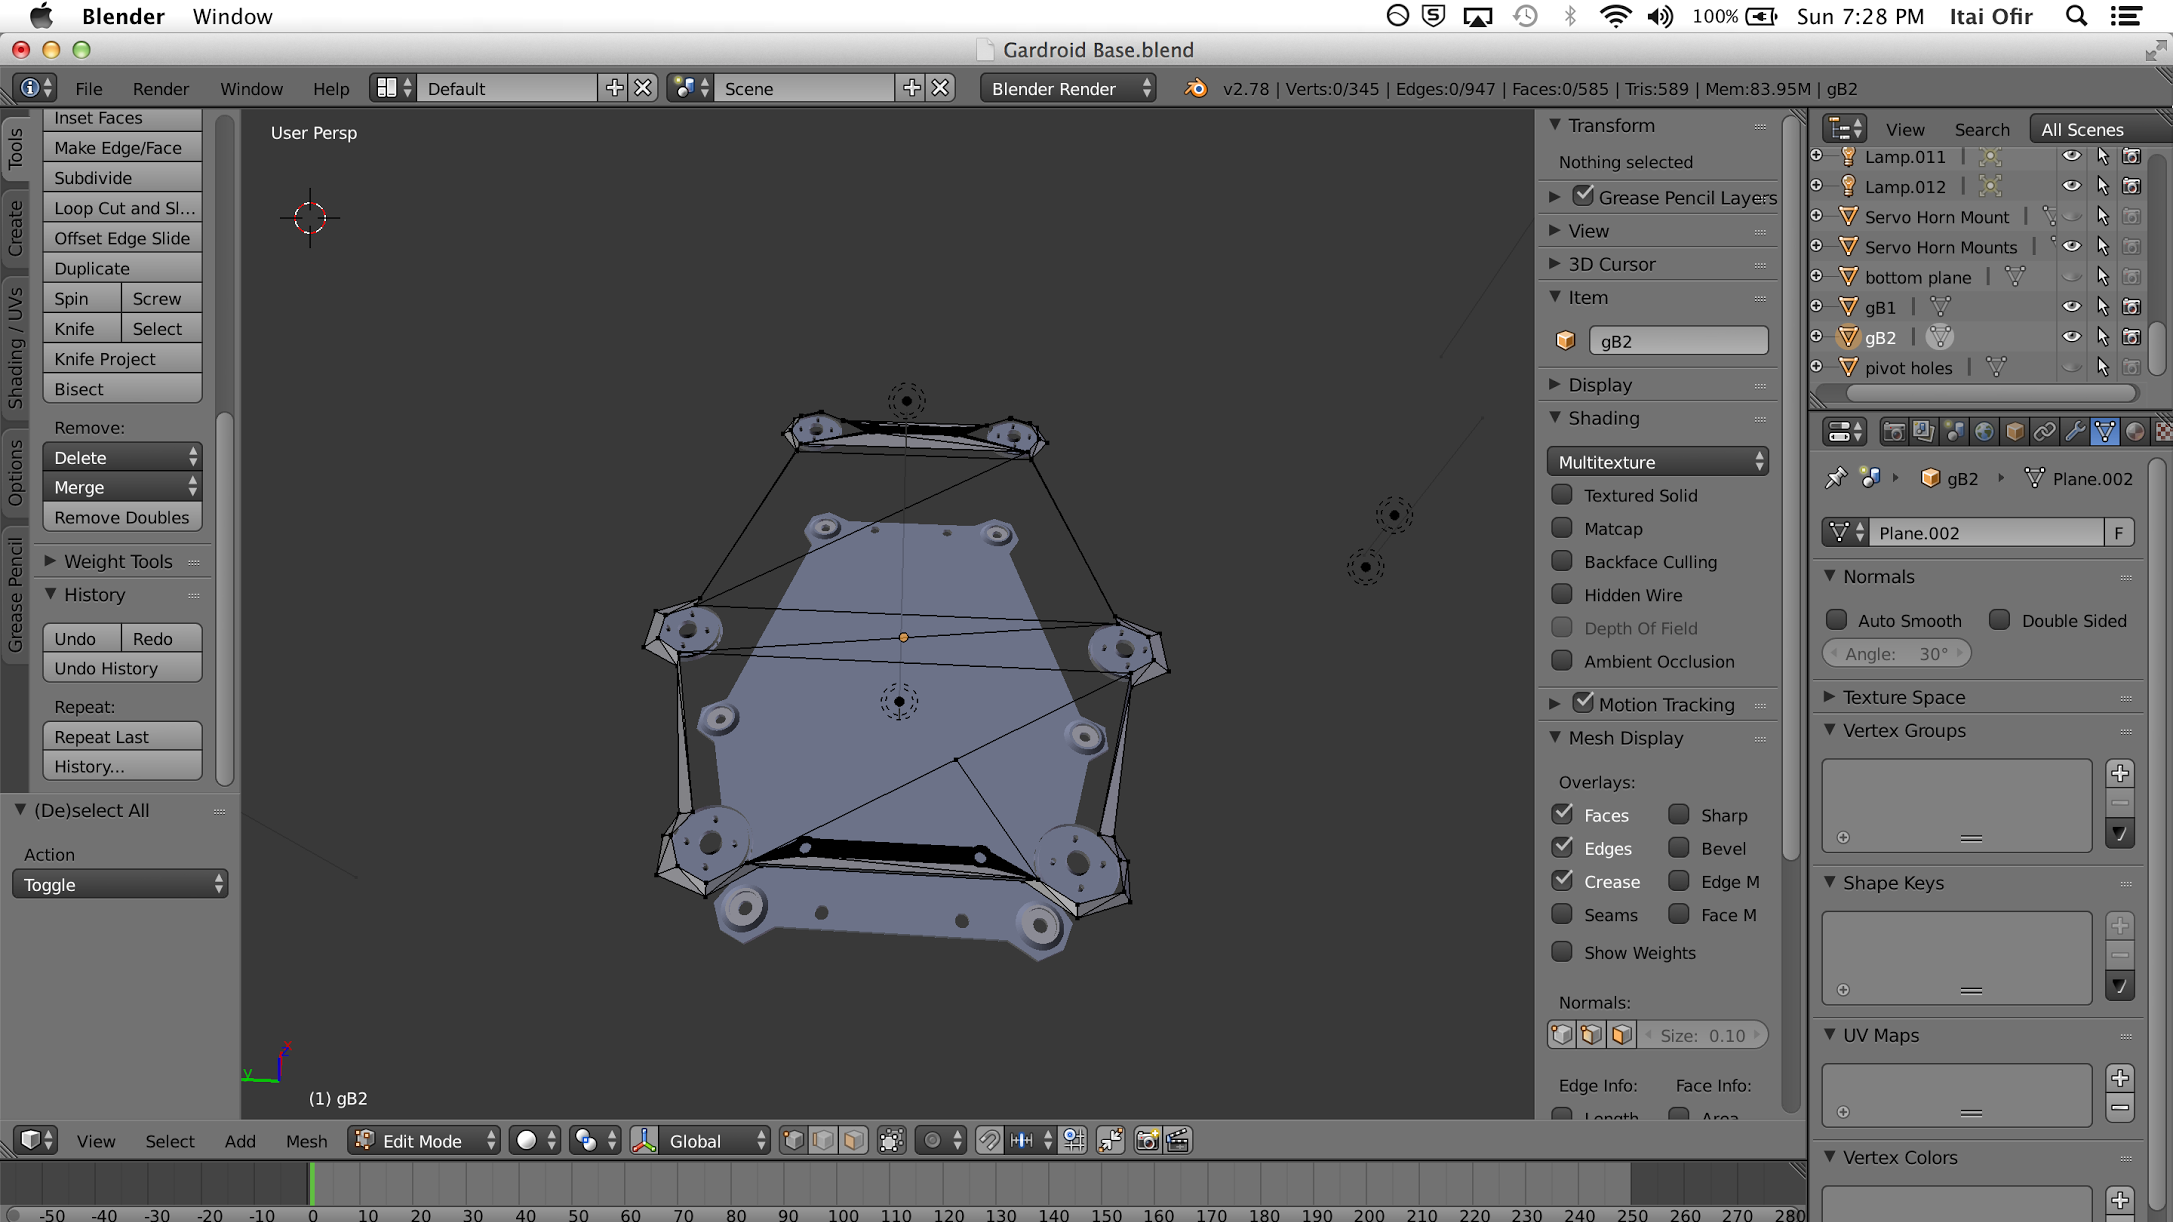
Frame Design
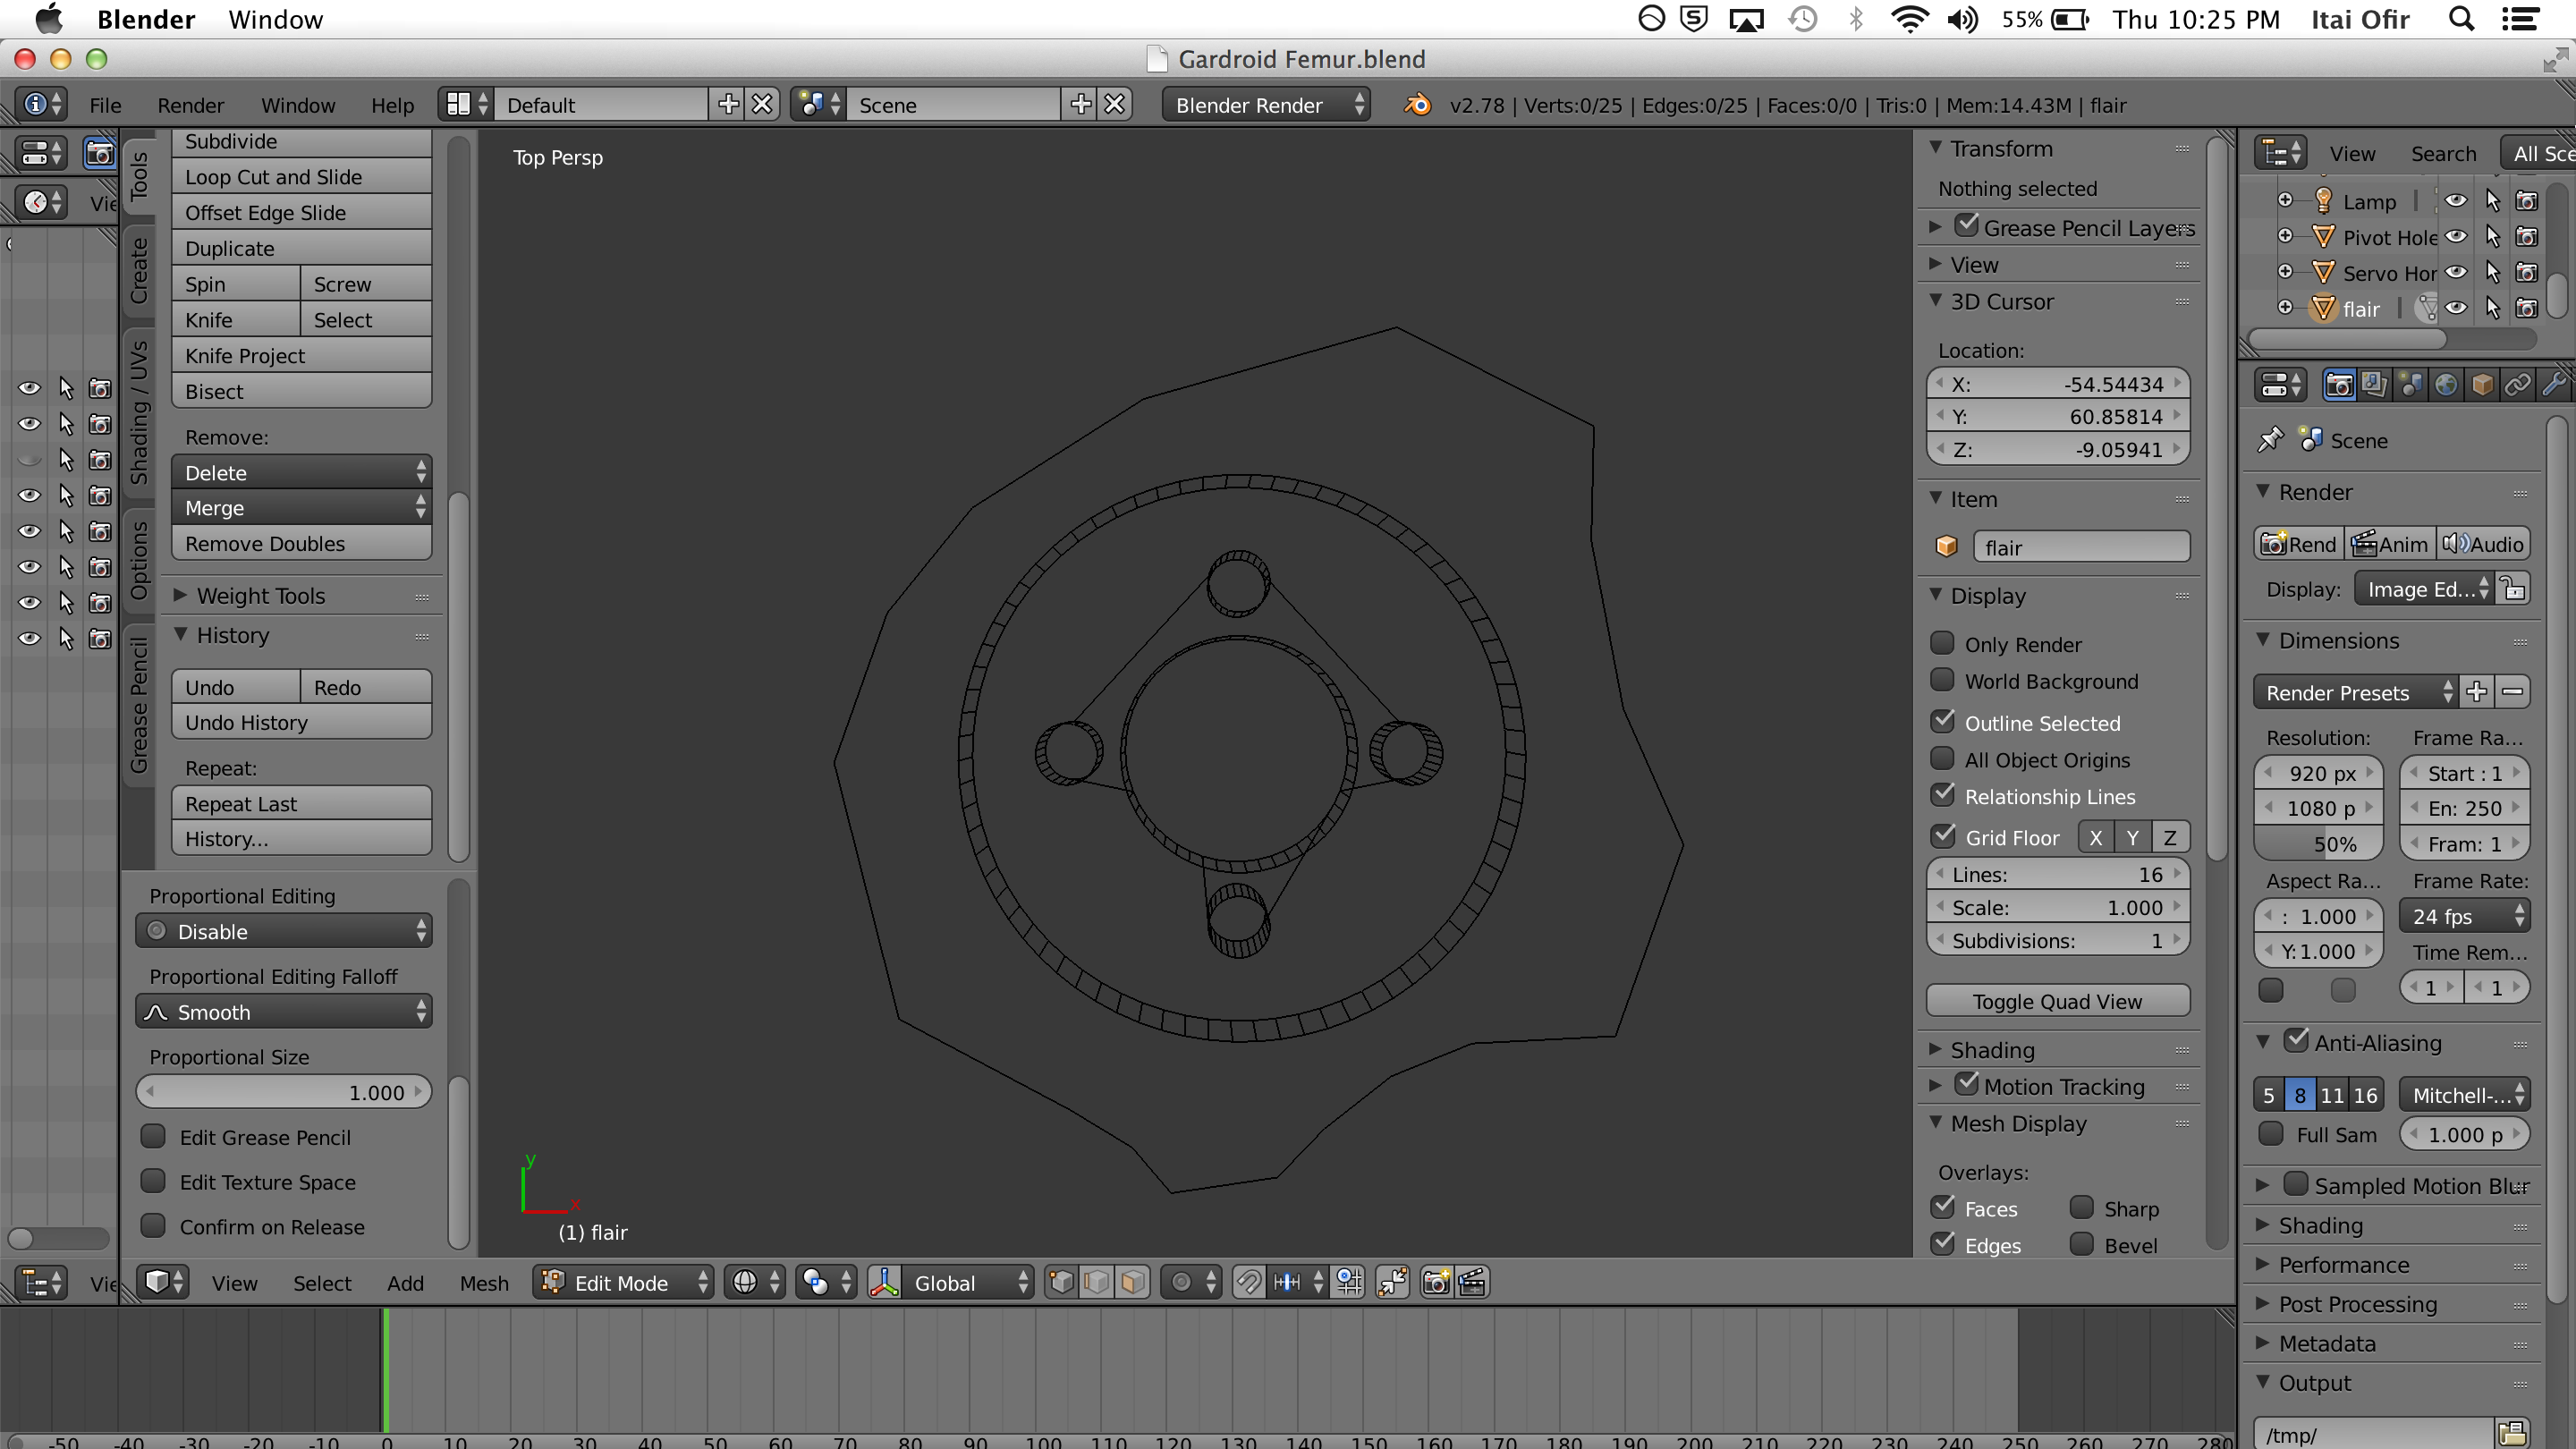
By now we had spent some time learning how to use Blender, a free 3D modeling design suite. Using Blender we fully designed our own original frame that we fabricated using 3D Pritners at the Engineering Fabrication Lab.
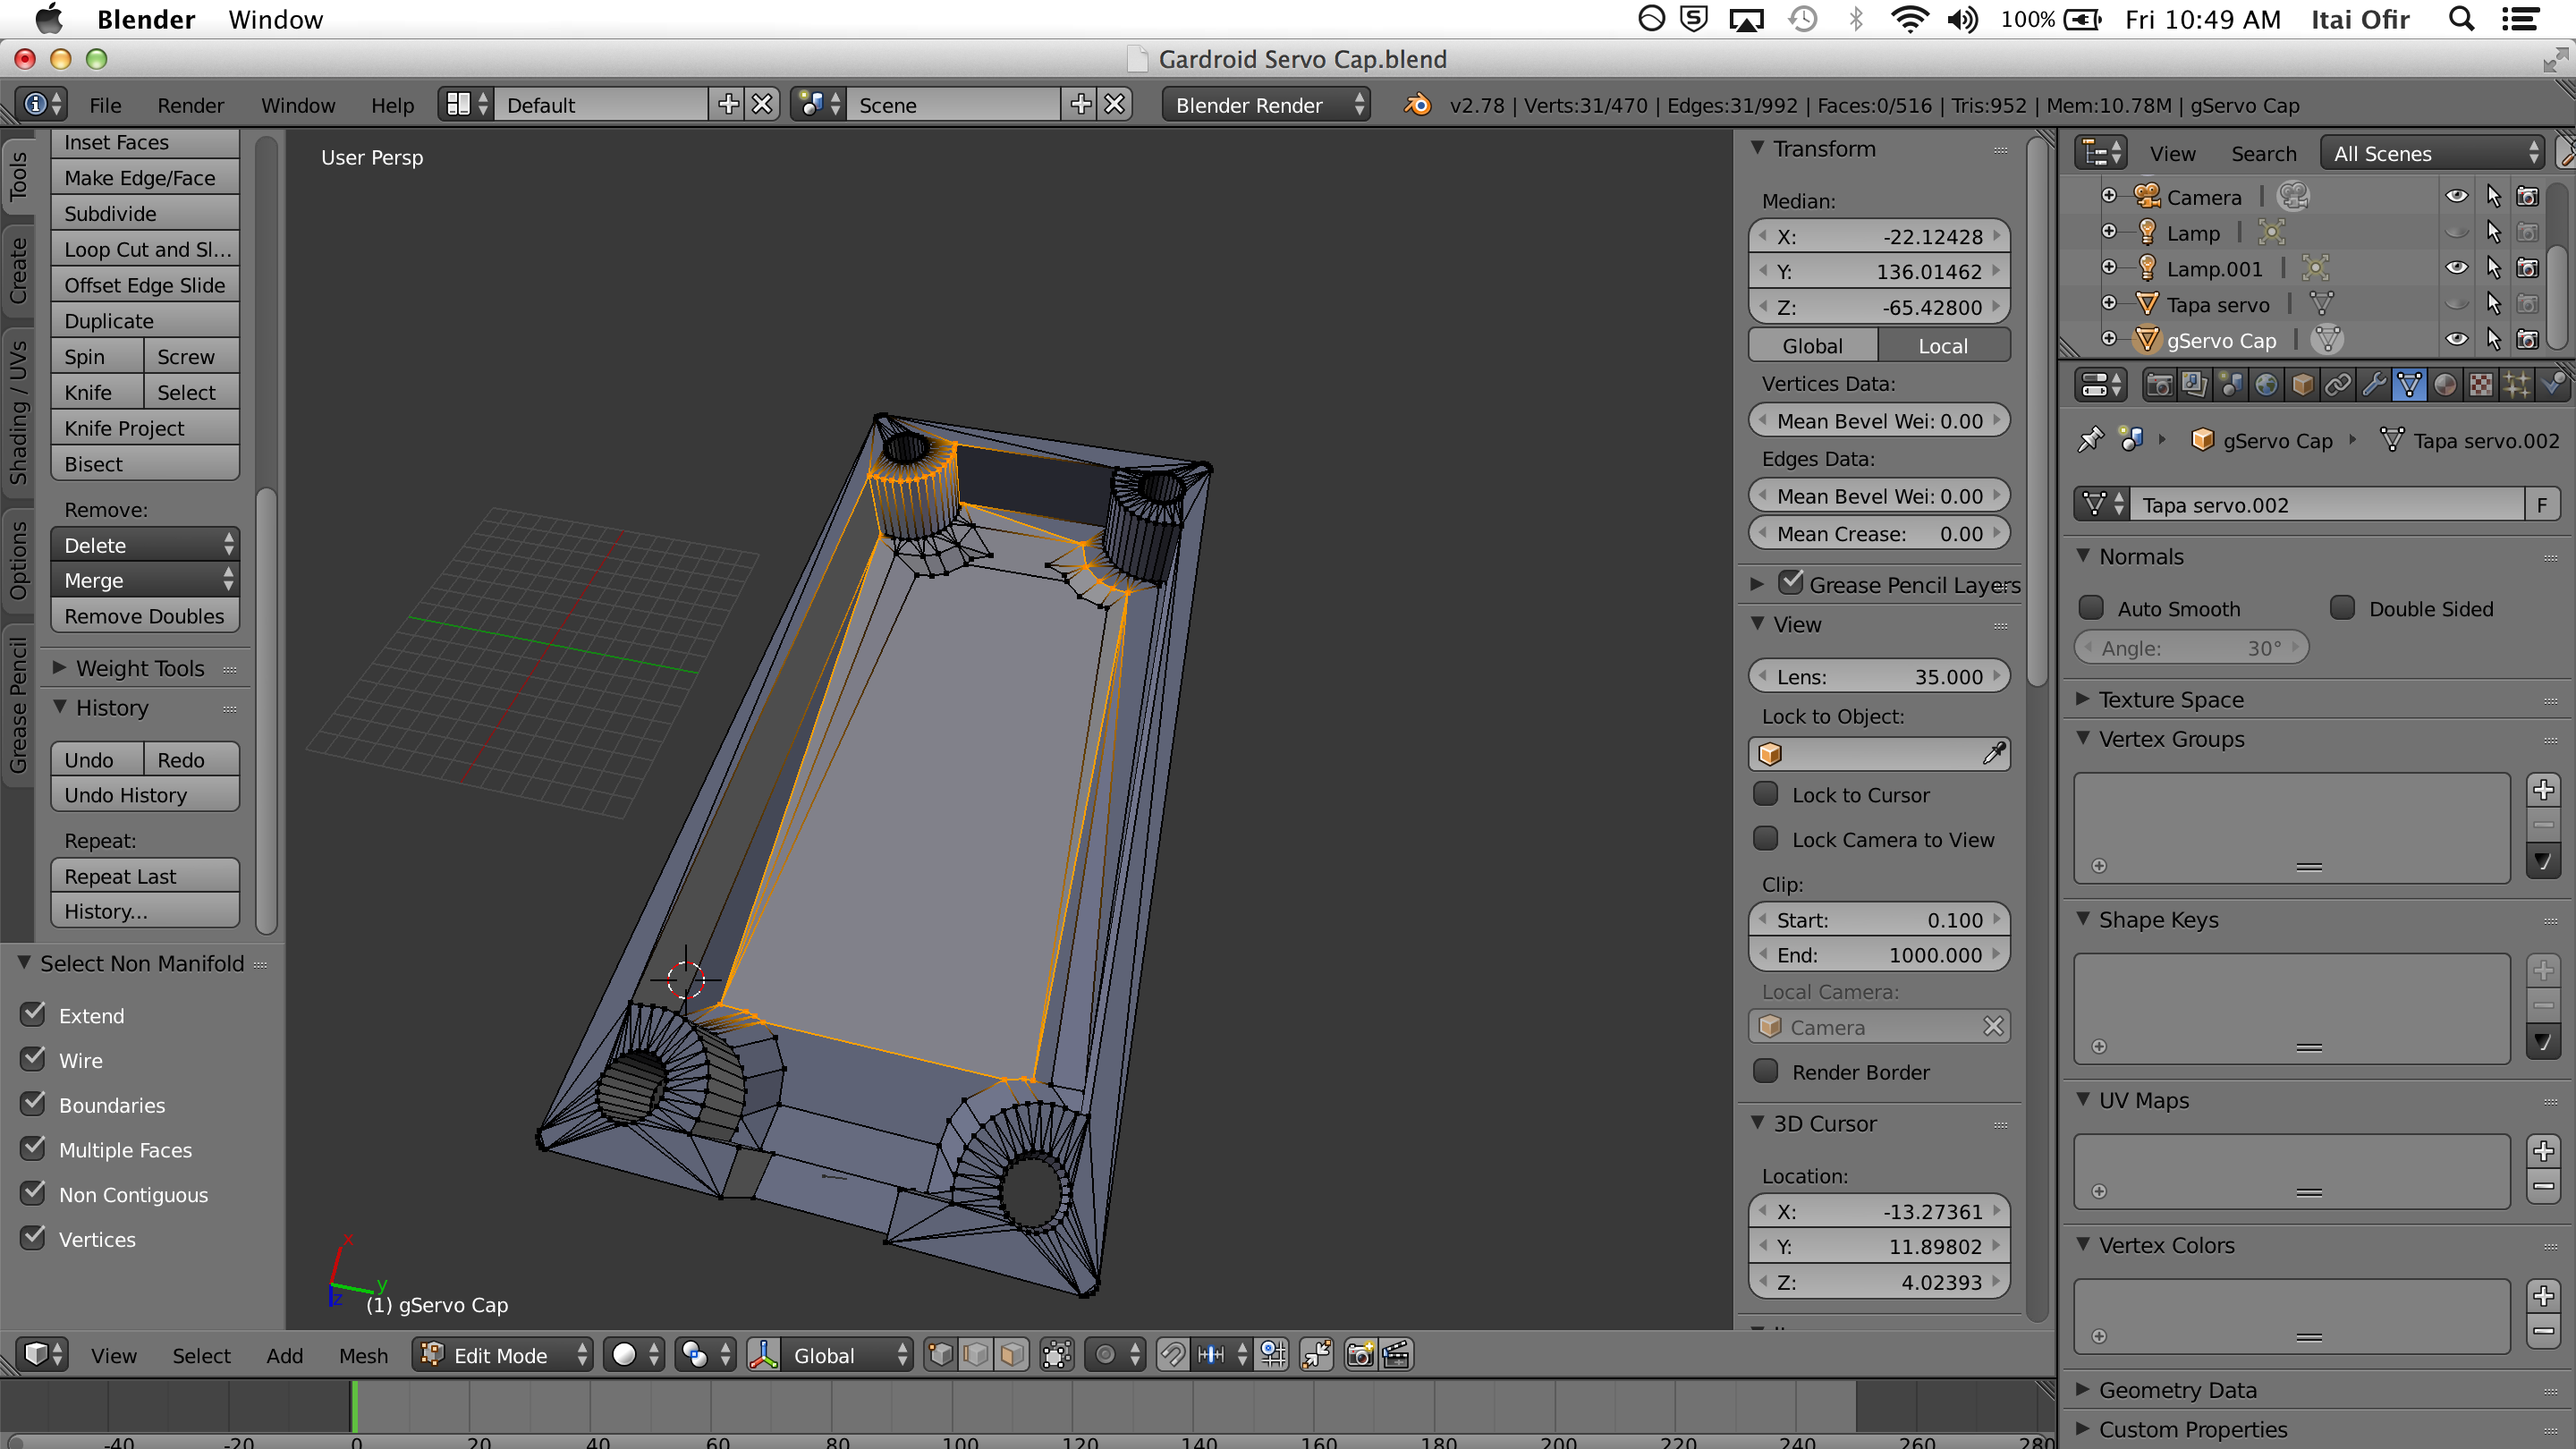


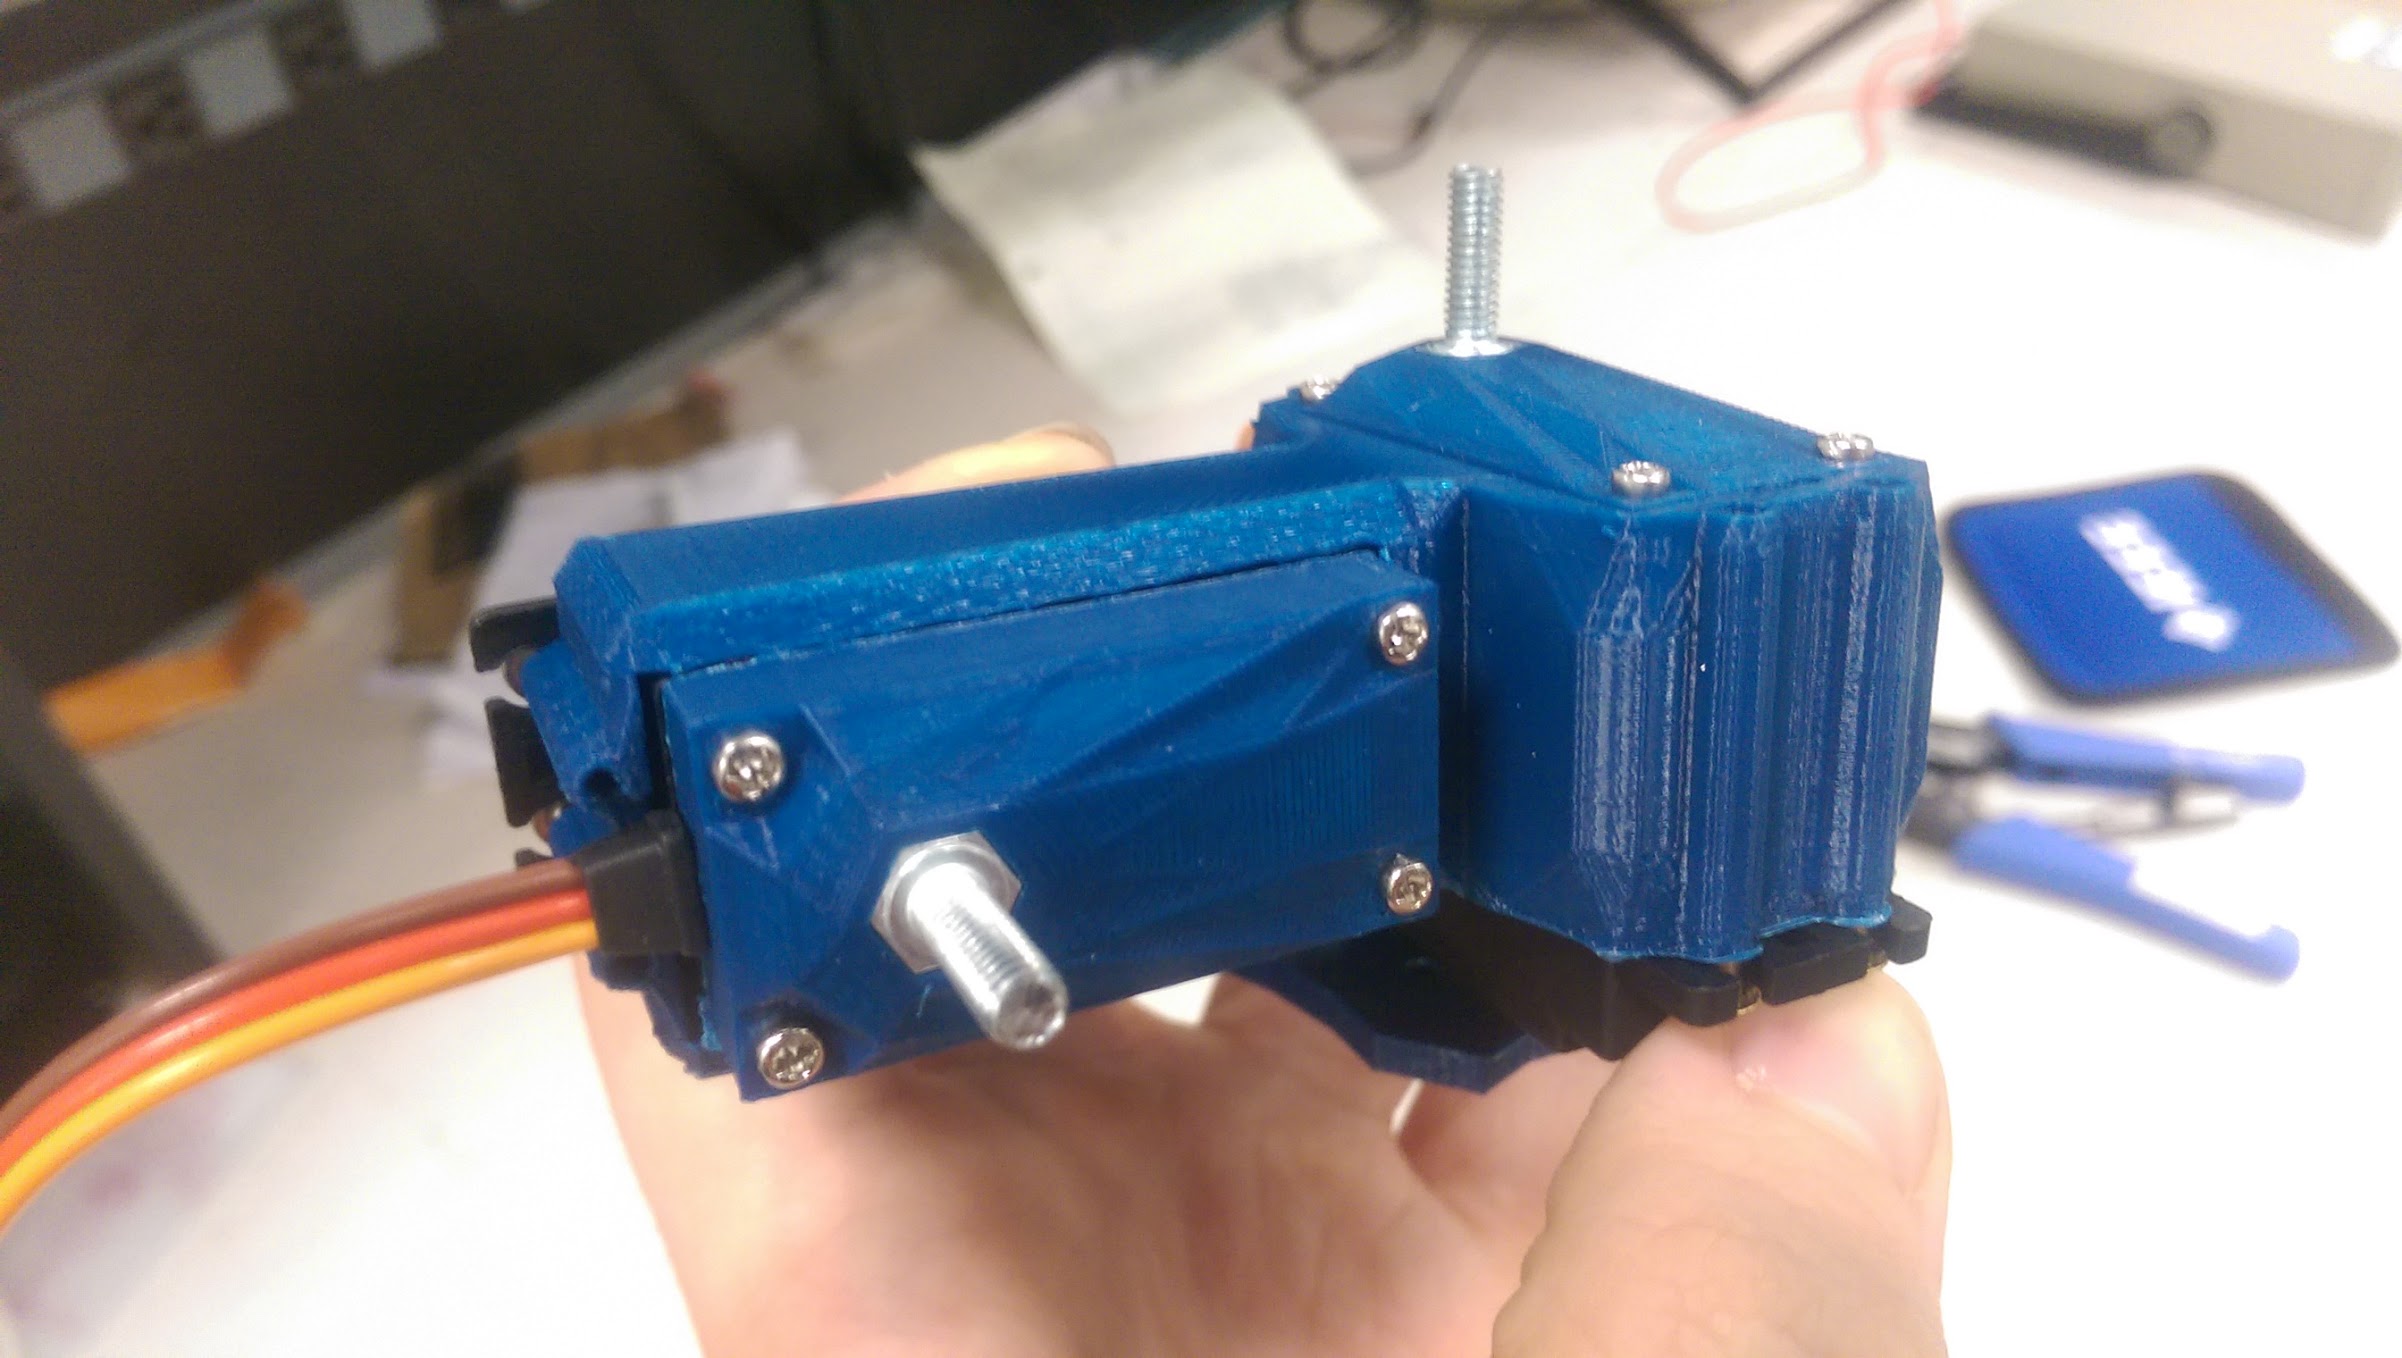
Servo Caps
The smallest piece we designed, a servo cap is meant to replace the backside of the housing of a servo motor. The servo cap has a hexagonal hole that fits the head of an M4 size hex-bolt, which acts as an axel for pivoting around the motor.
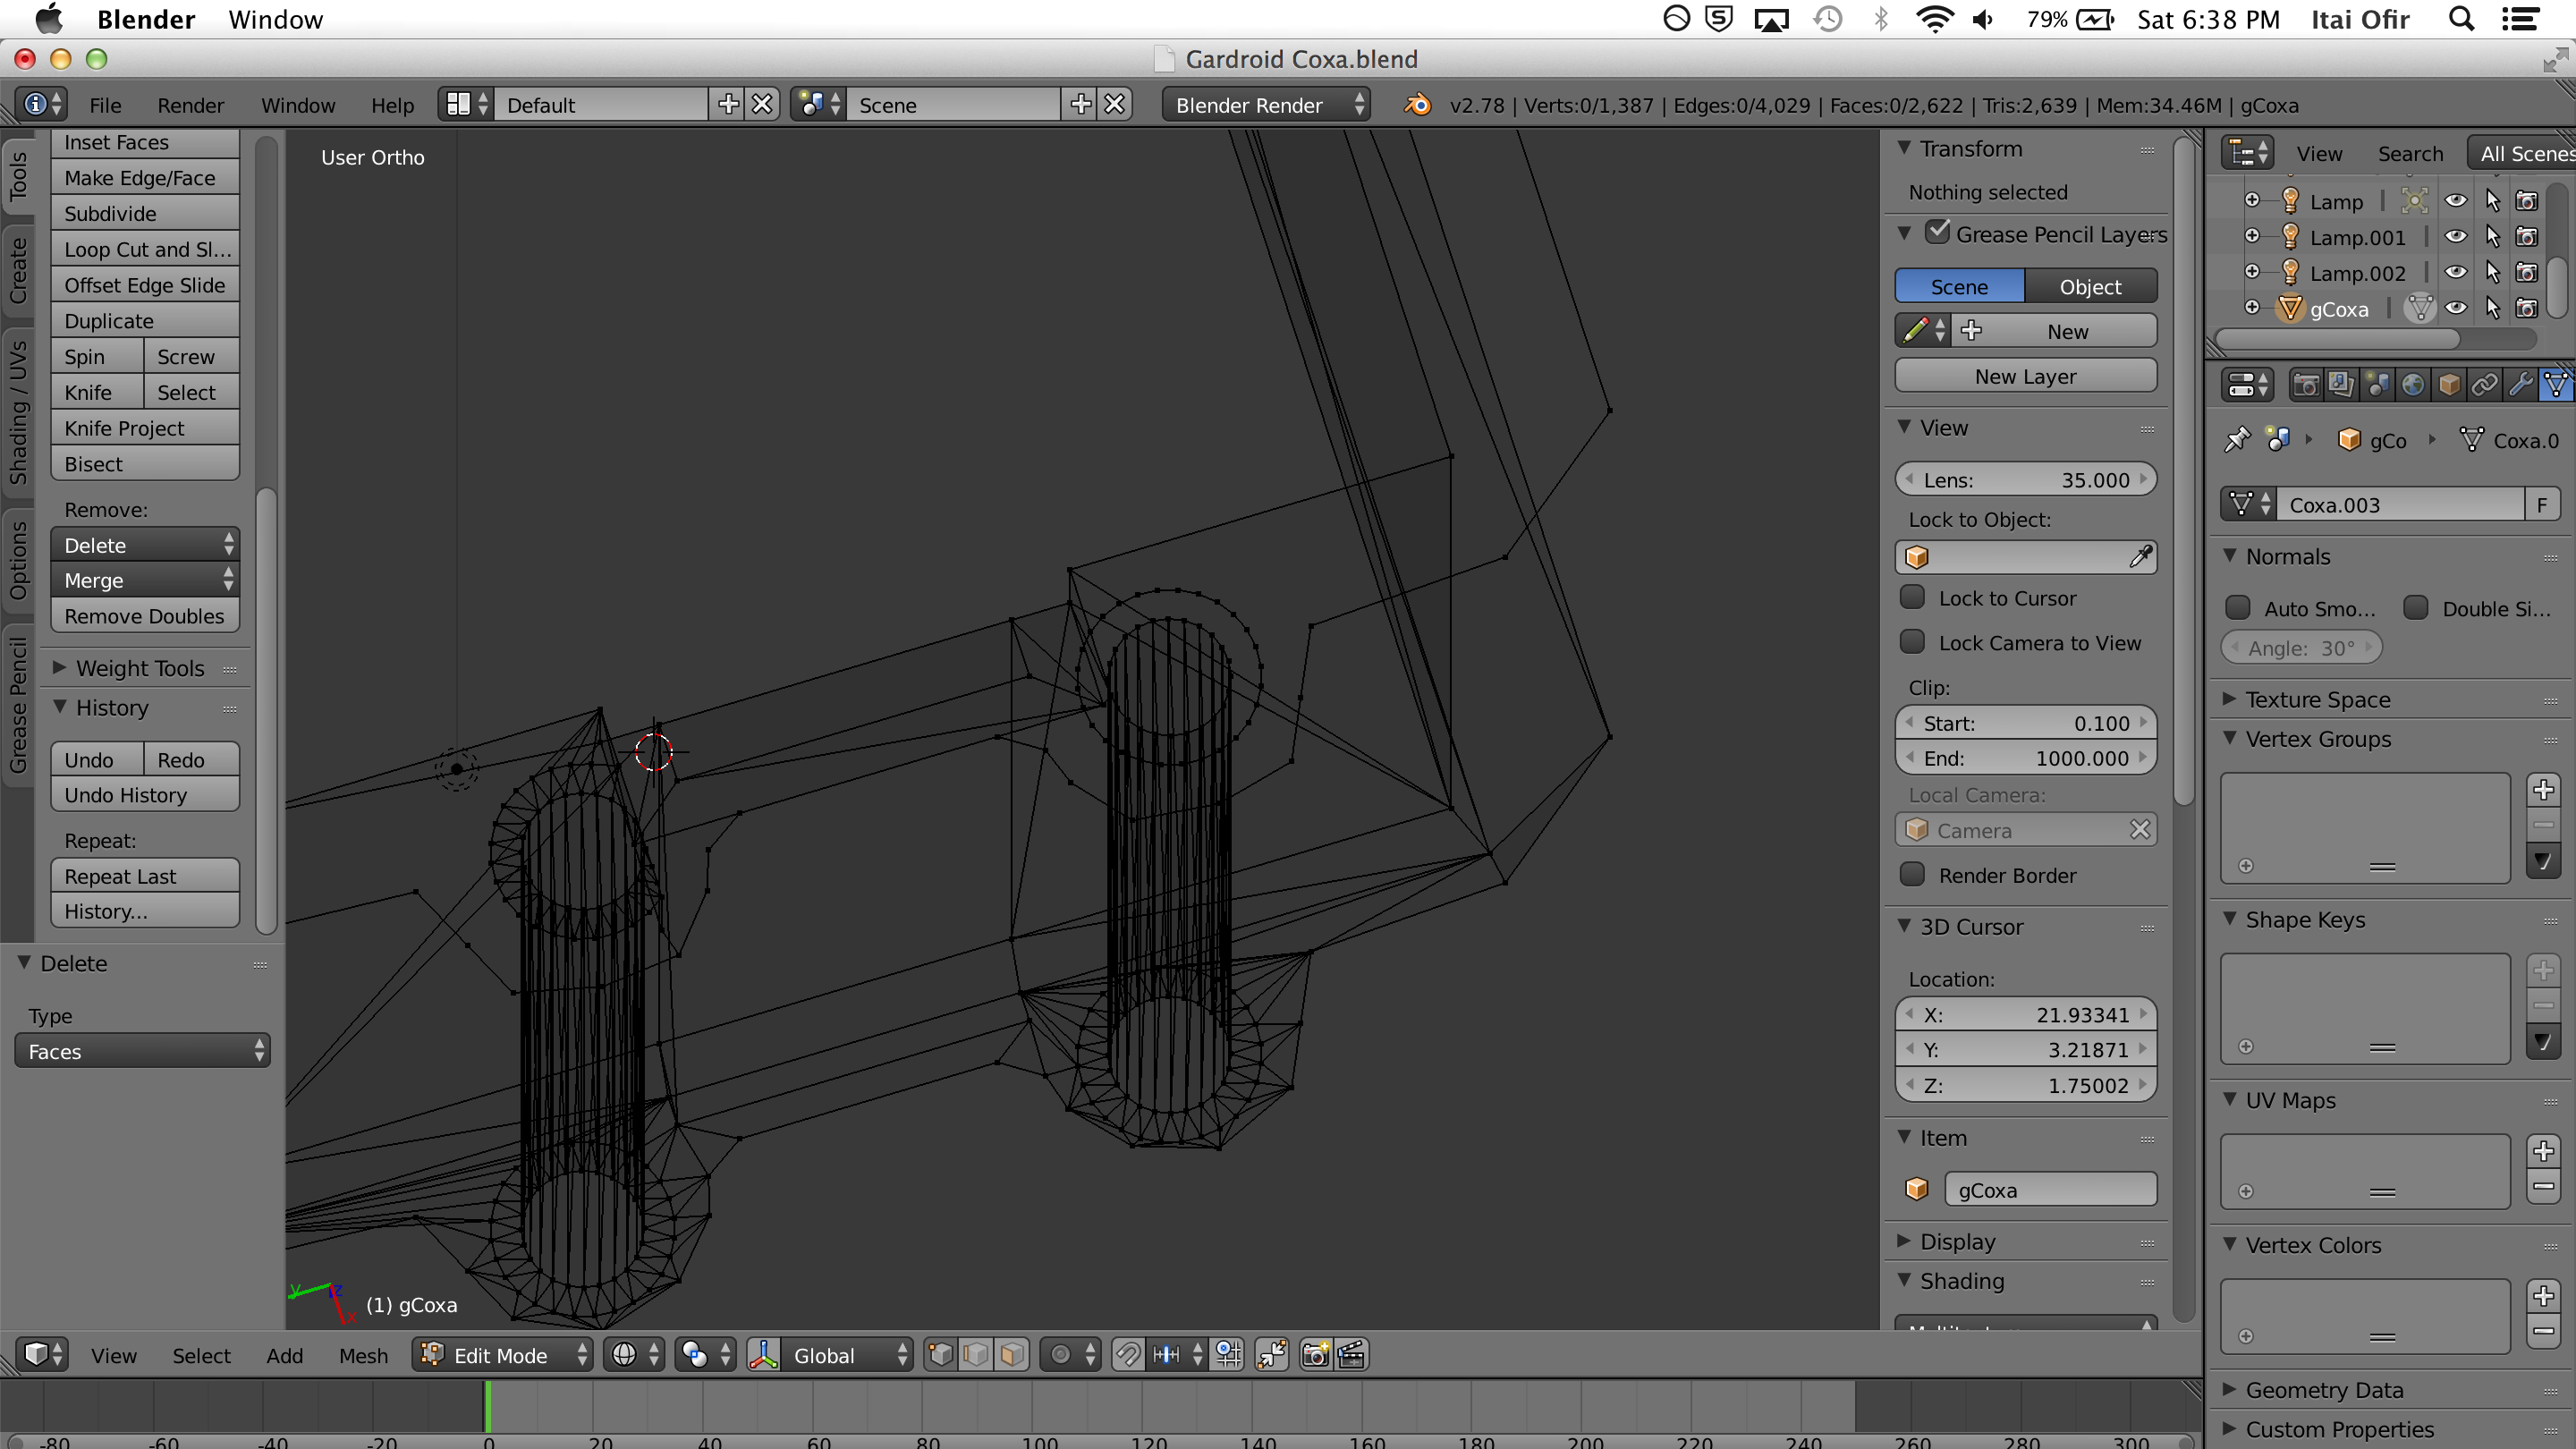
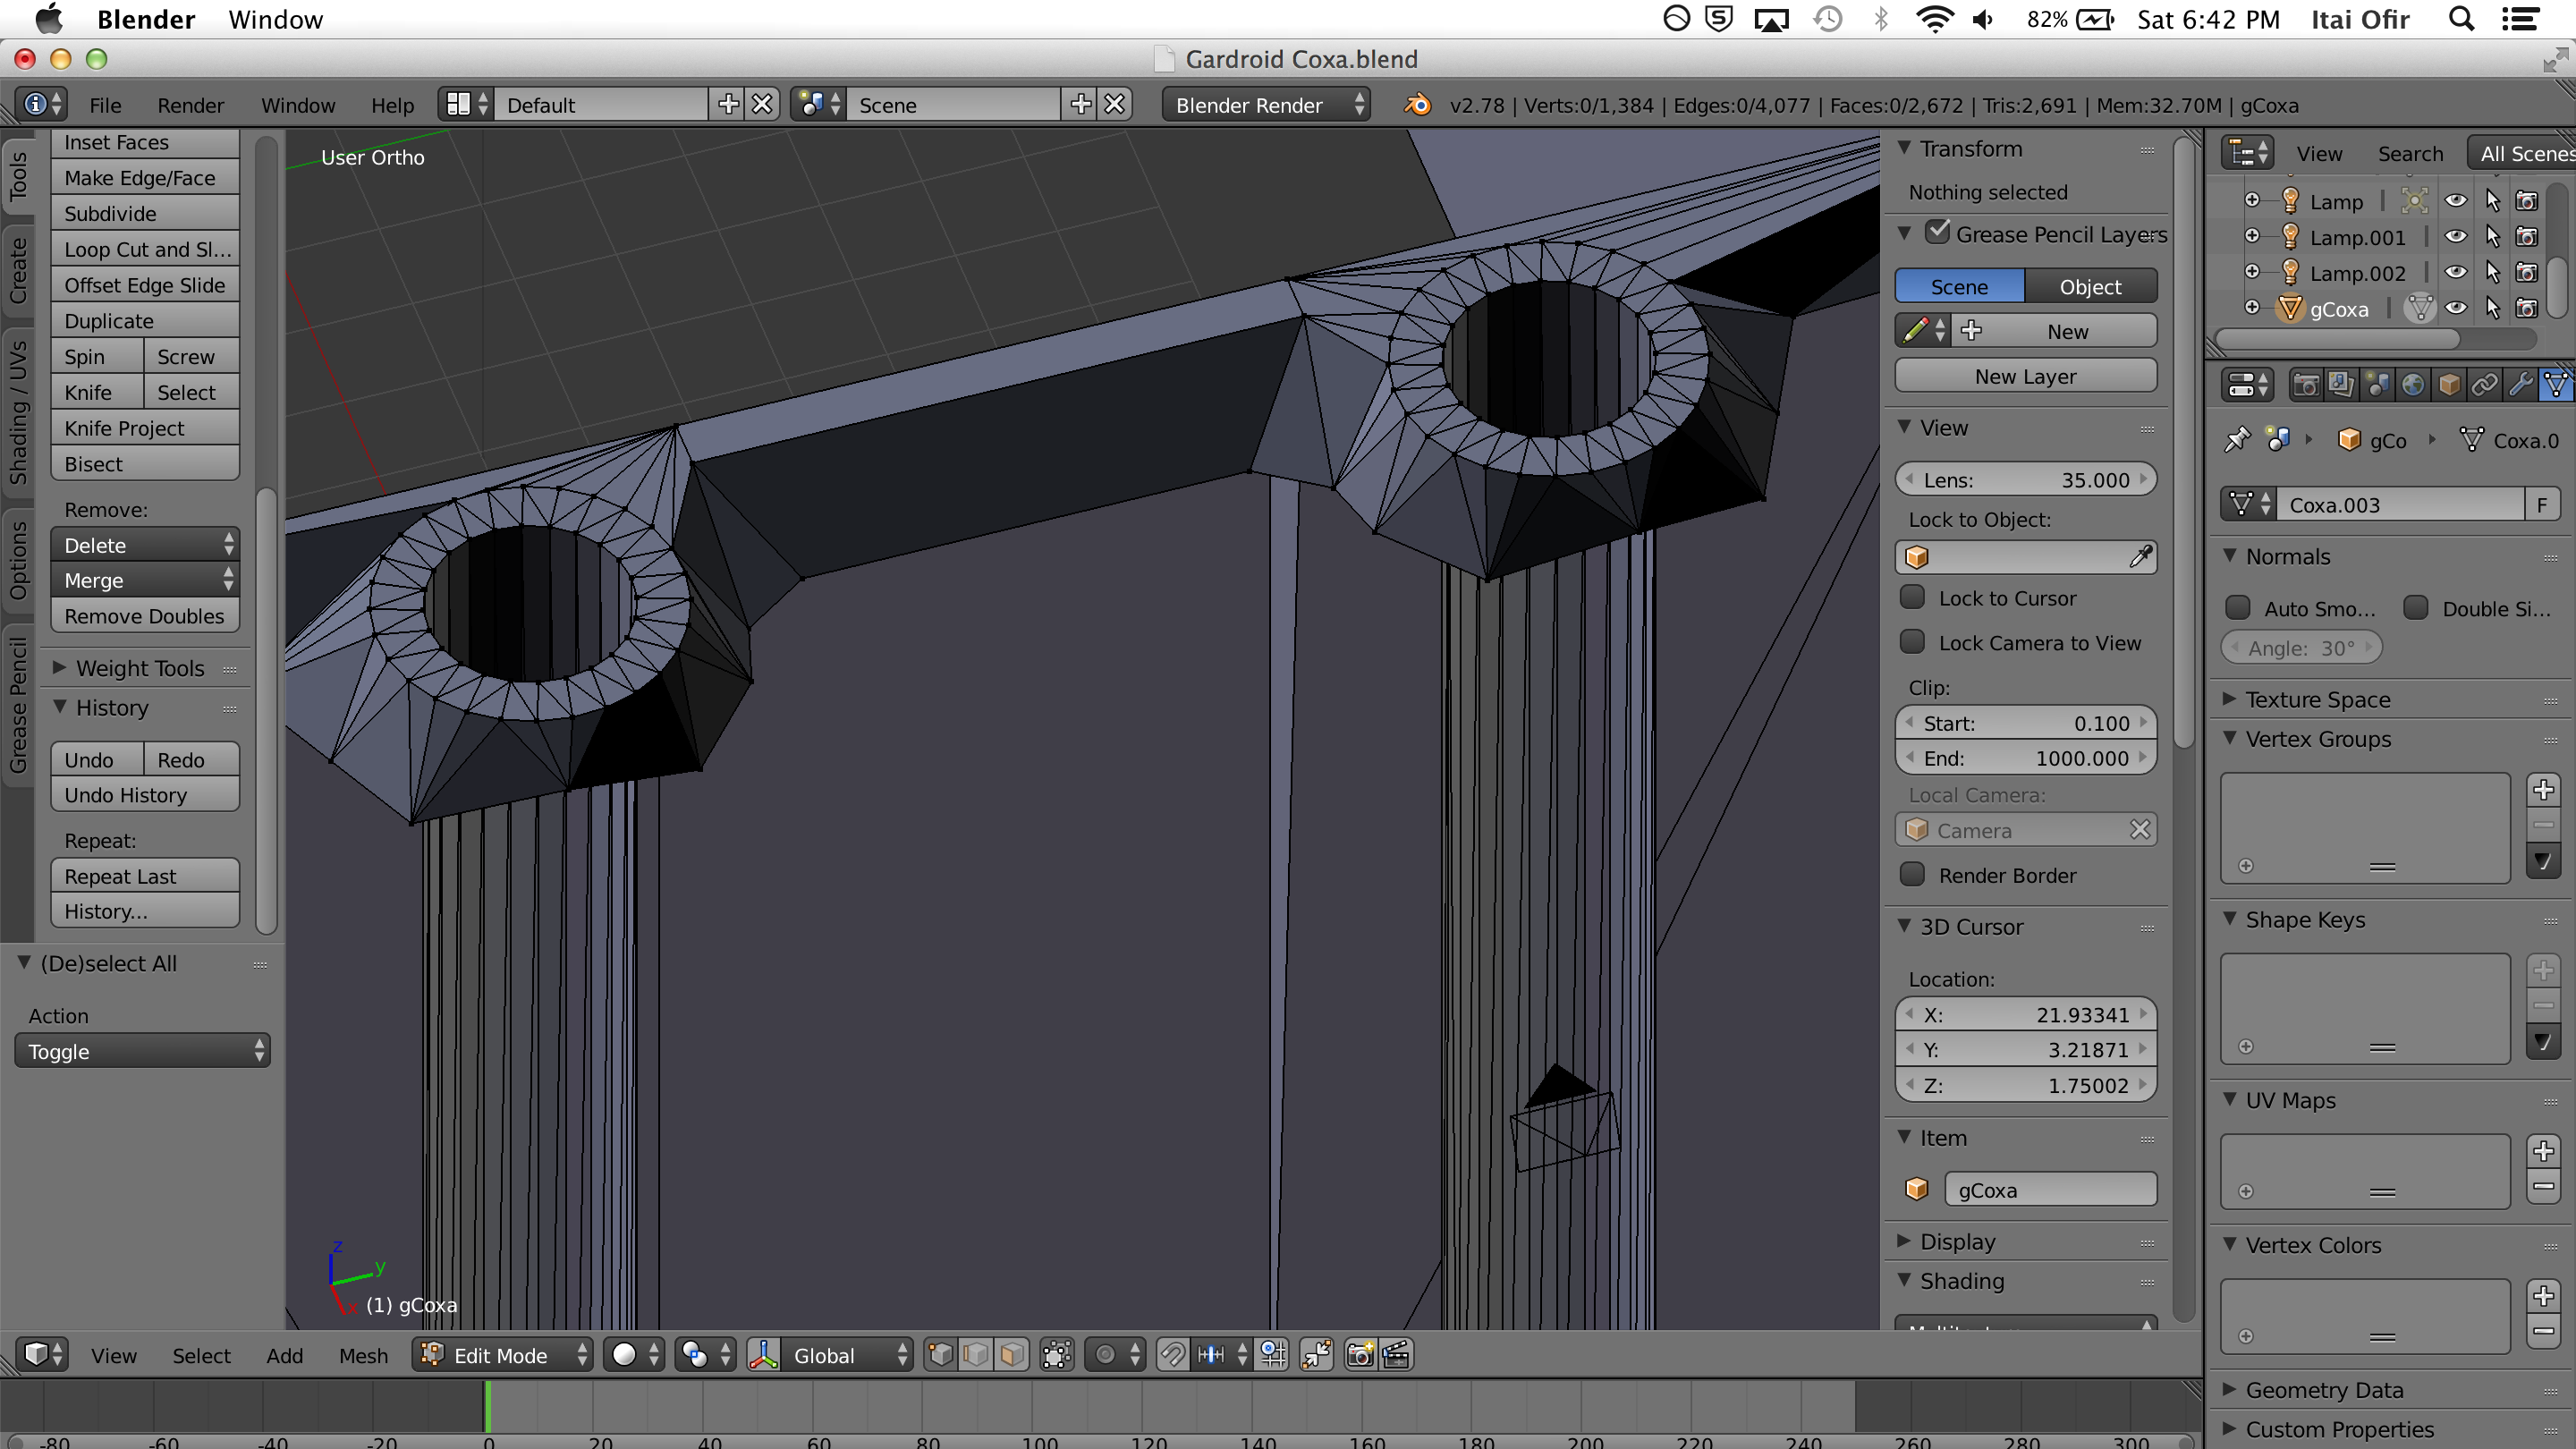
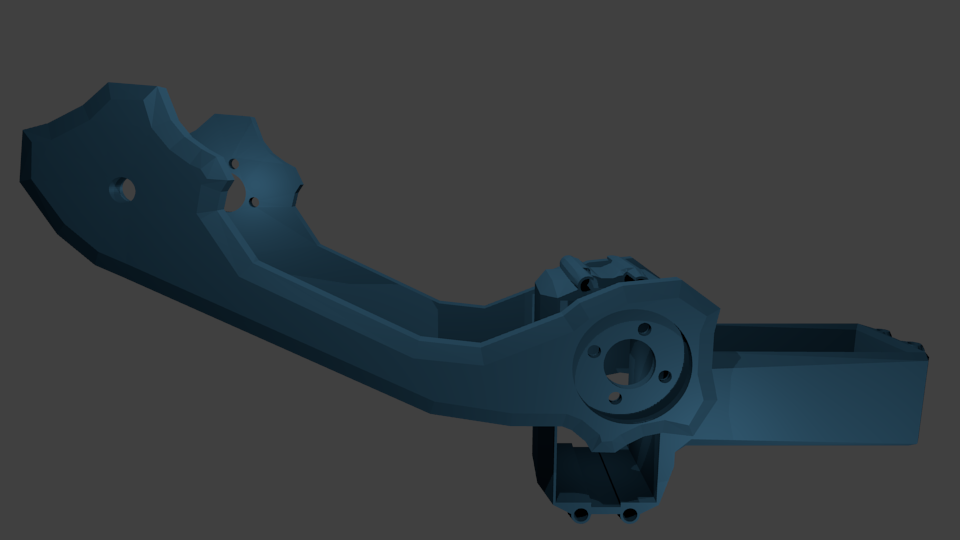
Coxa
This joint is the closest of each leg to the body; it houses two servos at right angles to each other, allowing the leg to pivot at the point of contact to the body both horizontaly and vertically.
Designing the femurs begins with a 2D drawing that is then extruded to hold volume
After the 2D edges are extruded to form walls, the top and bottom faces are bridged
A rendering of the finished femurs, with a mirrored version for each side of the leg
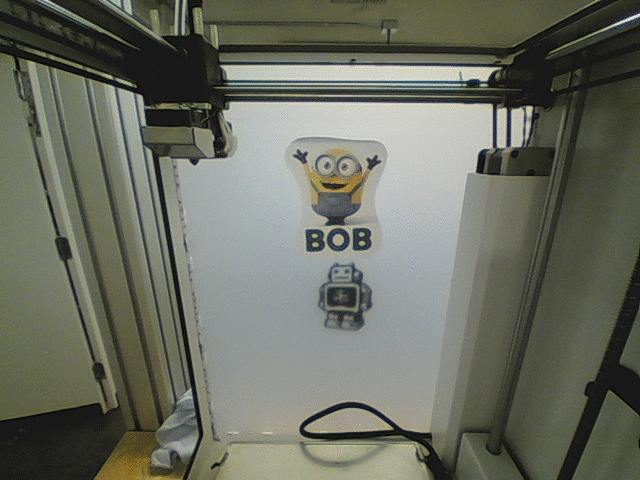
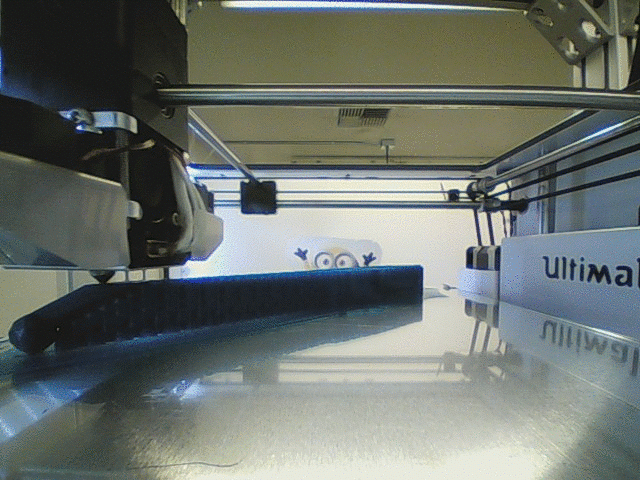
A femur printing at the Engineering Fabrication Lab
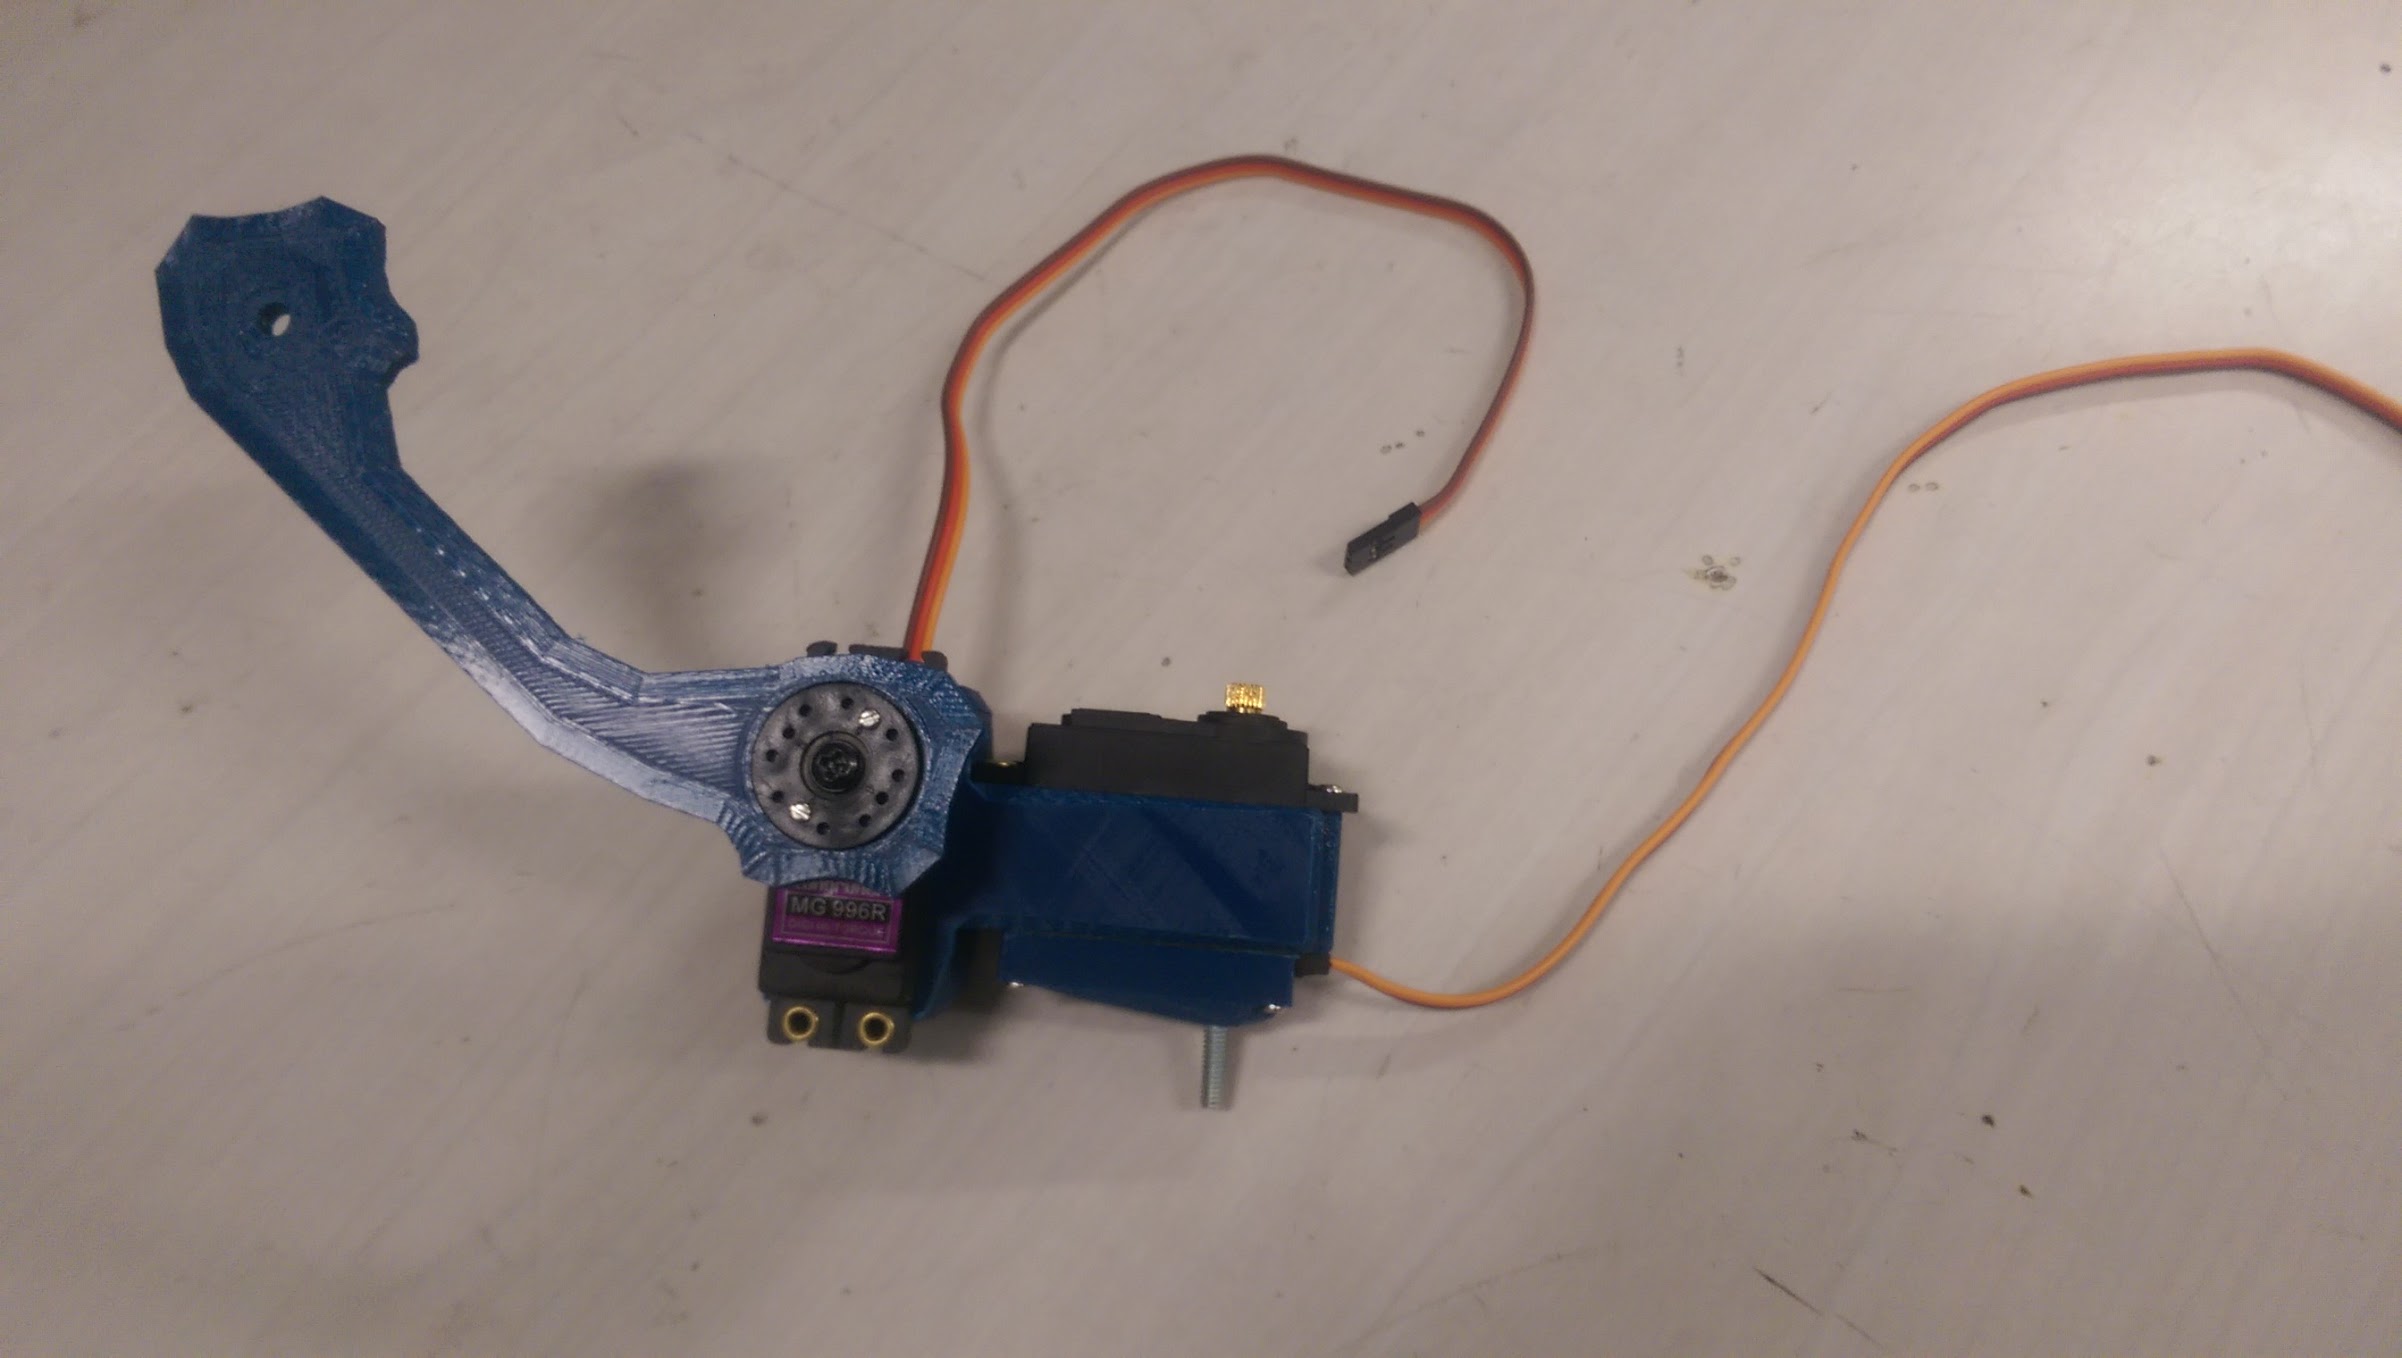
The printed femur assembled to the coxa
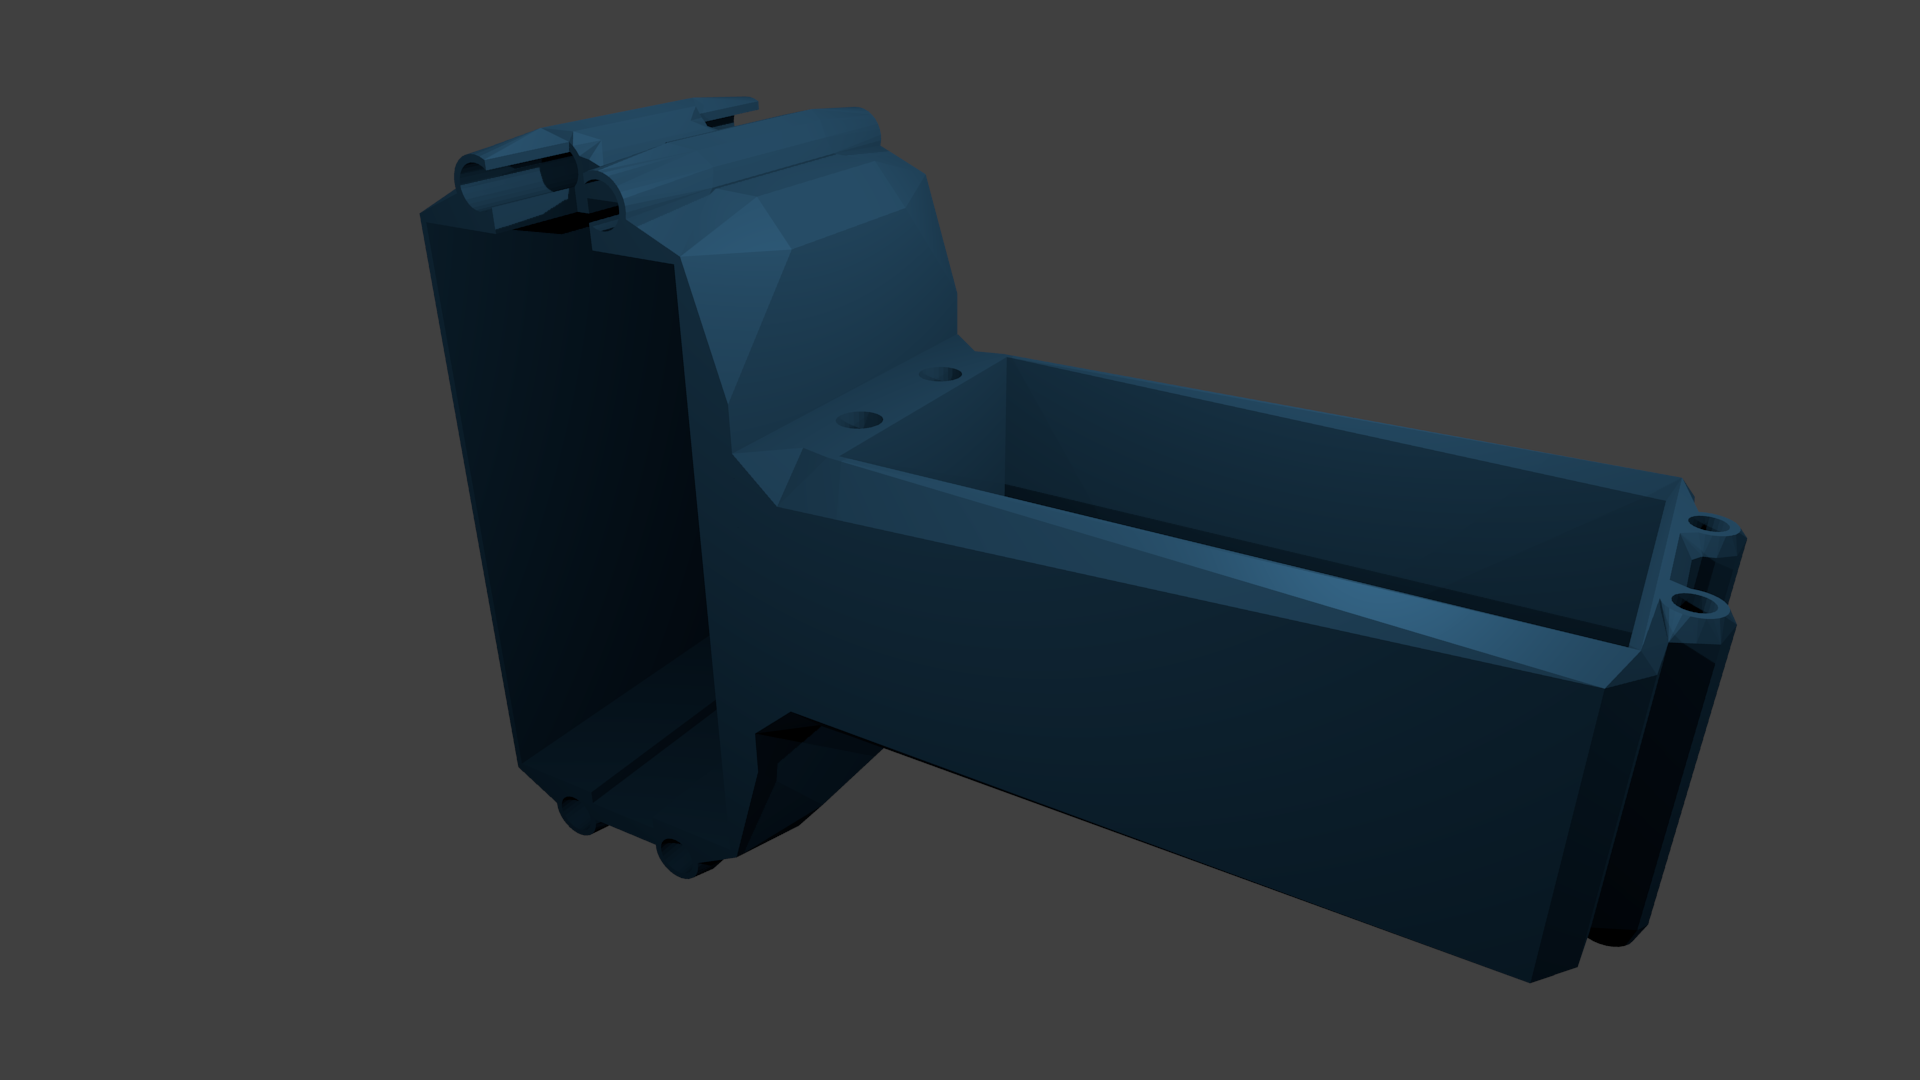
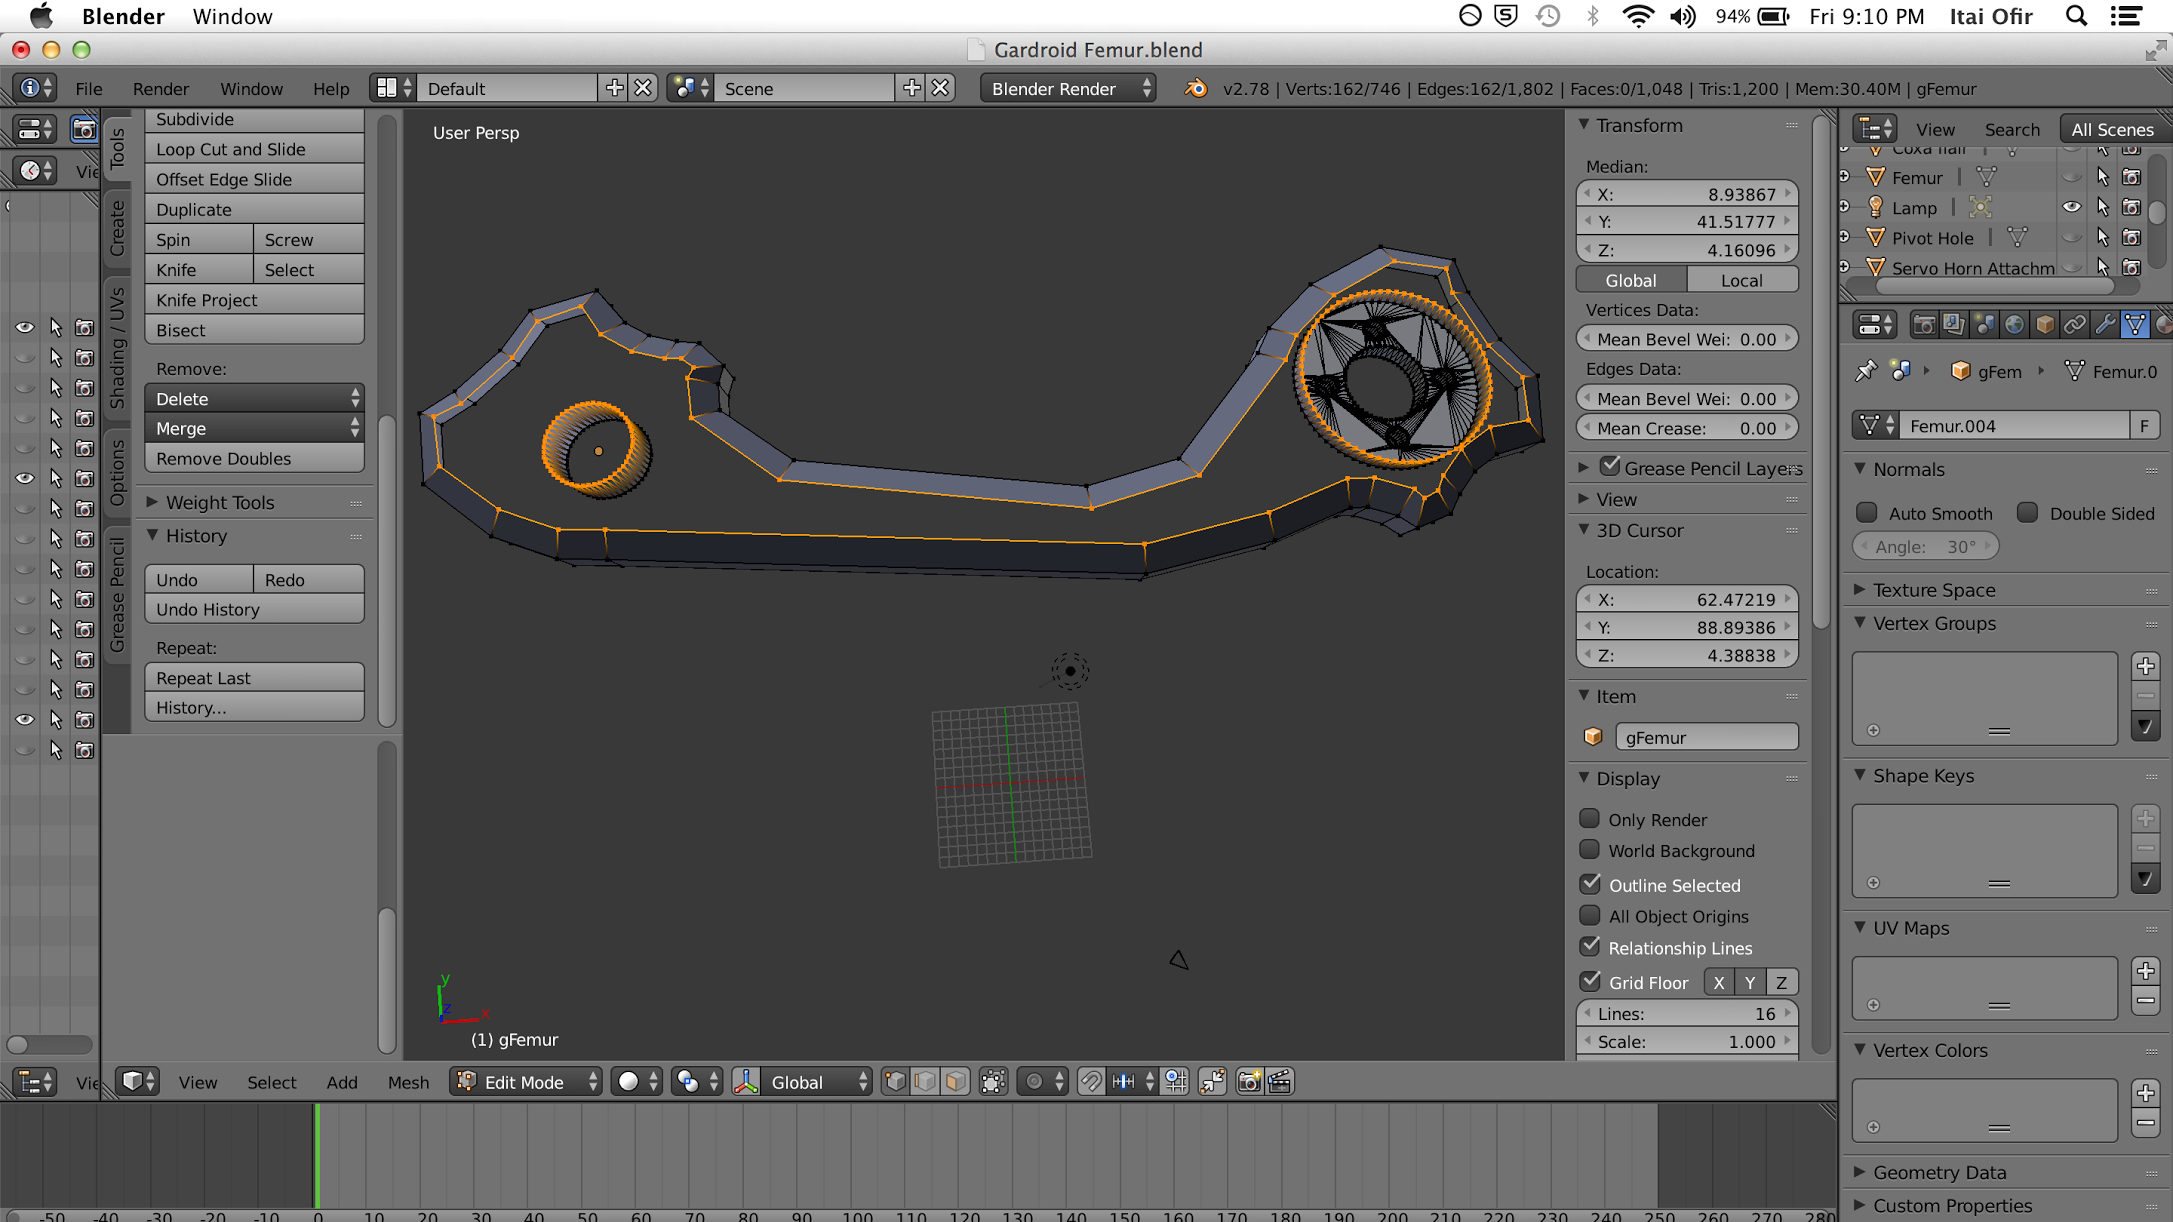
Femur
The femurs form the middle section of the leg, connecting to a servo motor at each end. The end that connects tot he coxa allows the leg as a whole to pivot vertically, and the end that connects to the tibia enables the leg to reach outwards and inwards.
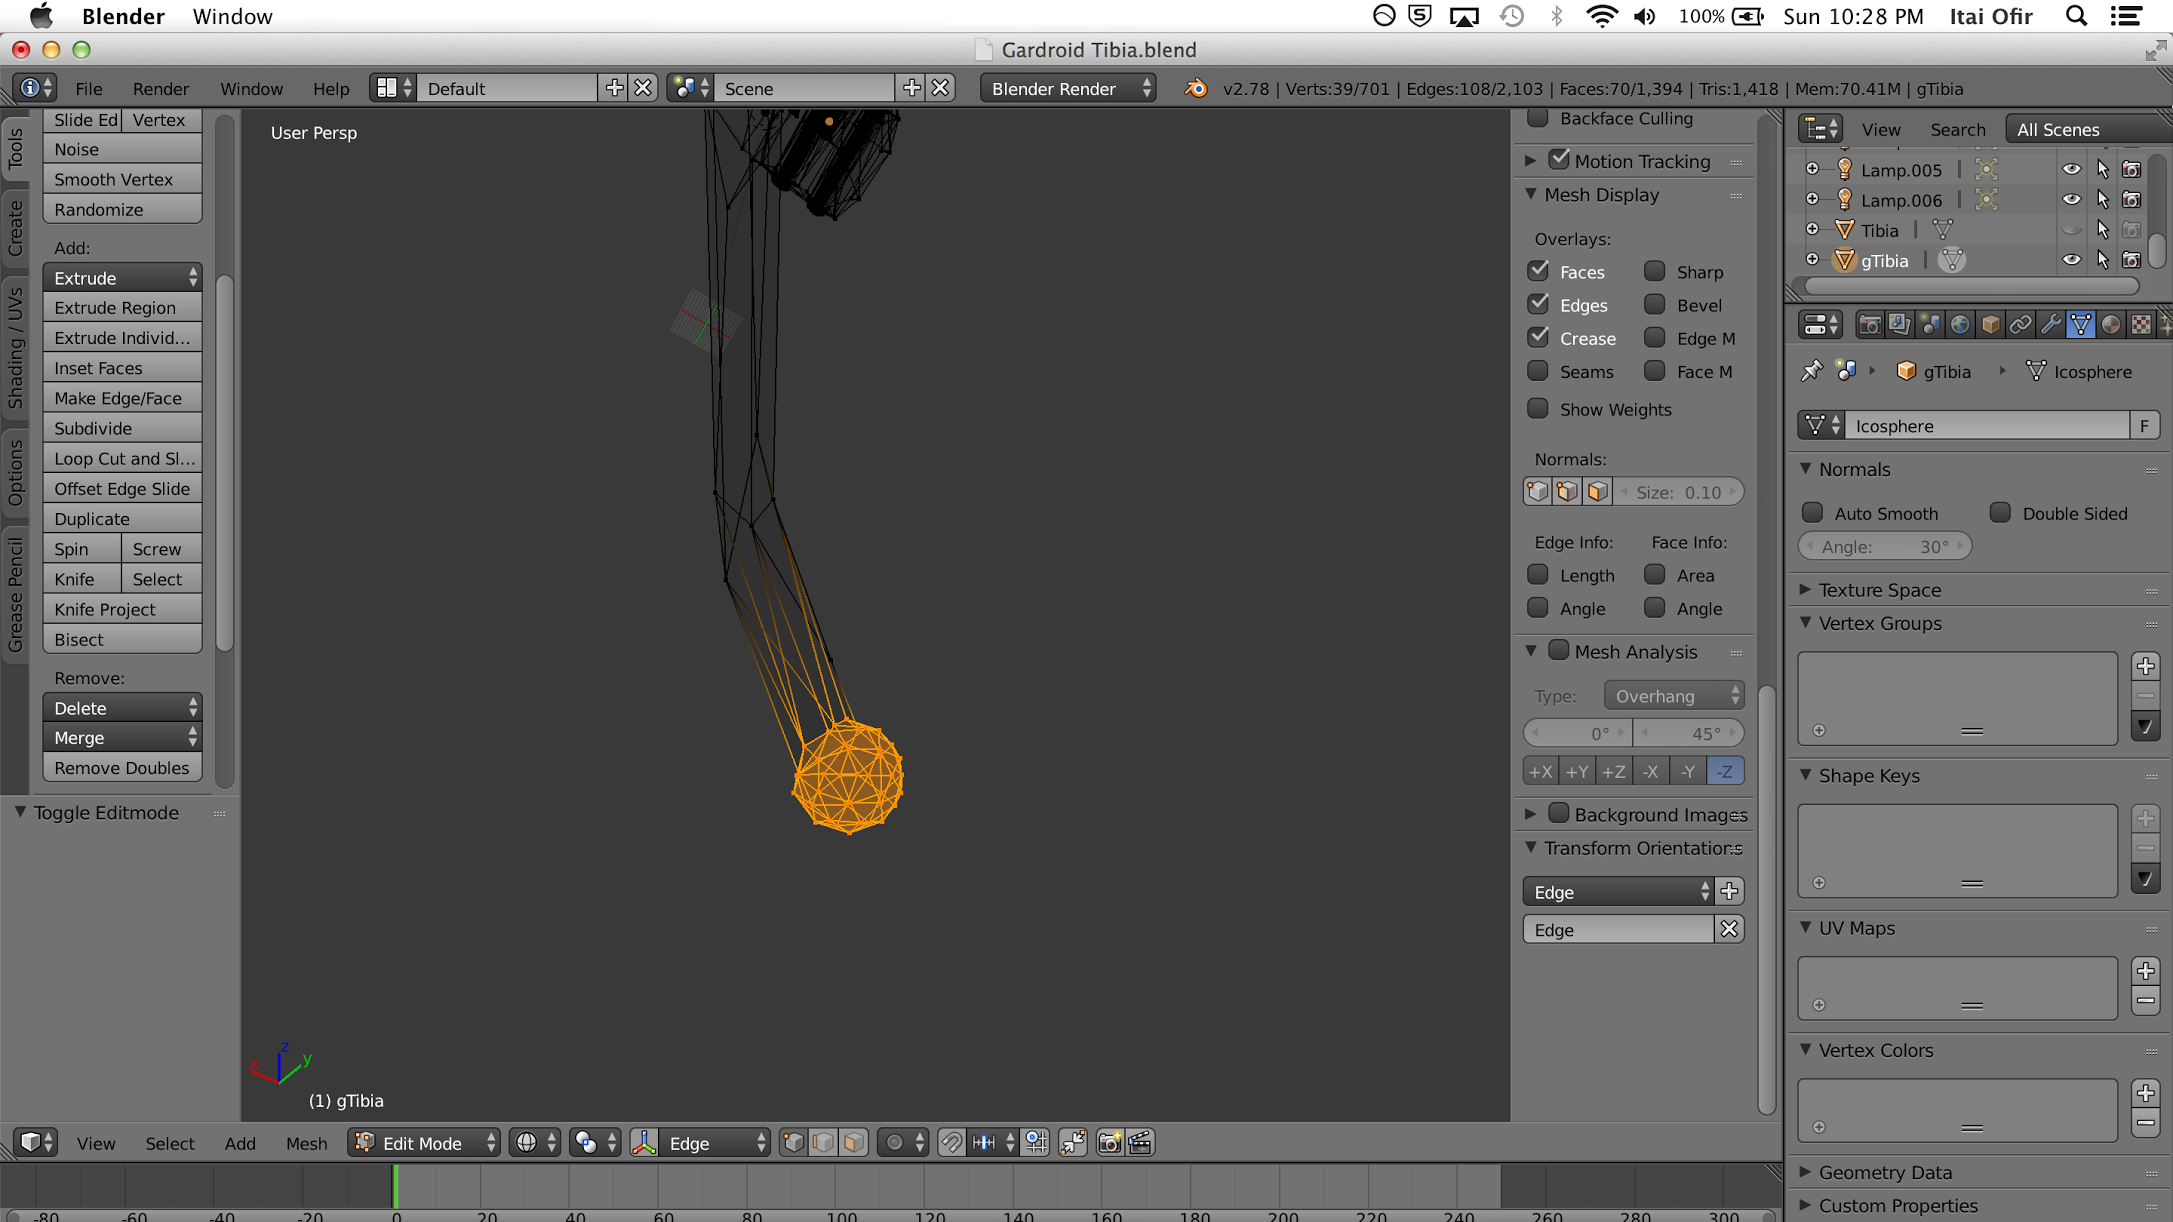
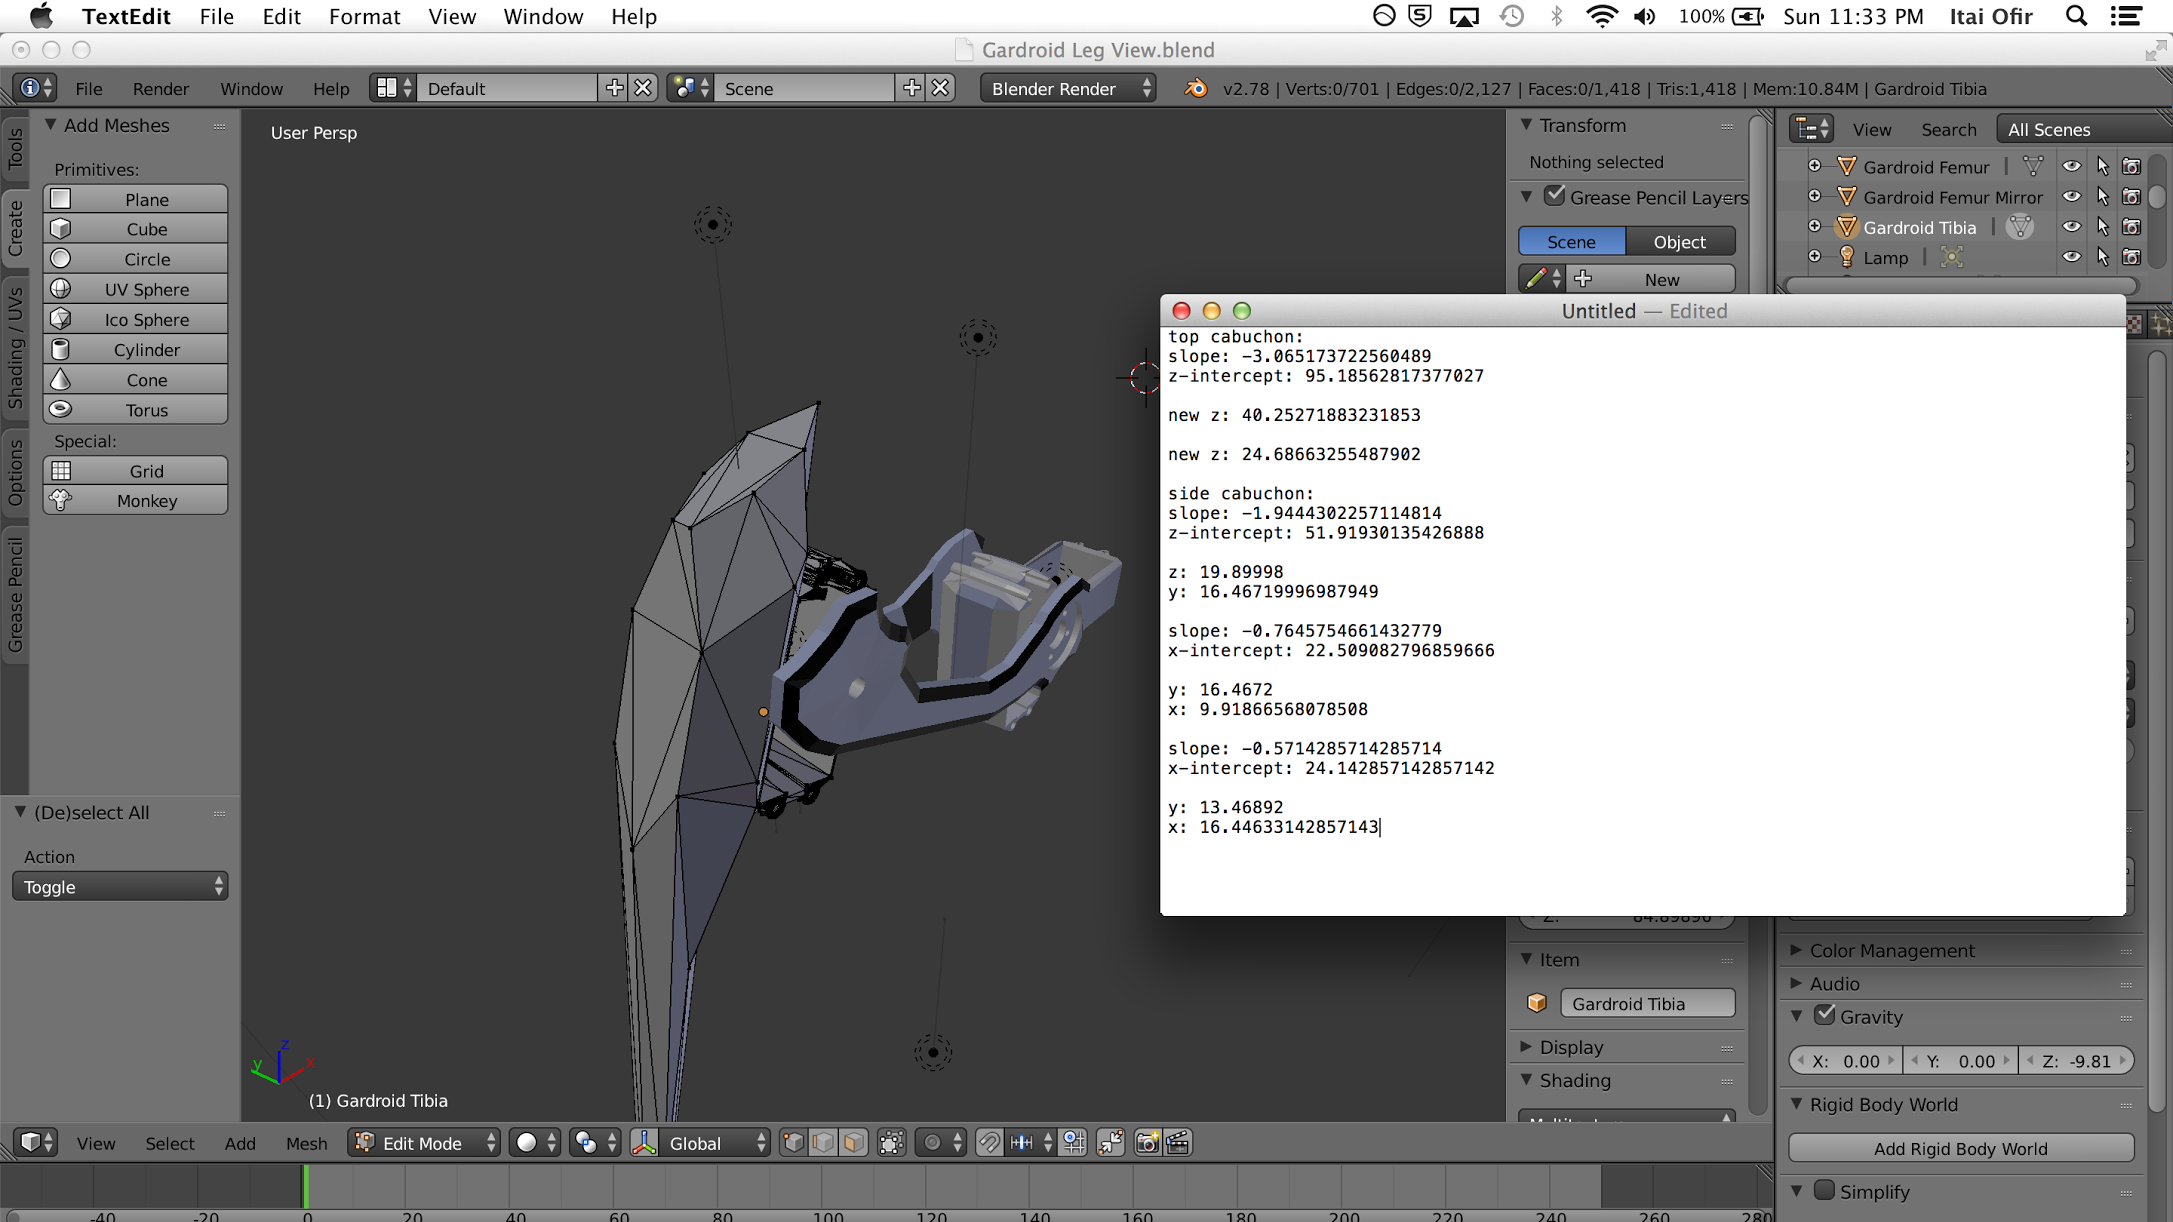
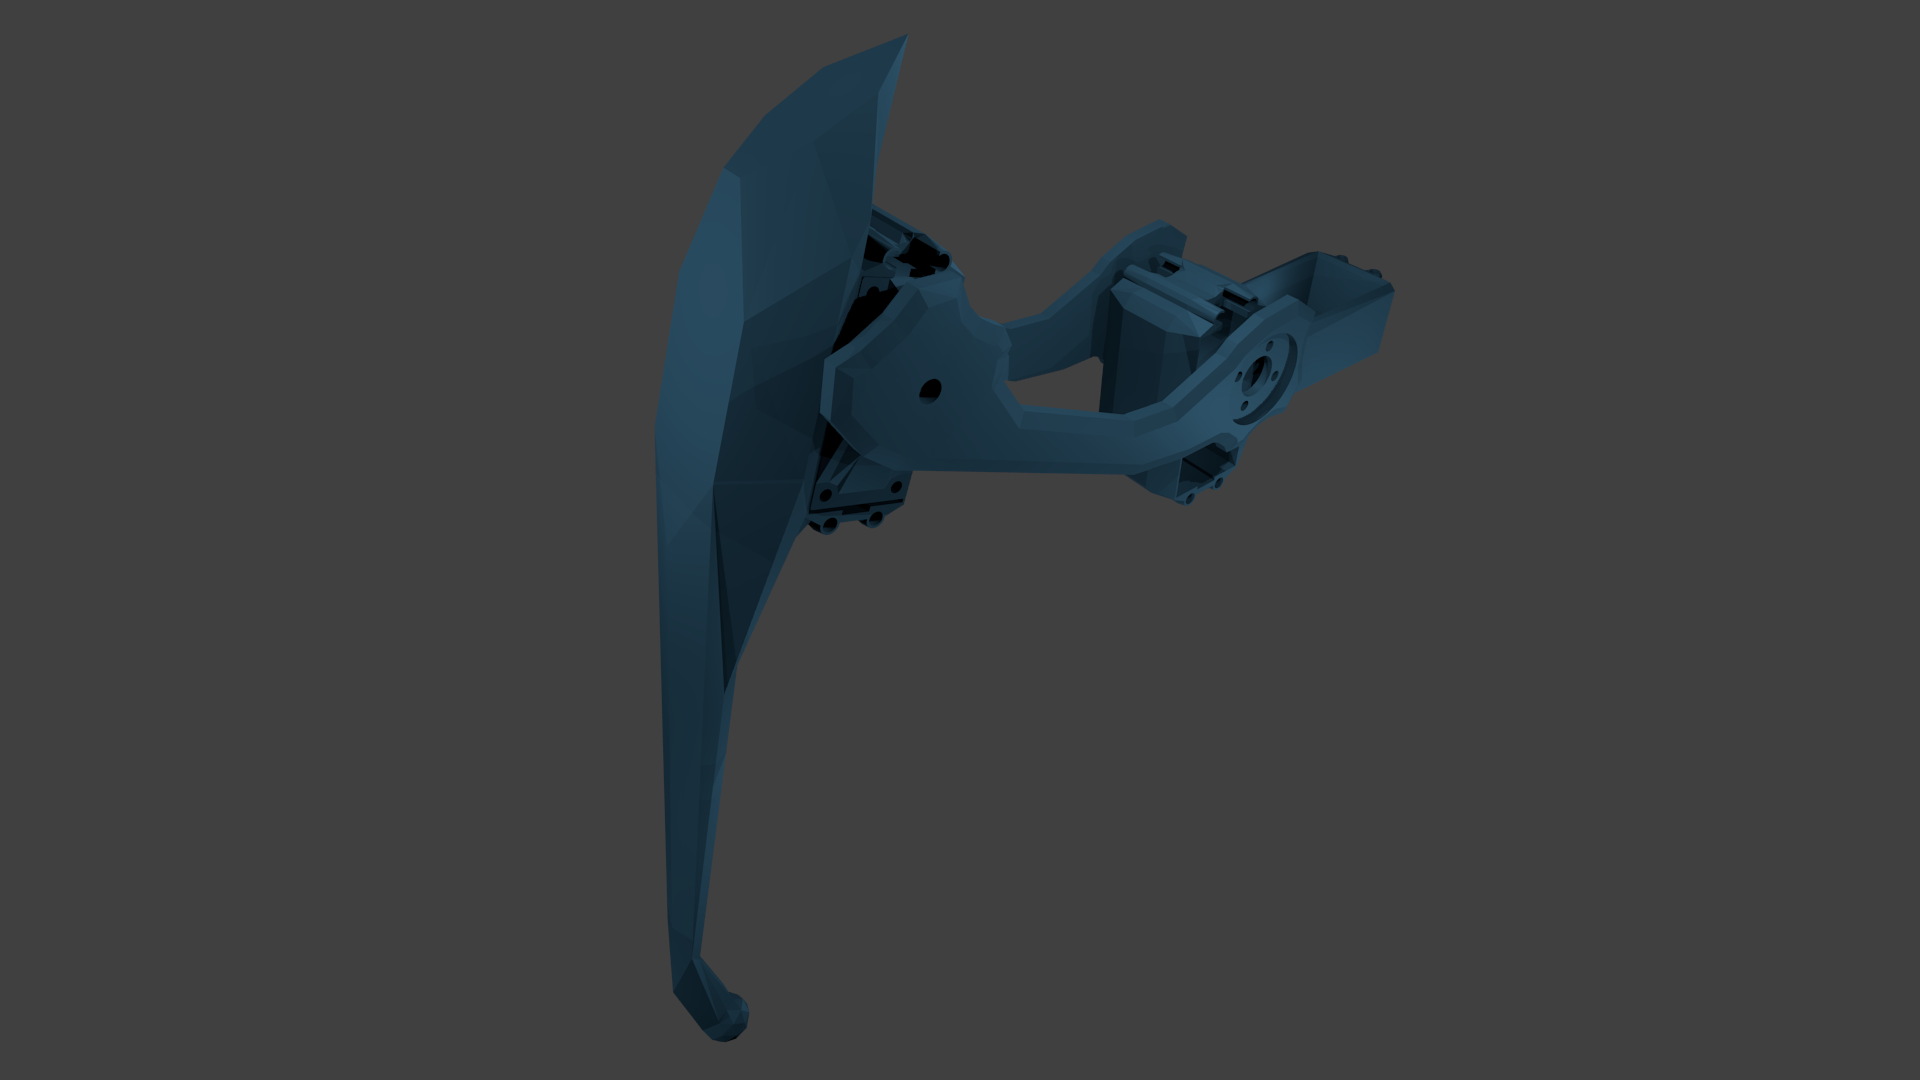
Tibia
The tibia is the end of the leg; the segment that makes direct contact with the gorund. The top of the tibia houses a servo so that the leg can pivot inwards and outwards. We designed the bottom of the tibia as an icosphere so that the footprint will not have trouble touching the ground at different angles.
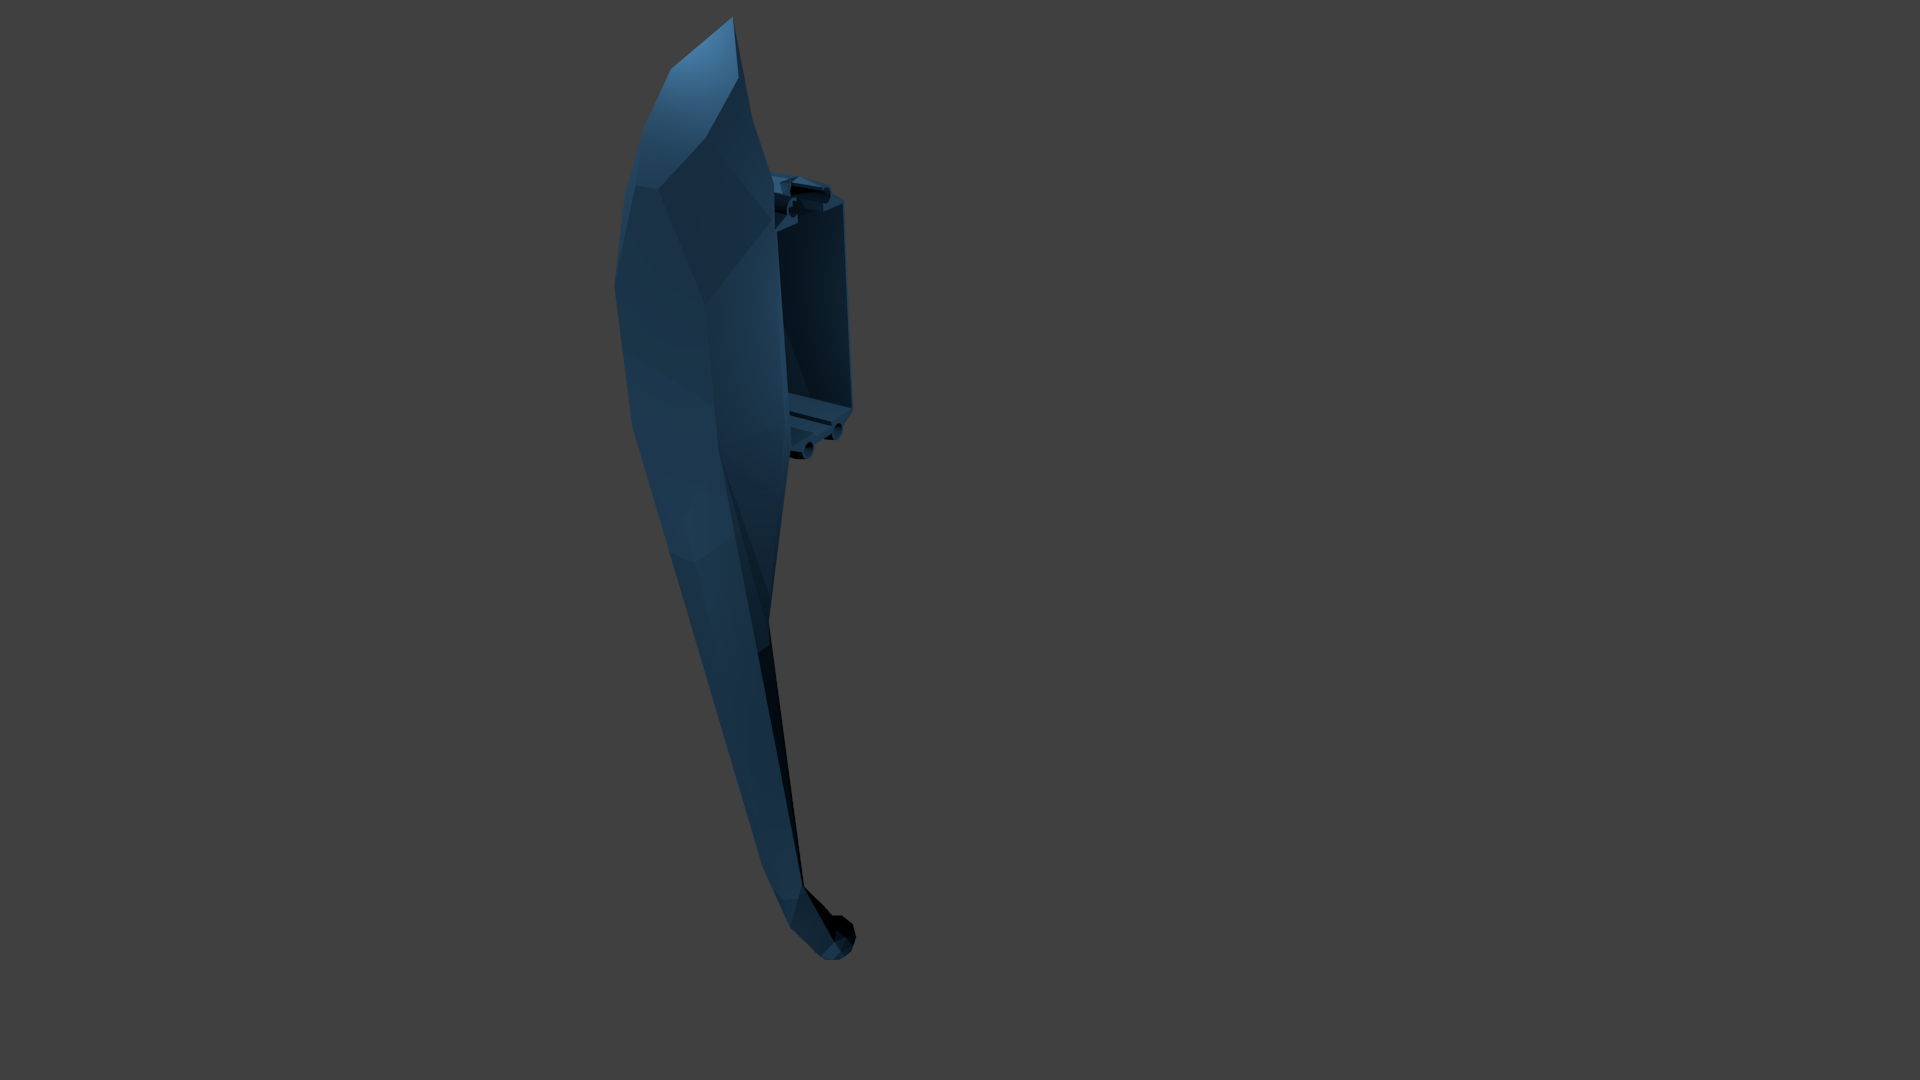
Both pieces are symmetric in size and silhouette, except for some slight differences in mounting holes.
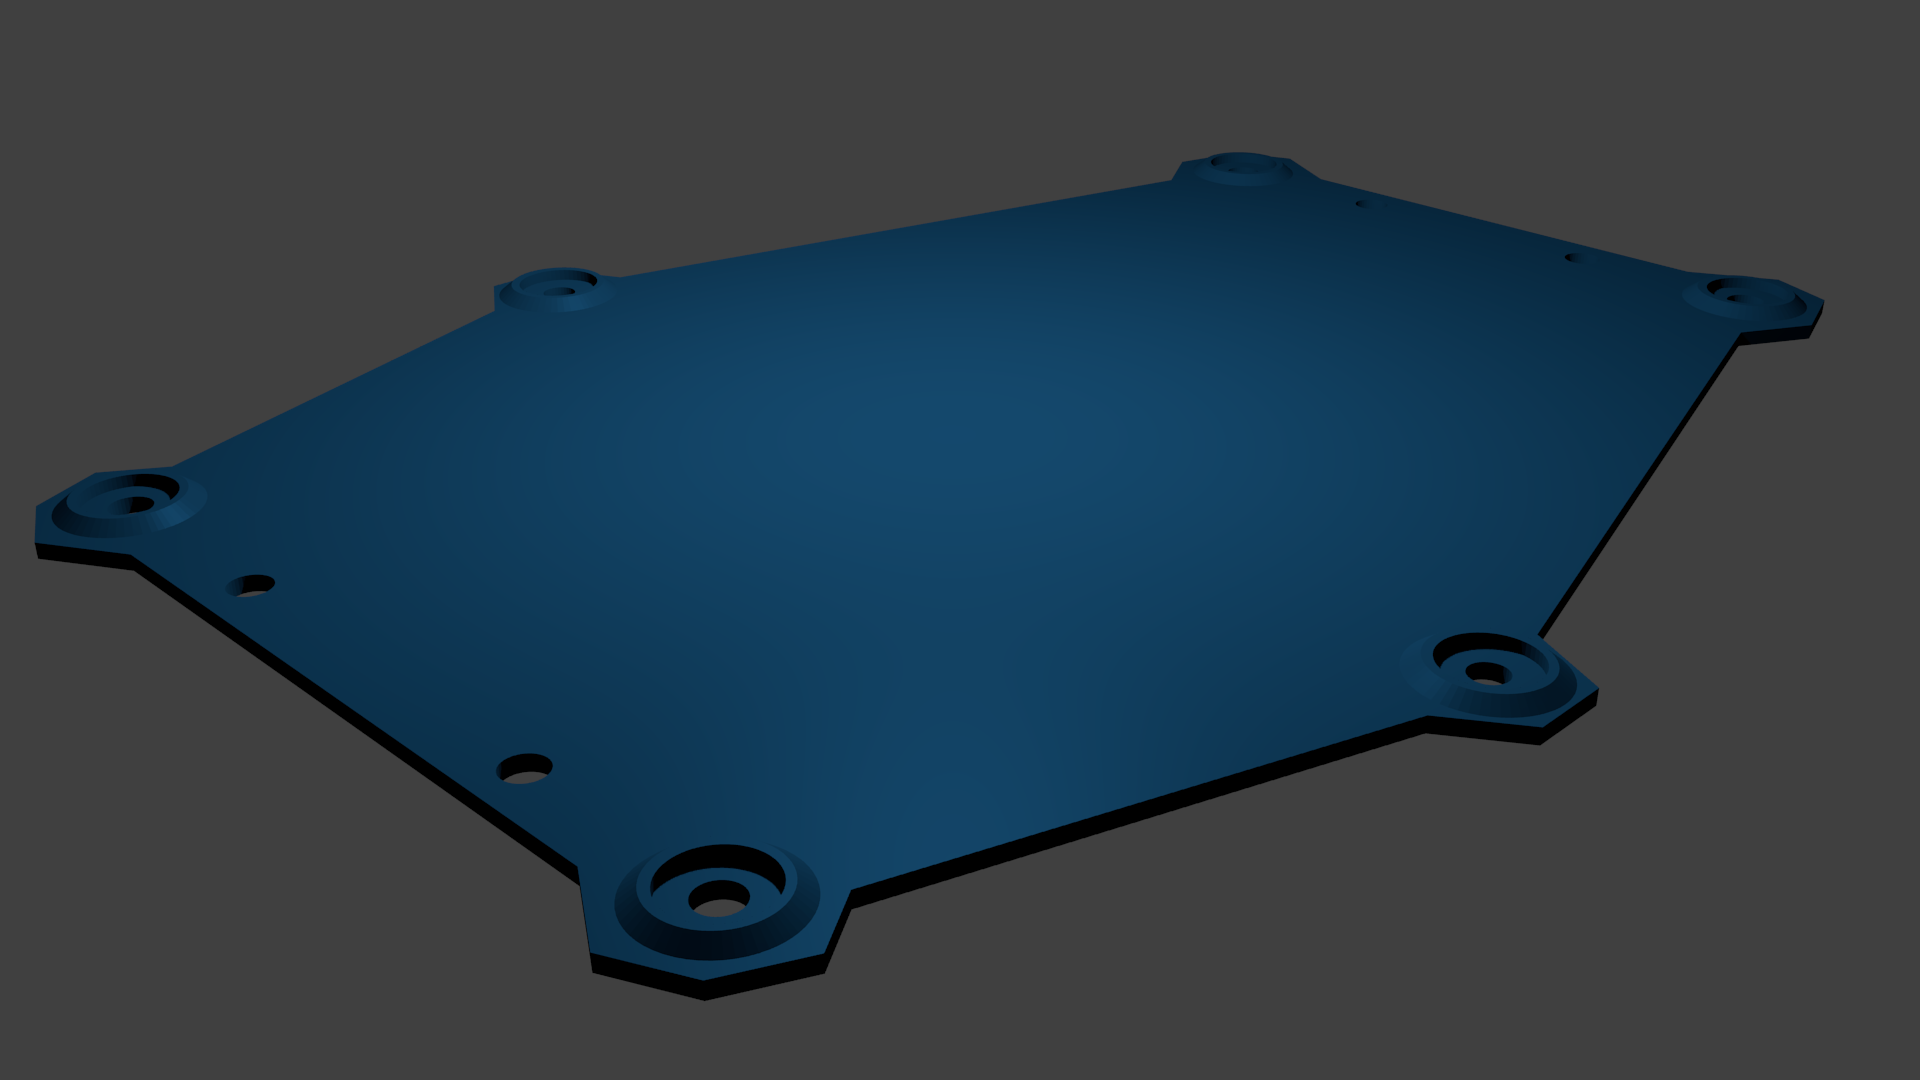
The holes for the legs are each surrounded by ridges that help the leg pivot with less friction
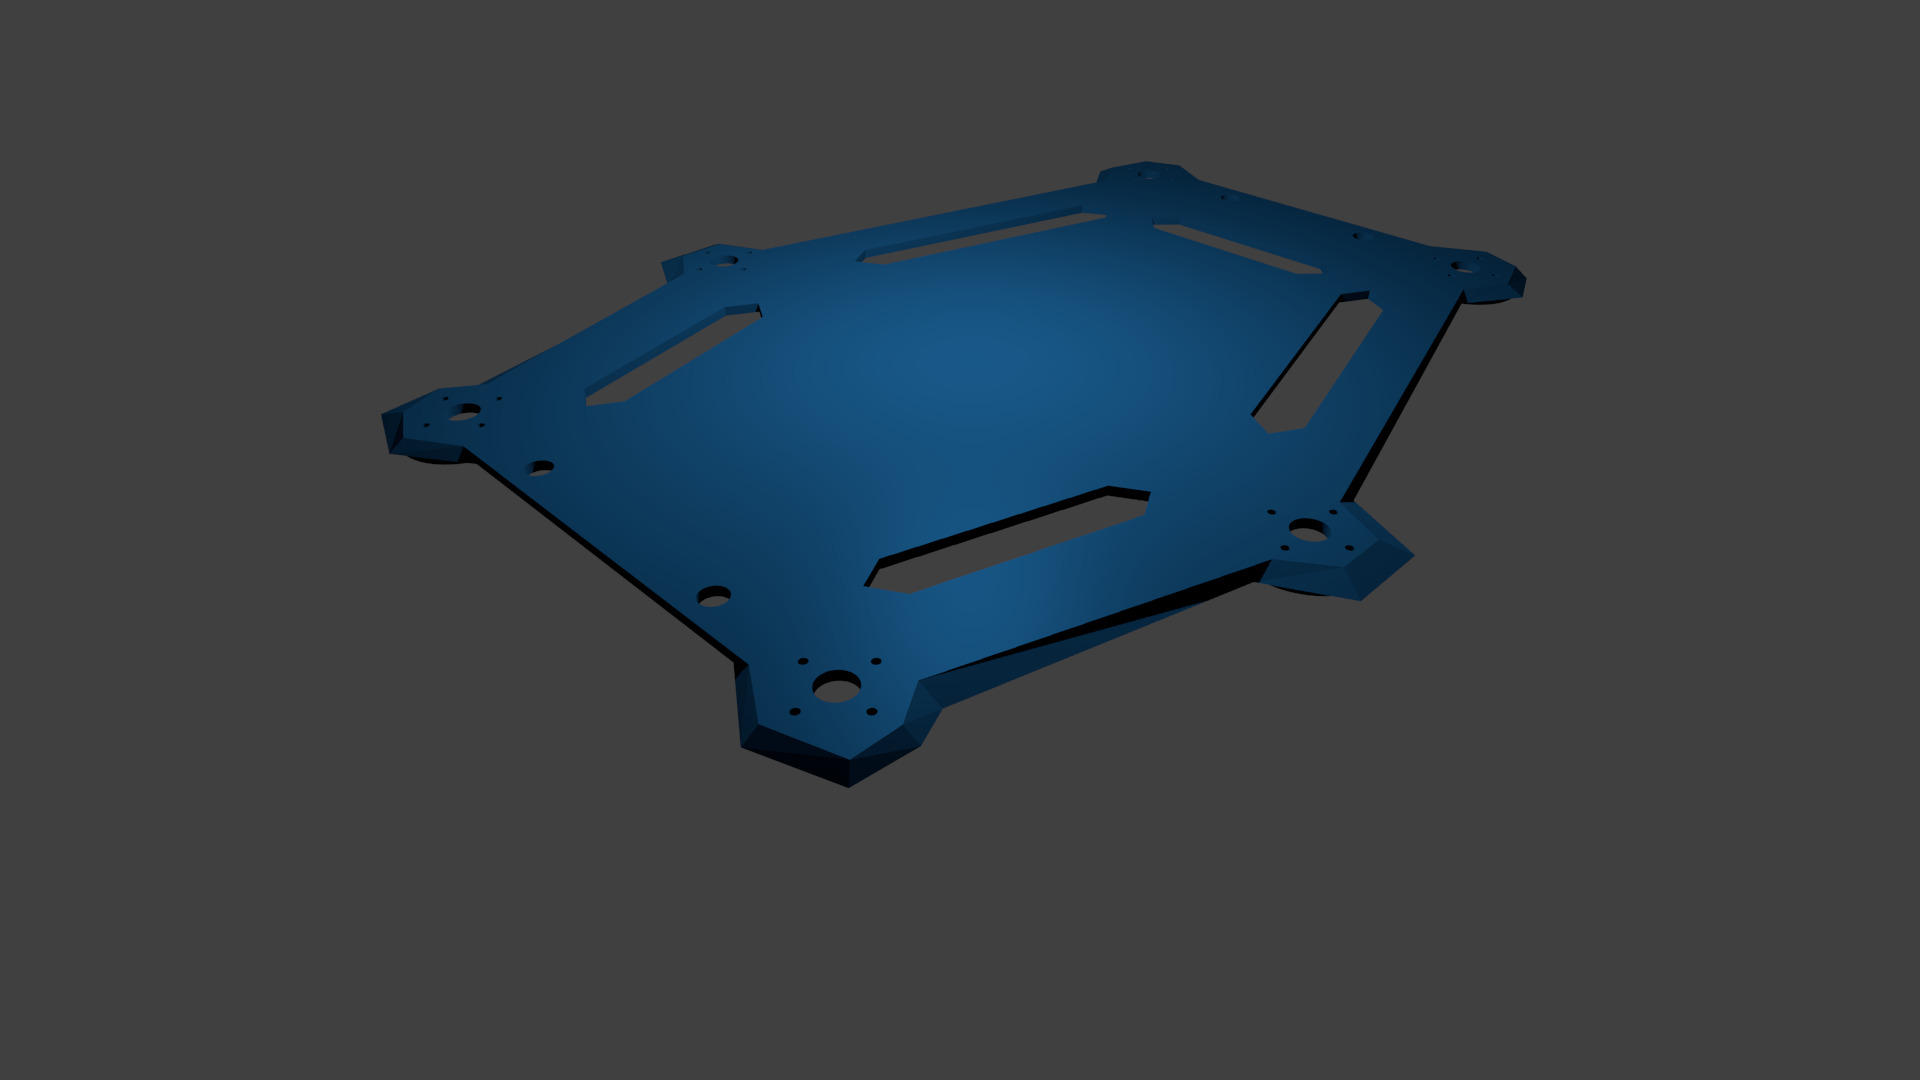
The second floor has slots for wires to pass through
The second floor printing at the Engineering Fabrication Lab

The printed body assembled with all coxas
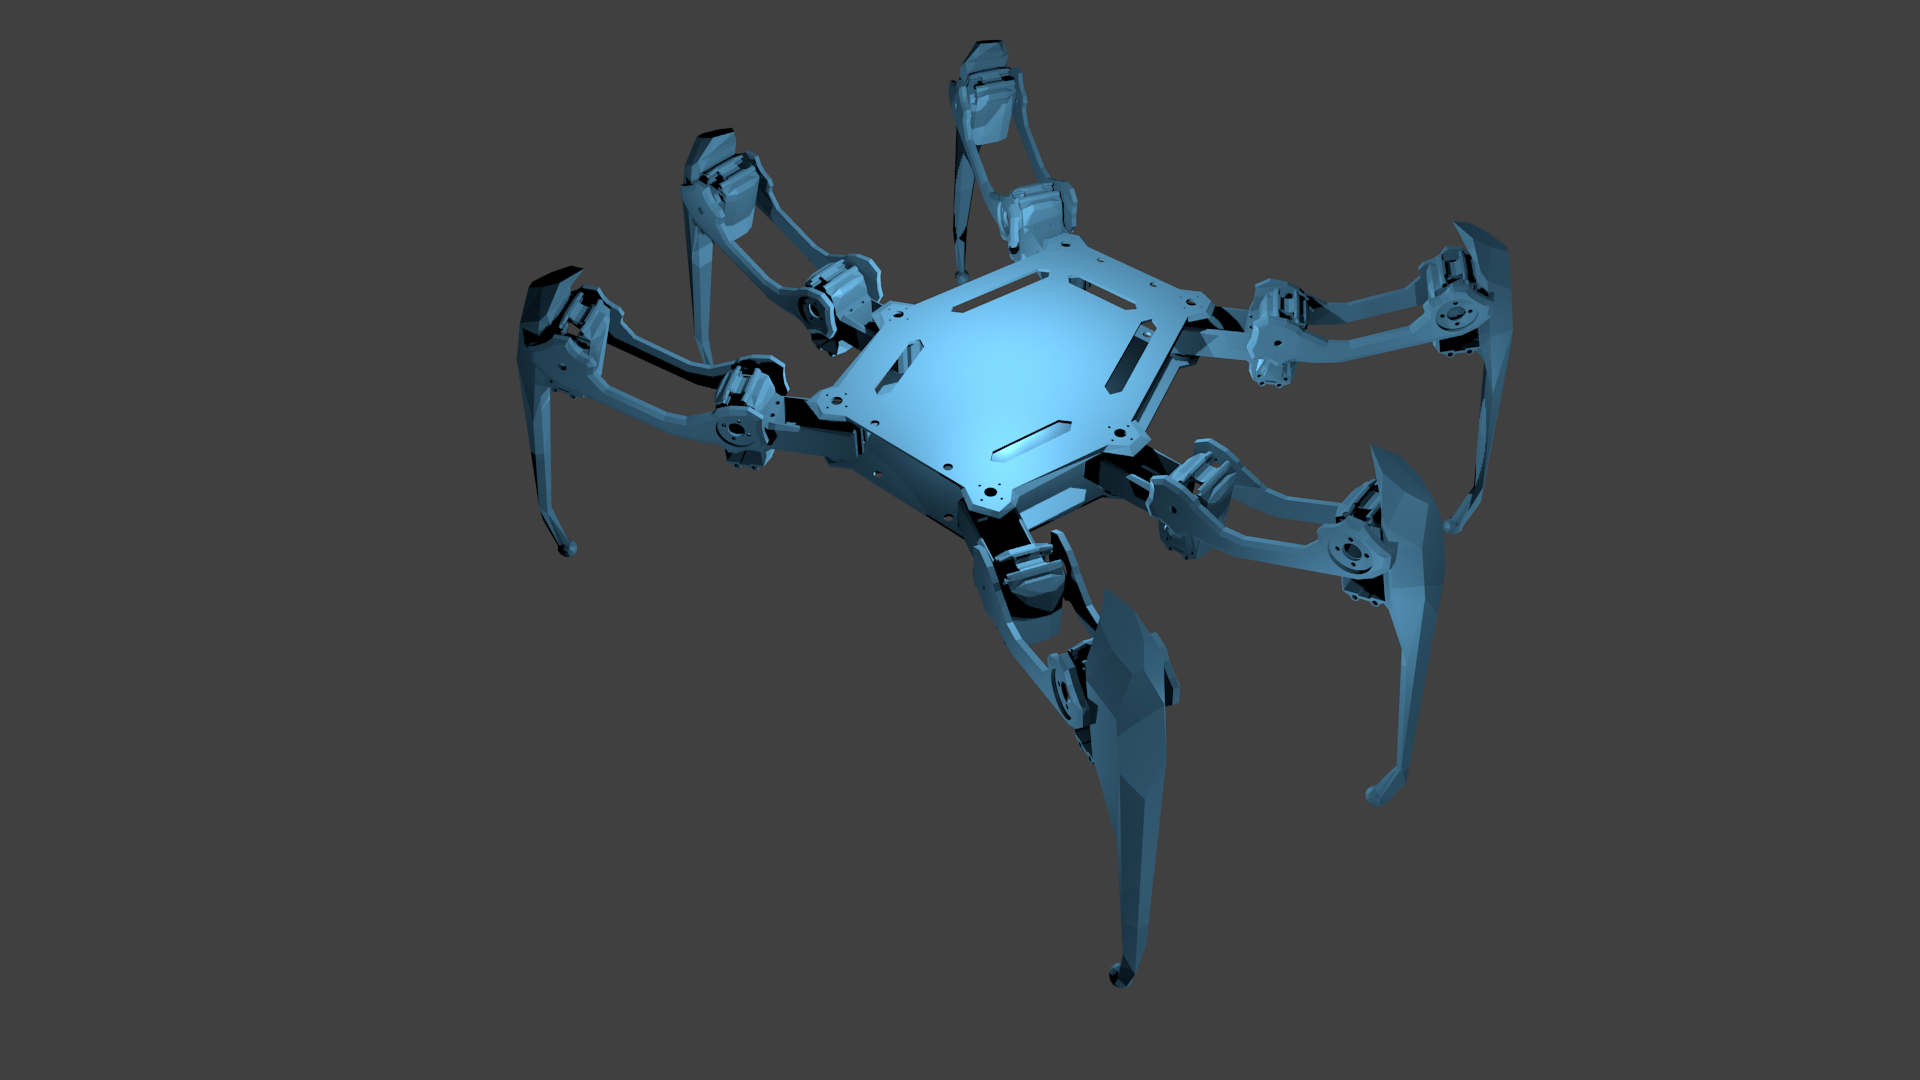
Main Body
The main body is comprised of two pieces, a top and bottom floor, both of which are flat but have mounting holes for each leg. The top floor has open vents that allow for wires to pass between floors. The two pieces also have holes through which M5 rods fit to hold the body together.
Assembly
Once all parts were printed we assembled them together: each of the 18 servo motors had the back of their housing replaced with a printed servo cap. Two servos were mounted to each coxa, with a pair of femurs connecting one end of the coxa to a tibia with its own servo motor. Each leg was then mounted to the main body.
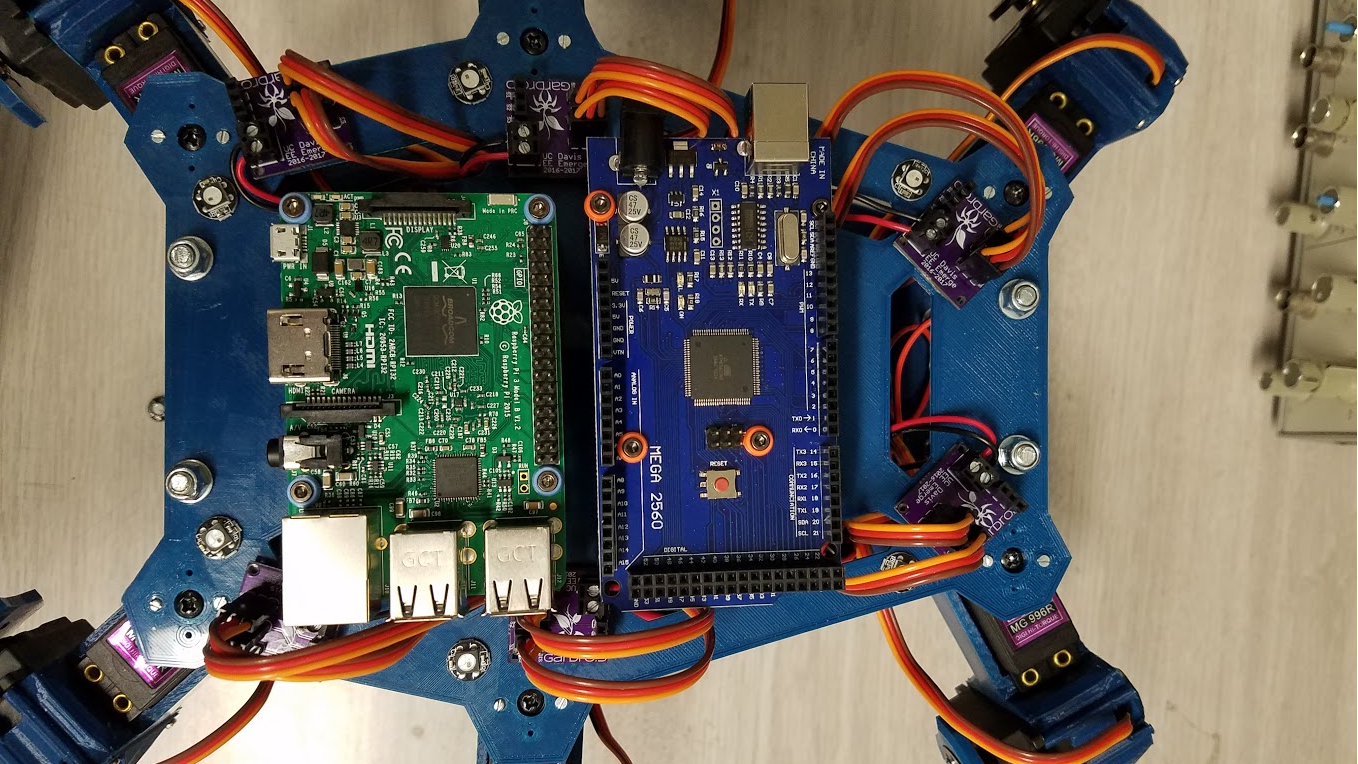
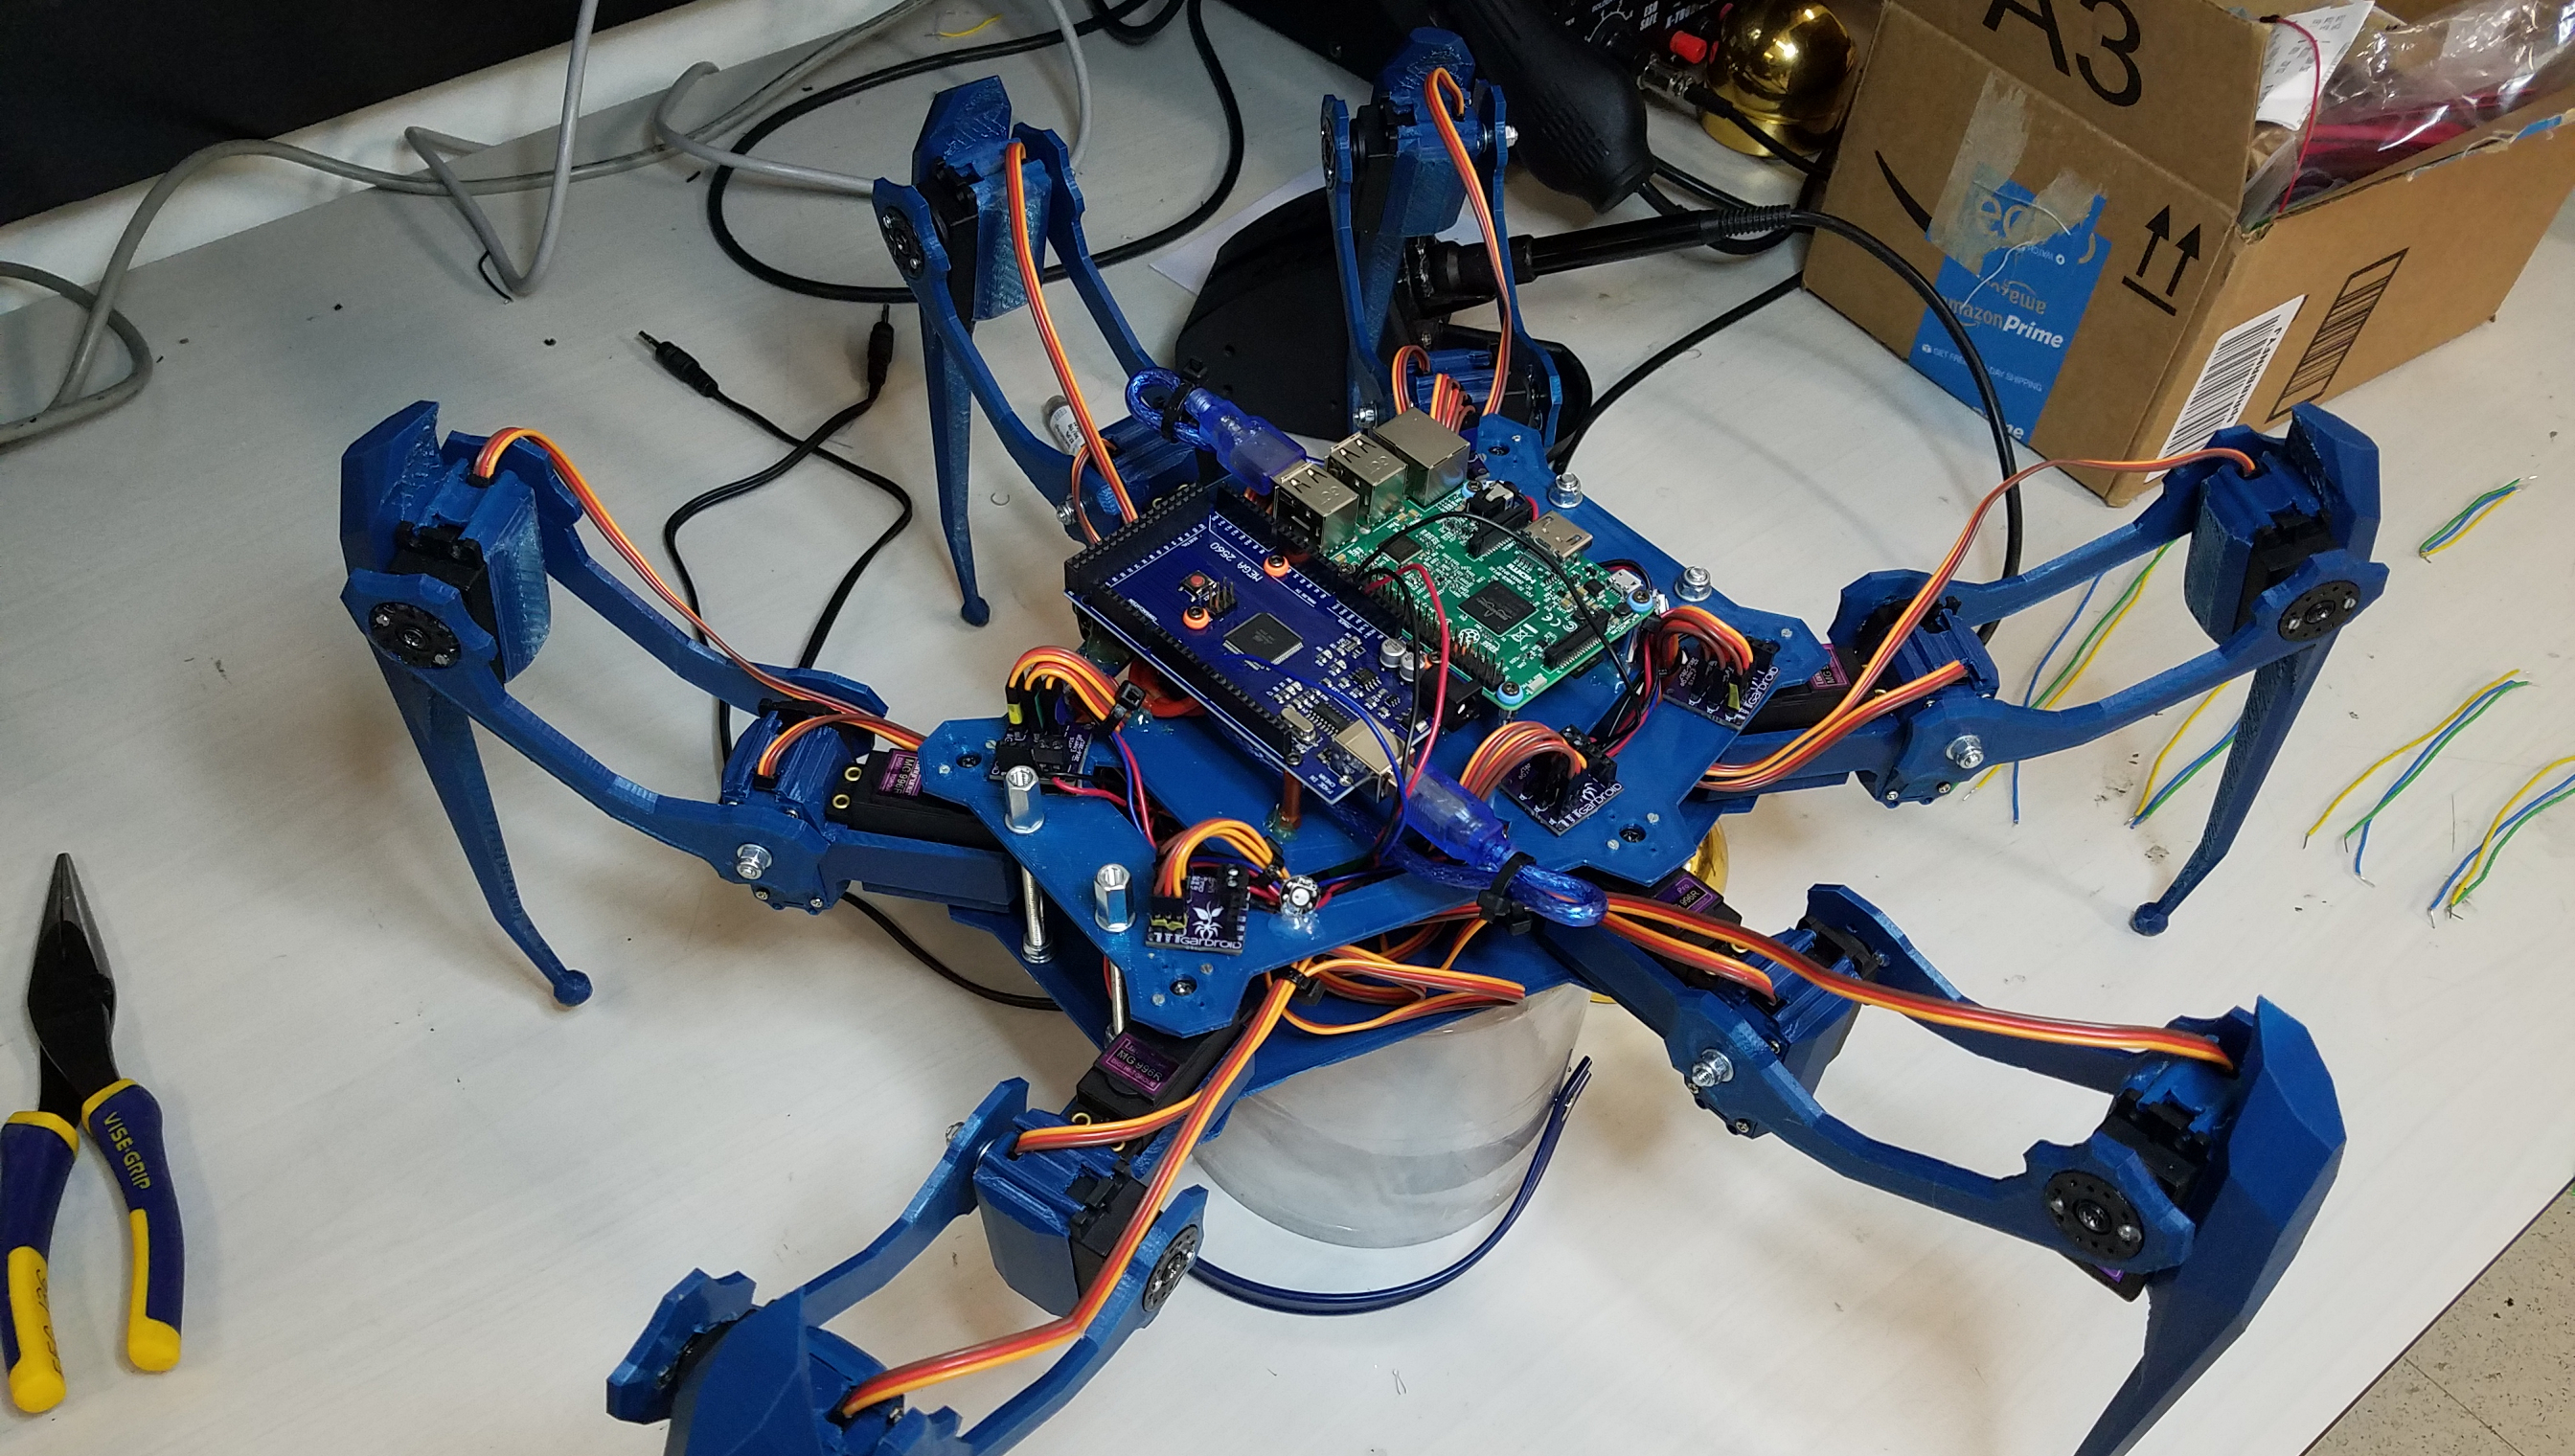
All PCBs and boards mountd on
Board Mounting
The Raspberry Pi 3 was our main control board, handling user input from a SixAxis PS3 controller via Bluetooth and sending commands to the Arduino board as well as other tasks. The Arduino Mega has signal wires connecting to every PCB we designed that in turn connects to the three servos of the leg. RGB LEDs were also placed on the top floor for status signaling.
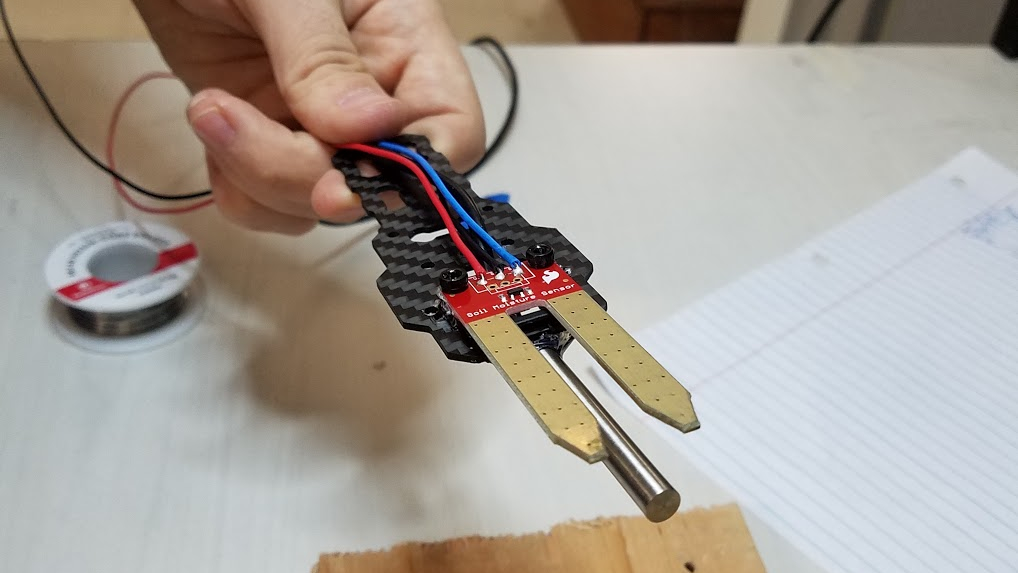
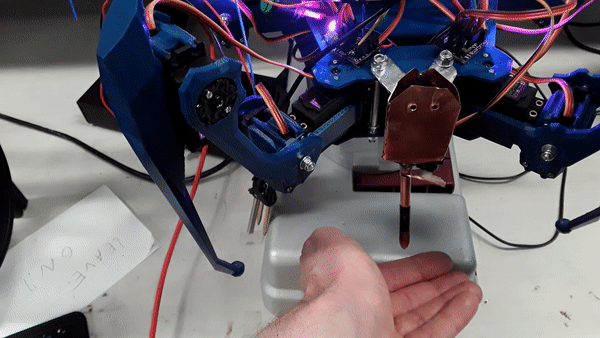
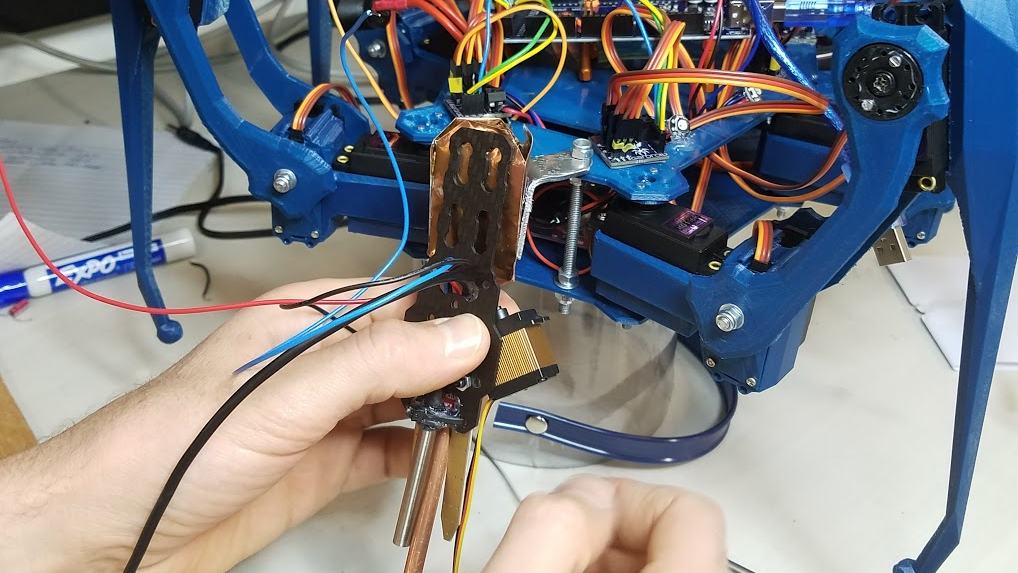
Planting and Sensing
The soil moisture and temperature sensors are mounted to a piece of carbon fiber, which is mounted to the copper chamber that holds the seeds. The seed chamber leads into a copper needle that is poked into the ground so that seeds can be released. The seeds are prevented from falling out by a small servo motor that moves a copper flap in the needle to block and unblock the opening.
The speaker is mounted to the back of the Gardroid
Speaking
In the interest of personifying our project and giving Charolette character, we created
over 73 unique voice actions with an original synthesized voice. These voice actions
range from reading out sensor results to greetings and more like the one below.
Walking
As the hexapod is based on 6 legged insects, understandably our process began by watching lots of videos of insects walking. After watching many videos and doing some reading we came upon the metachronal gait: First the 6 legs are spilt into two groups of 3; two outer legs on one side, and the middle leg on the opposite side. starting with the front leg of one group, that leg takes a step forward while the rest push back on the ground. After that leg, the middle leg in the group takes a step forward, then the back leg. After the last leg in the group takes a step, the next group starts from the front. The program that controls the motors runs on the Arduino Mega, which recieves input on what action to take from the Raspberry Pi.
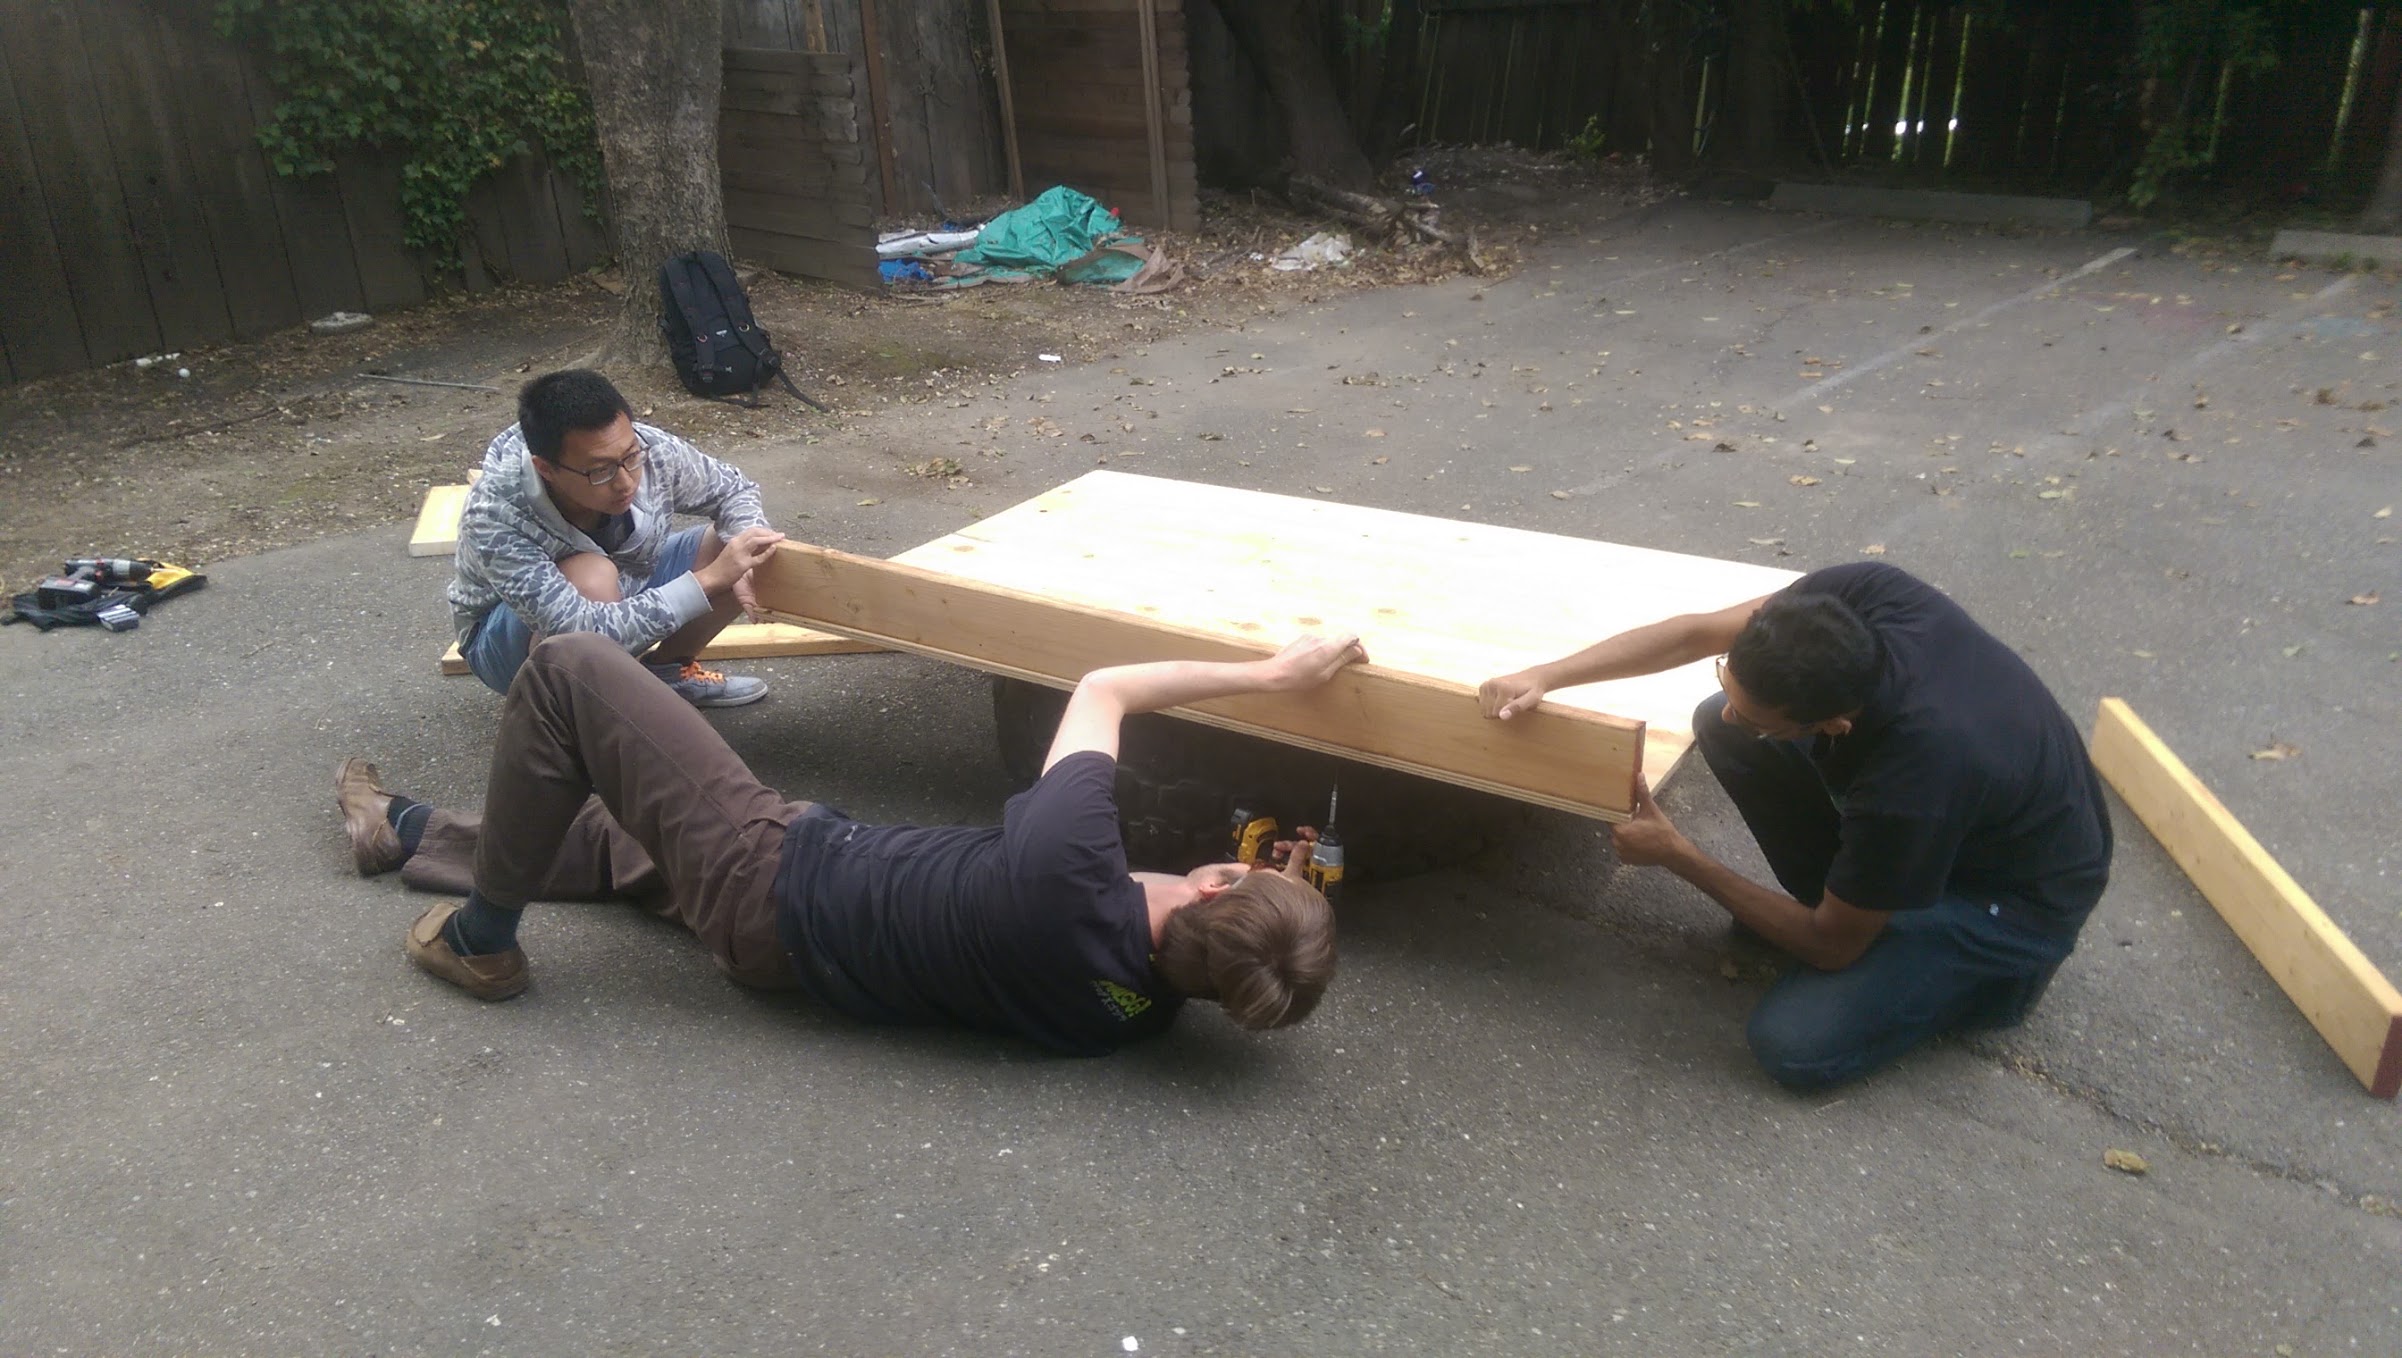
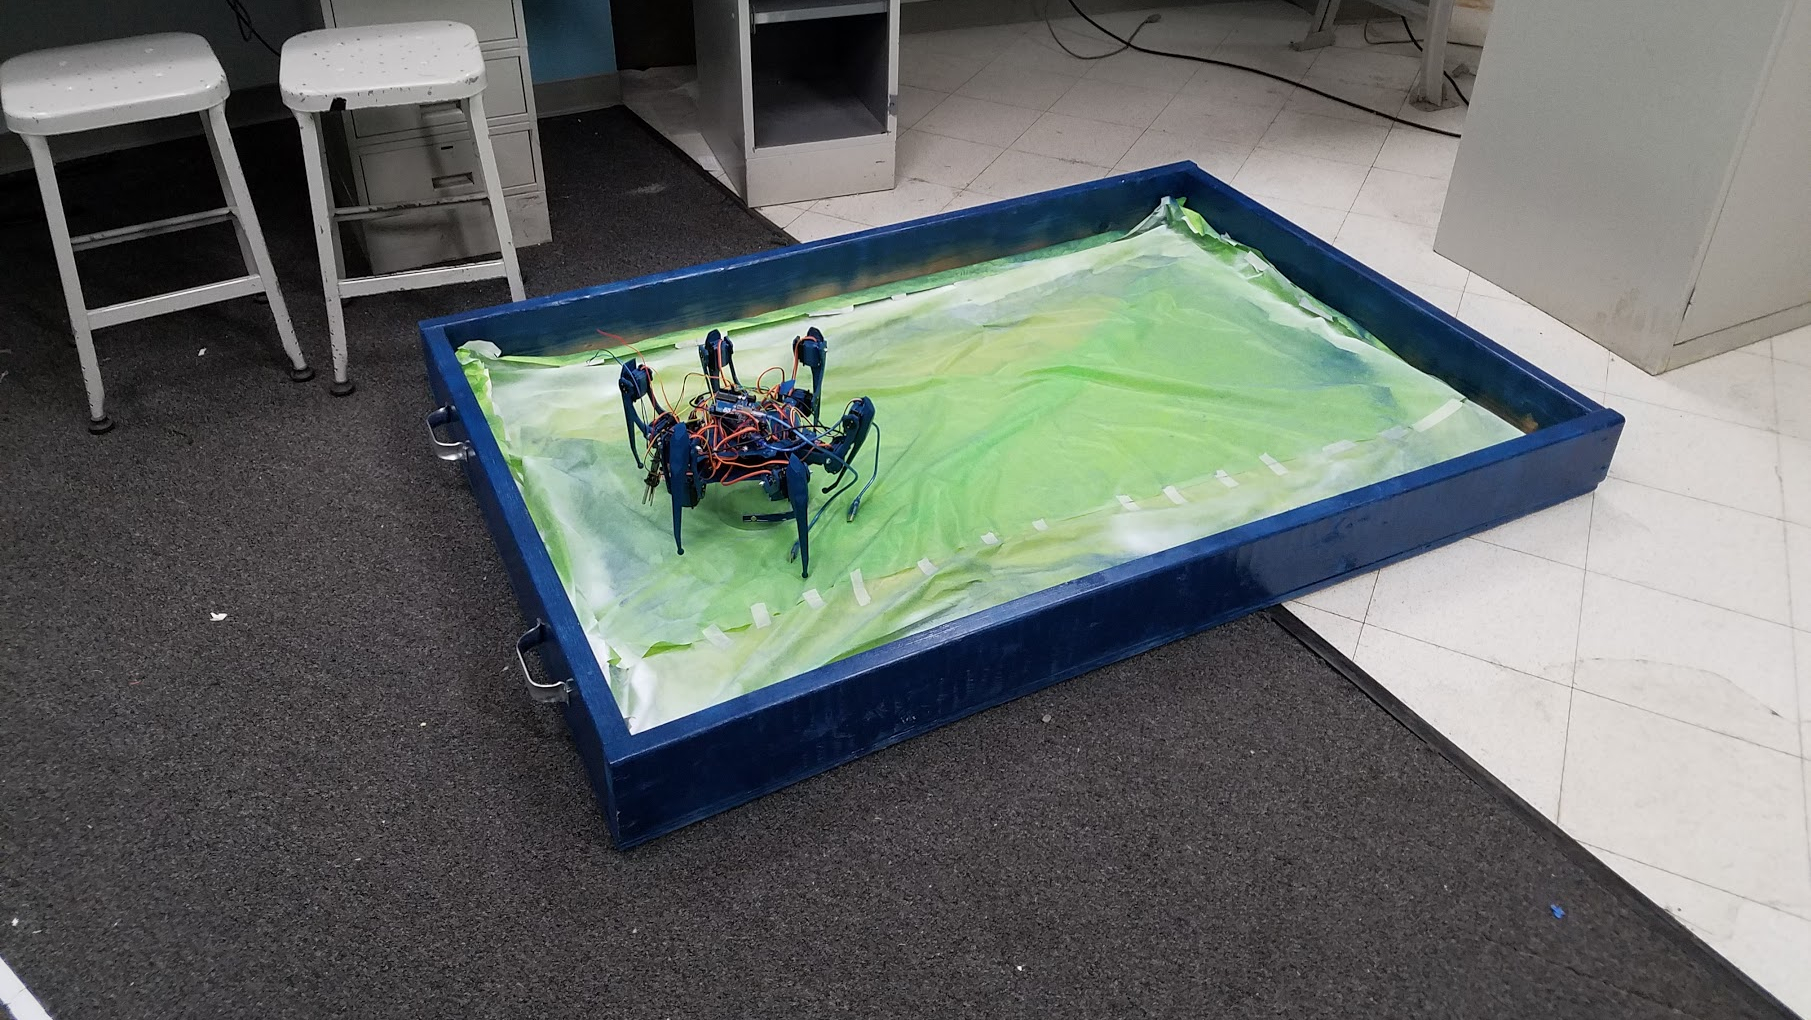

Planter Box
Now that we we were wrapping up building Charolette, we needed a box for her to work in. With lots of wood, piant, and soil, we put together a 6' by 4' planter that we used to demo Charolette. After our presentations we continued to water the seeds that she planted and they grew into edible crop: lettuce, buckwheat, and California Poppies (because who doesn't like flowers).
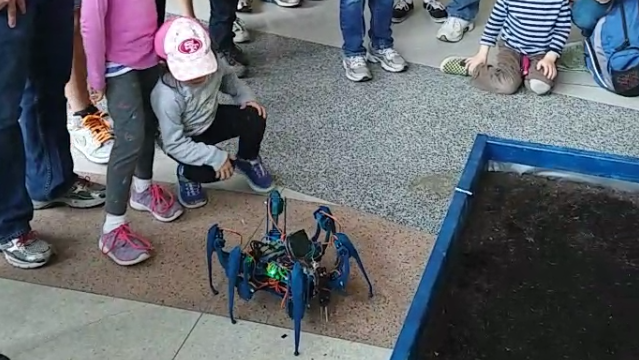
Picnic Day
Held every year in April of Spring Quarter, Picnic Day is an annual day of celebration for the city and an open-house for the university. On this day thousands of people come on campus to see different exhibits and shows put on by every department in the school. As part of the Electrical and Computer Engineering department, we presented our work and demoed Charolette all day in front of the crowd as a finale to our year long journey.